
Report Settings
Configure the logo, description, and saved filter options that appear across all reports for a project or release group.
Enterprise feature
Available on: Business, Enterprise.
Overview
Report settings control the branding and default filter presets that apply when generating reports for a project or release group. Access them at Project Settings → Reports or Release Group Settings → Reports.
Logo
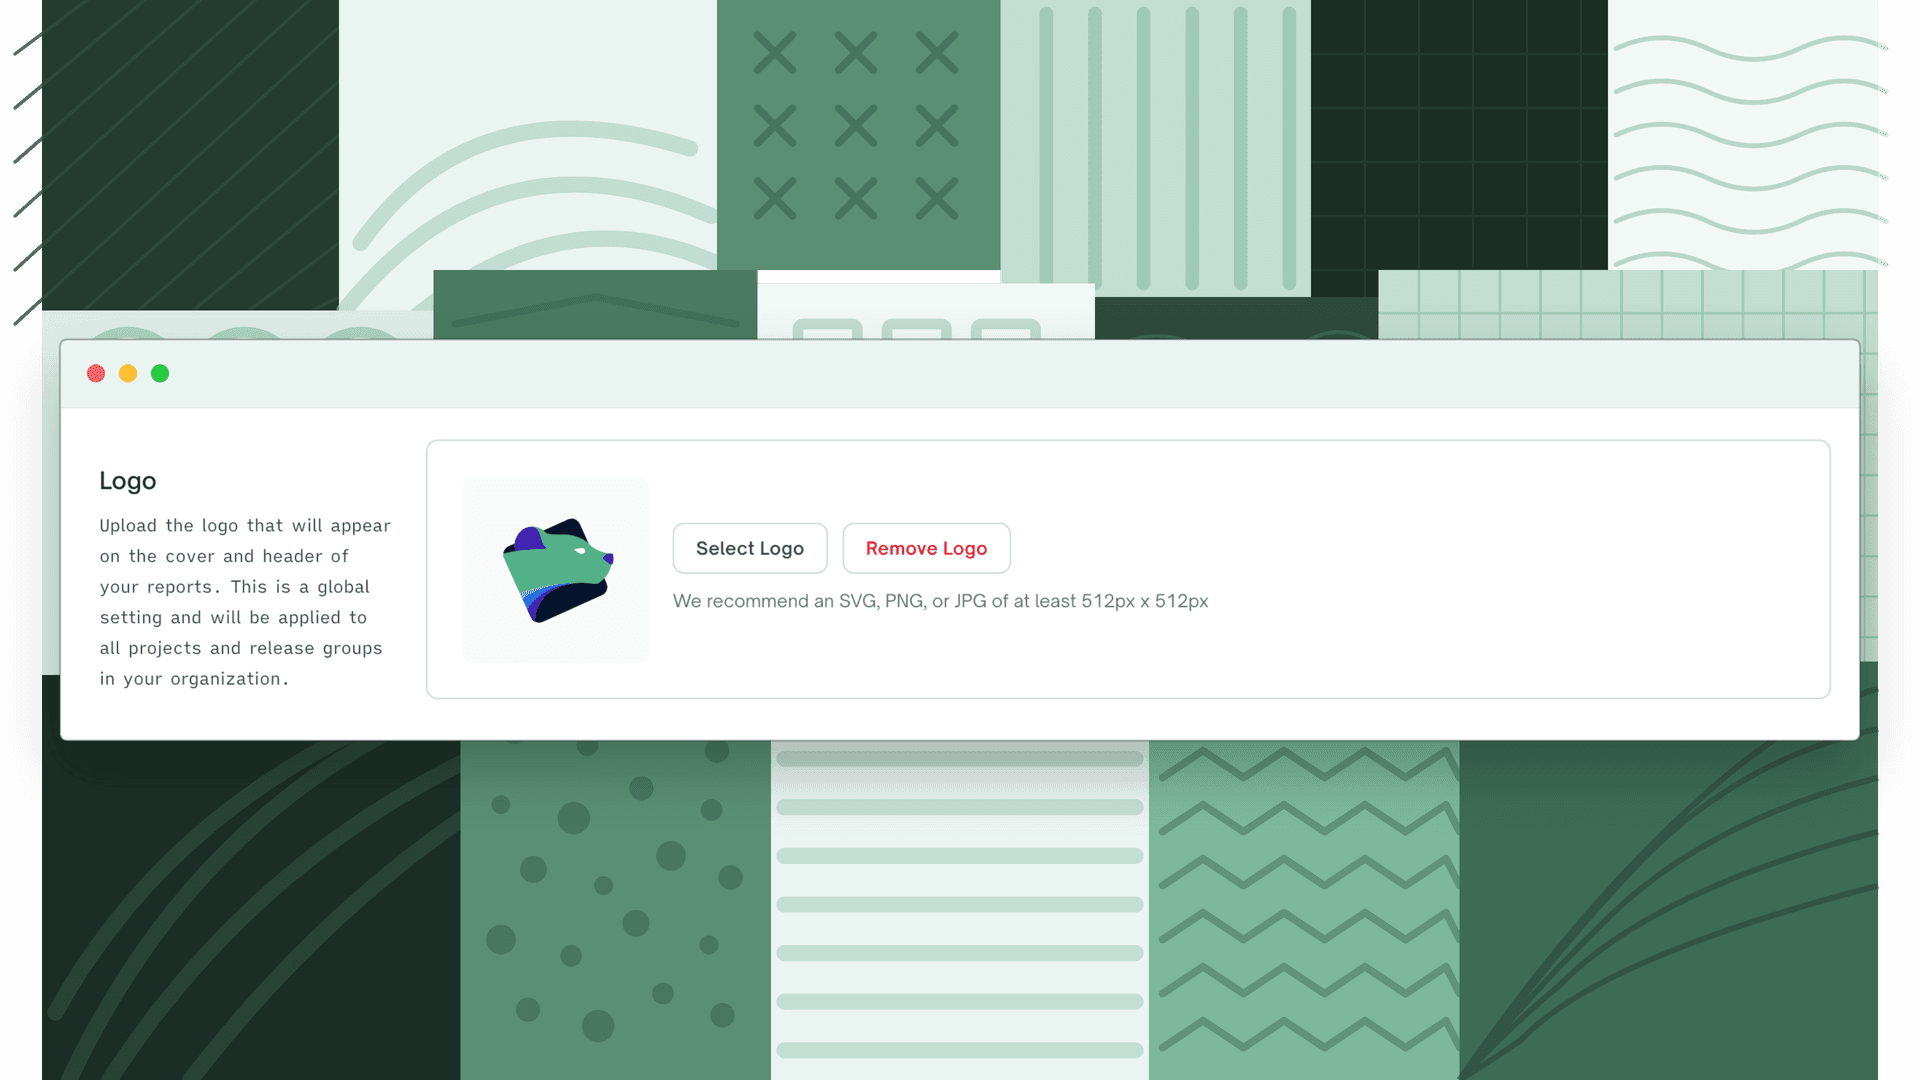
Upload a logo to appear in the header of generated reports. By default, reports use your organization's logo (configured in Organization Settings → General). Upload a custom logo to override the default for a specific project or release group.
Click Remove to revert to the organization logo.
Description
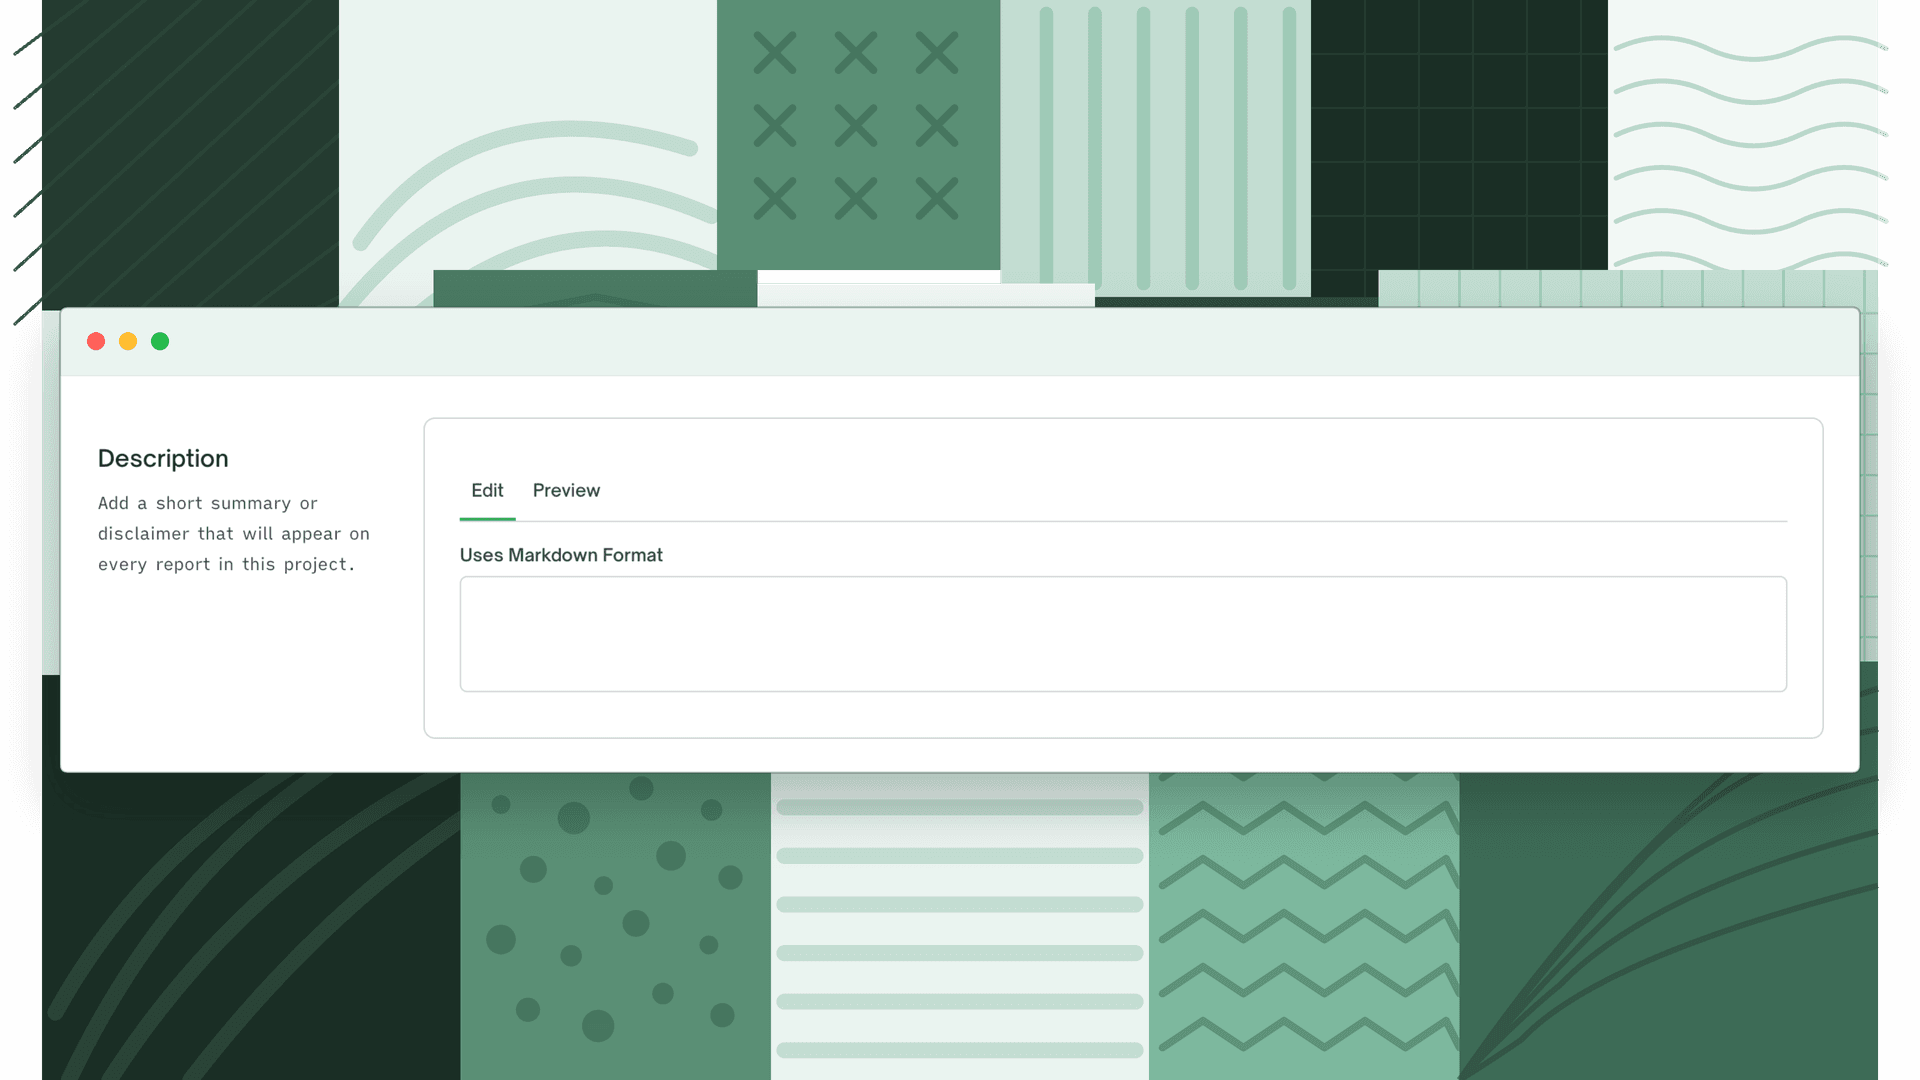
Add a custom description that appears in the report header. The description field supports Markdown. Use the Preview tab to see how it will render before saving.
Saved options
Saved options are named presets of report filter selections. Instead of reconfiguring filters each time you generate a report, save a configuration once in the report builder's Custom flow and apply it with one click.
Creating a saved option
- 1
Configure your filters
Configure your report filters as desired in the report builder's Custom flow.
- 2
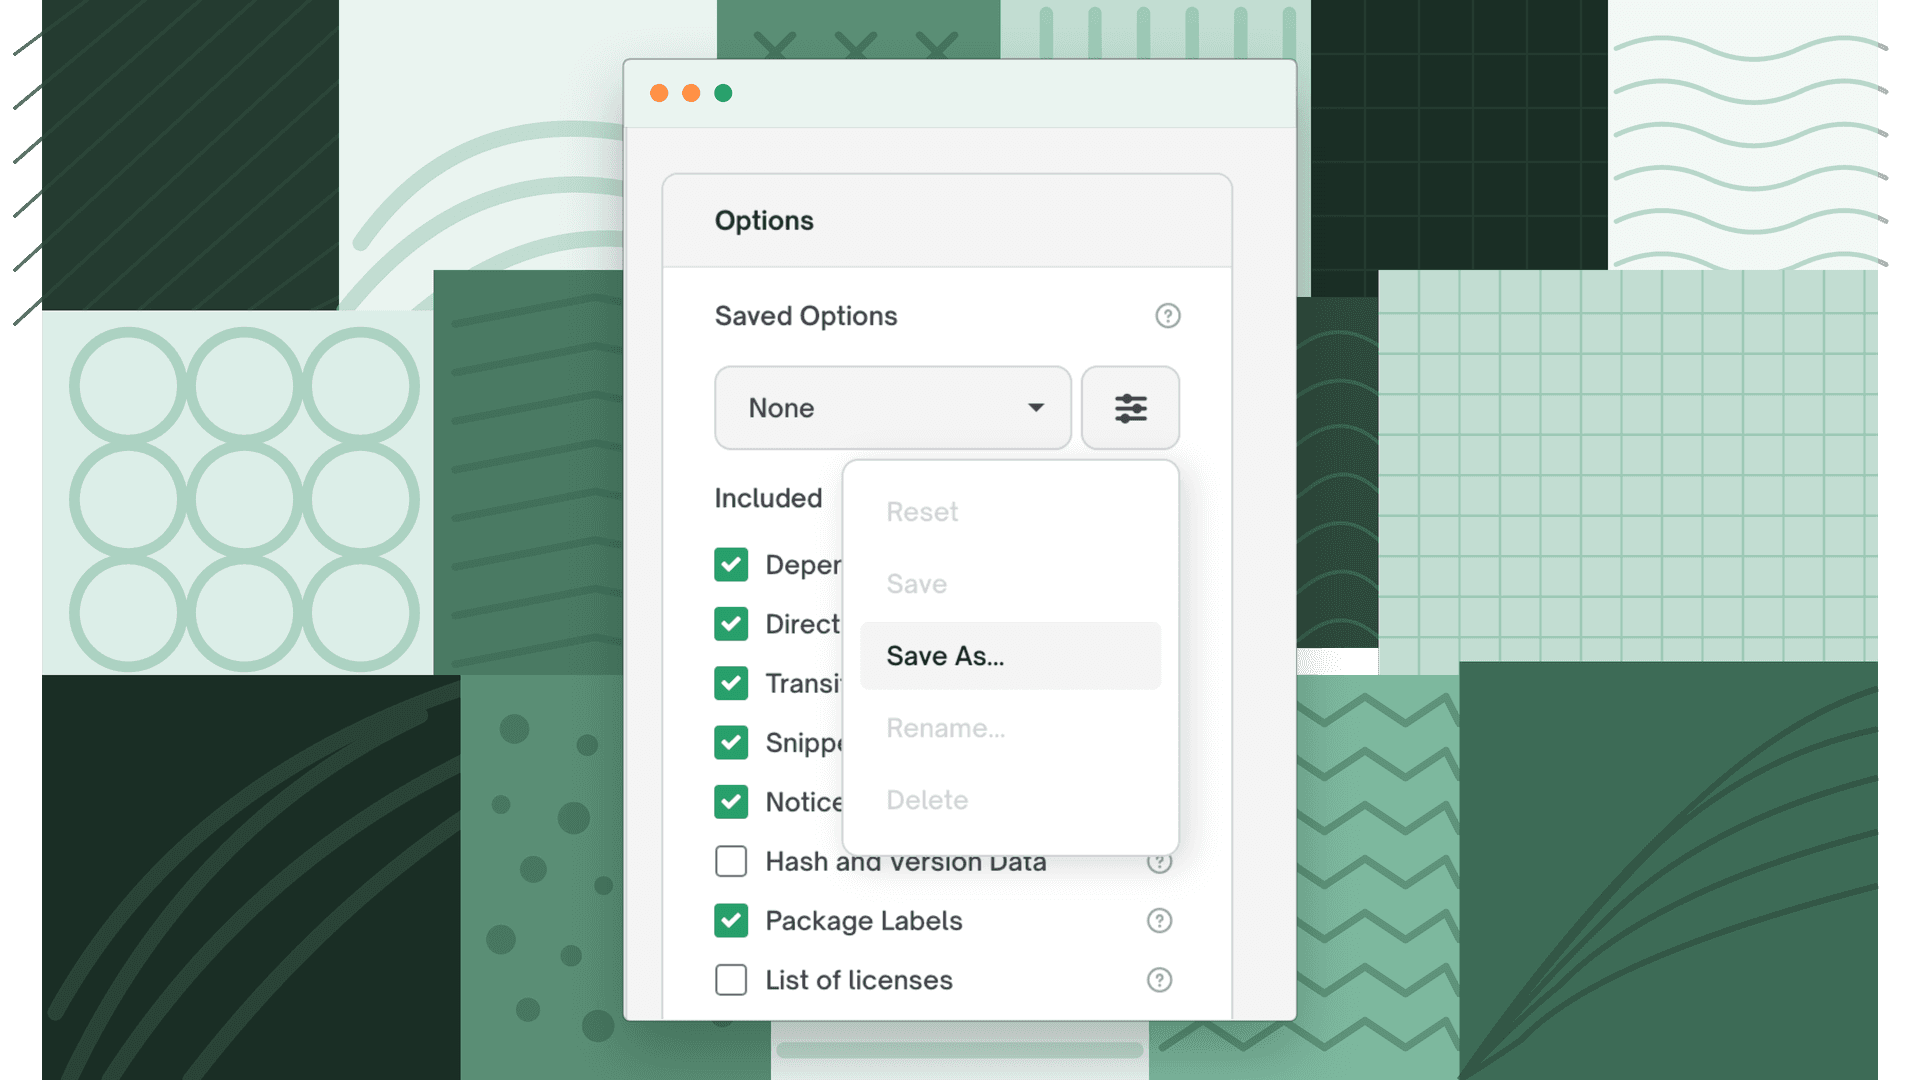
Open Saved Options and select Save as
Open the Saved Options dropdown and select Save as.
- 3
Name the preset
Give the preset a name. It will be available for any future report generation on this project or release group.
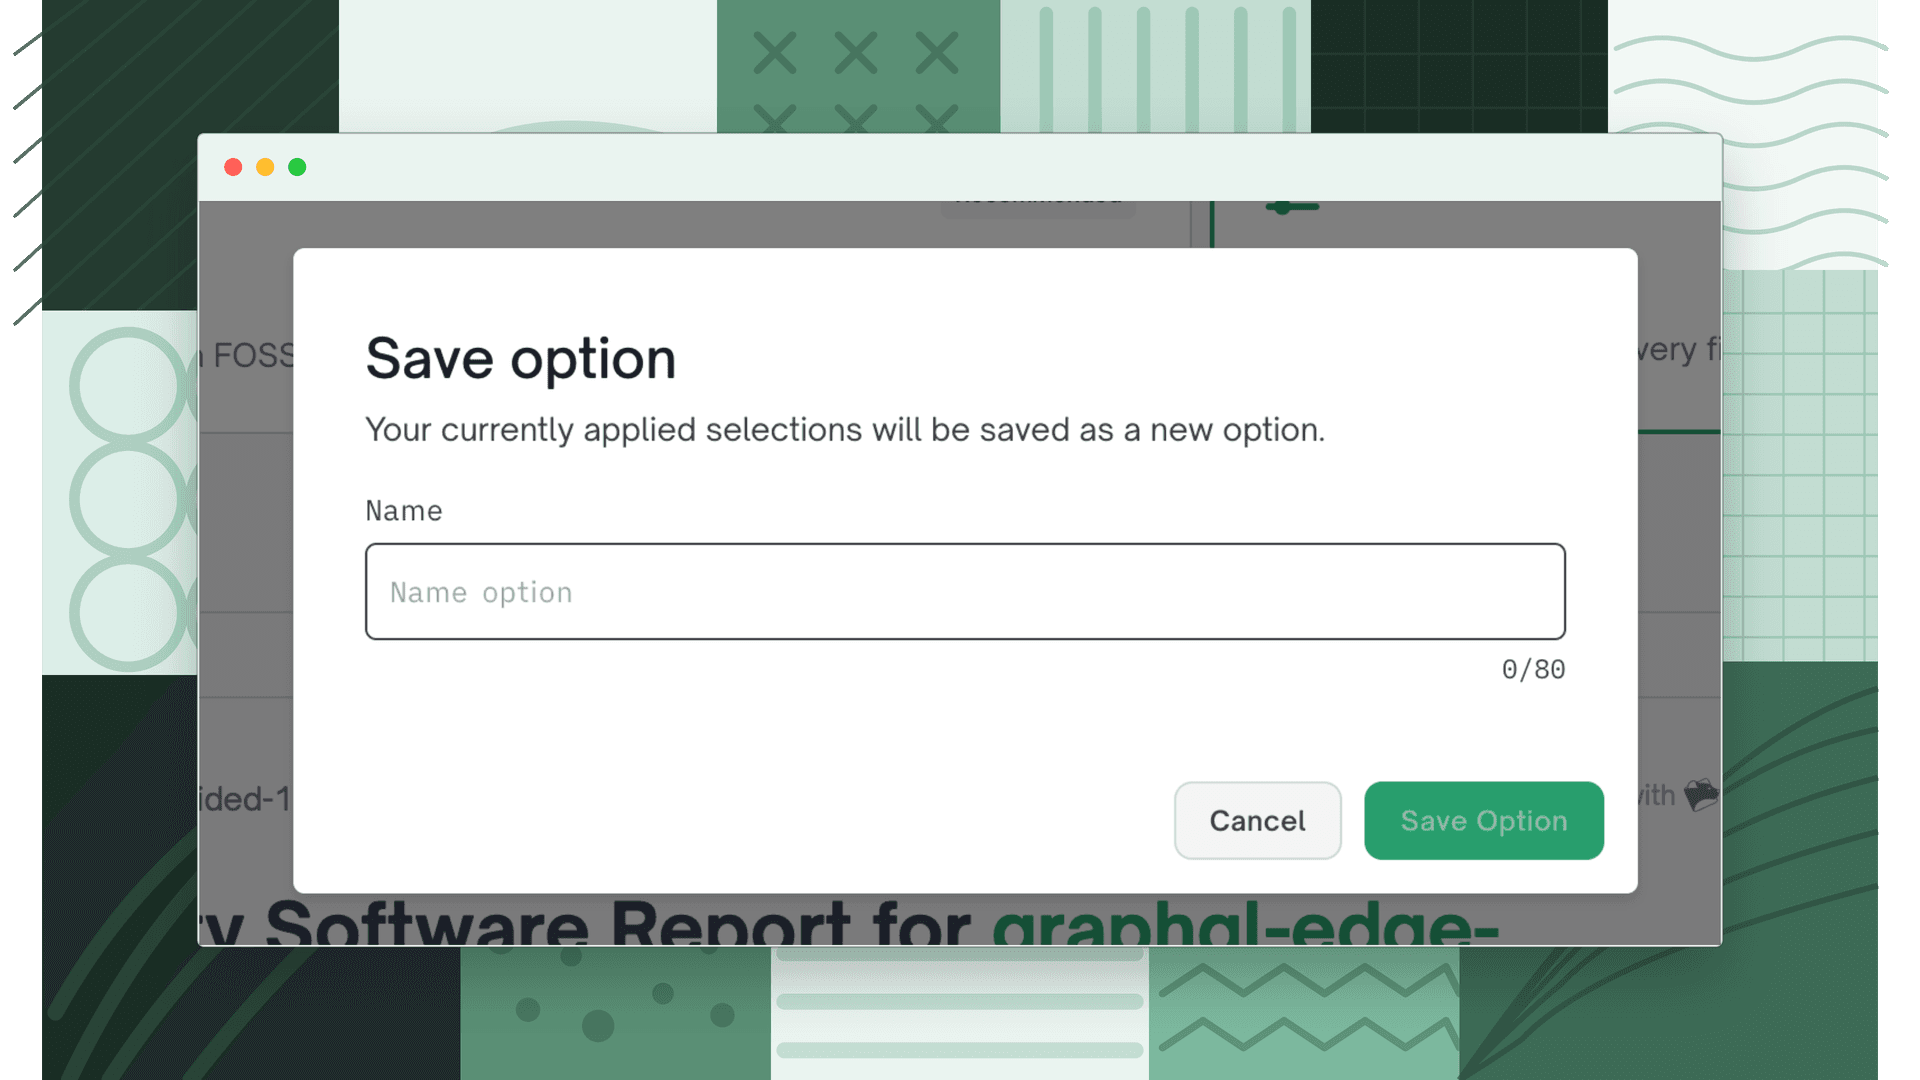
Applying a saved option
Open the Saved Options dropdown when generating a report and select the preset to apply. The filters update to match the saved configuration. Any subsequent changes mark the option as modified, save again to update it or save as a new option to keep both.
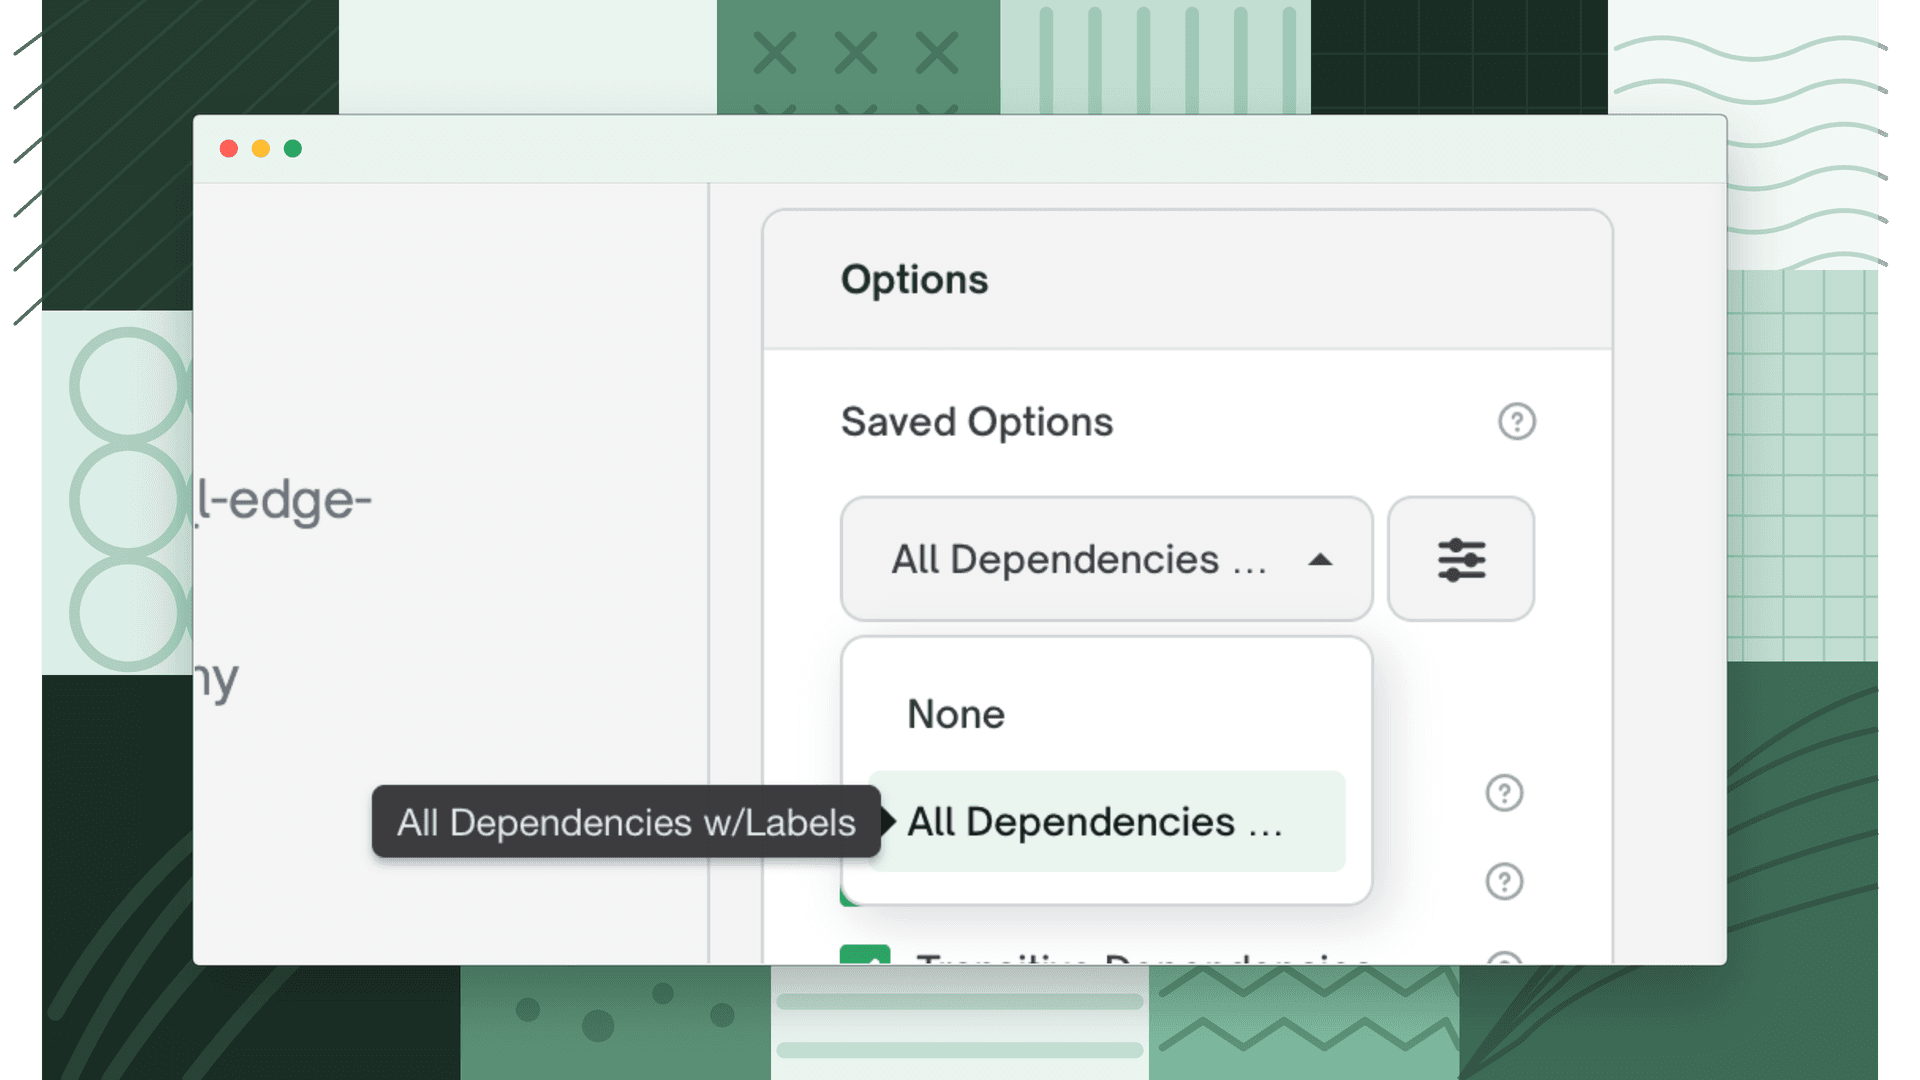
Managing saved options
From the Saved Options dropdown you can:
Rename: update the preset name
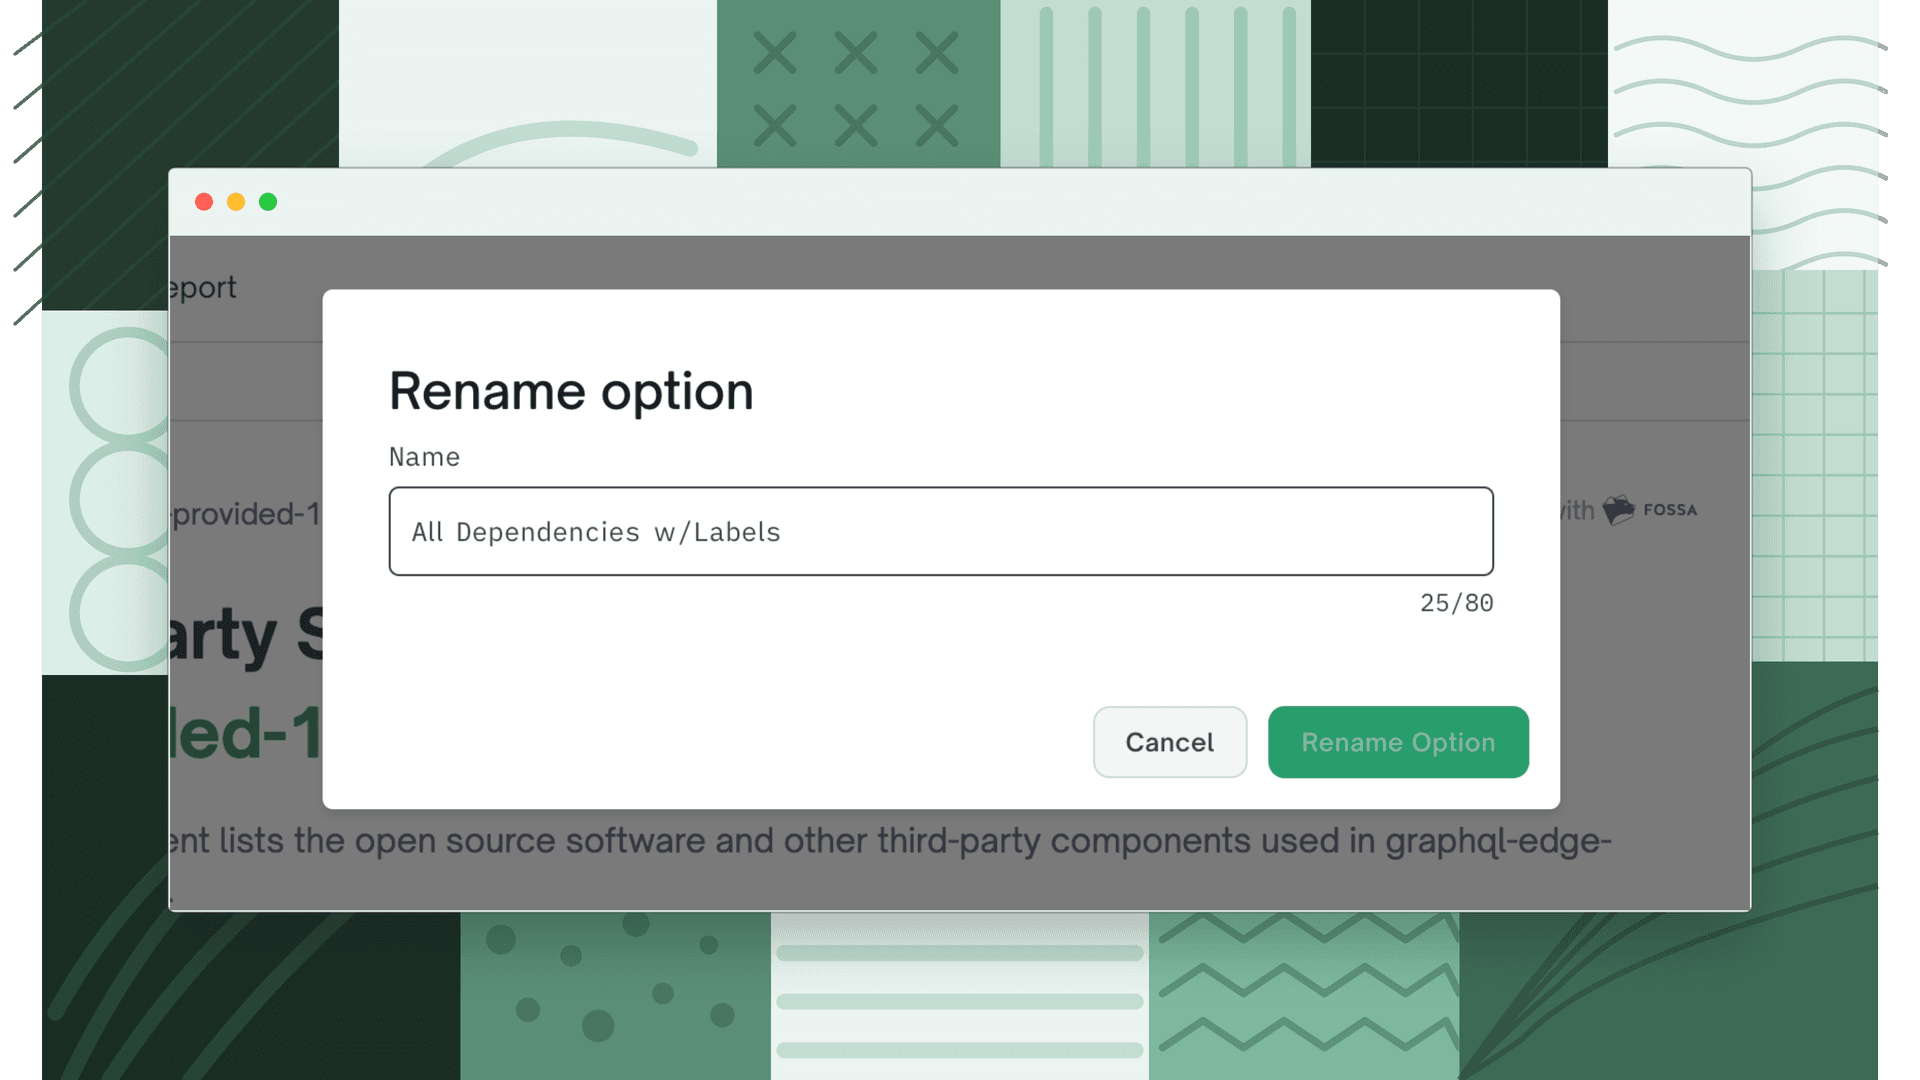
Delete: remove the preset permanently
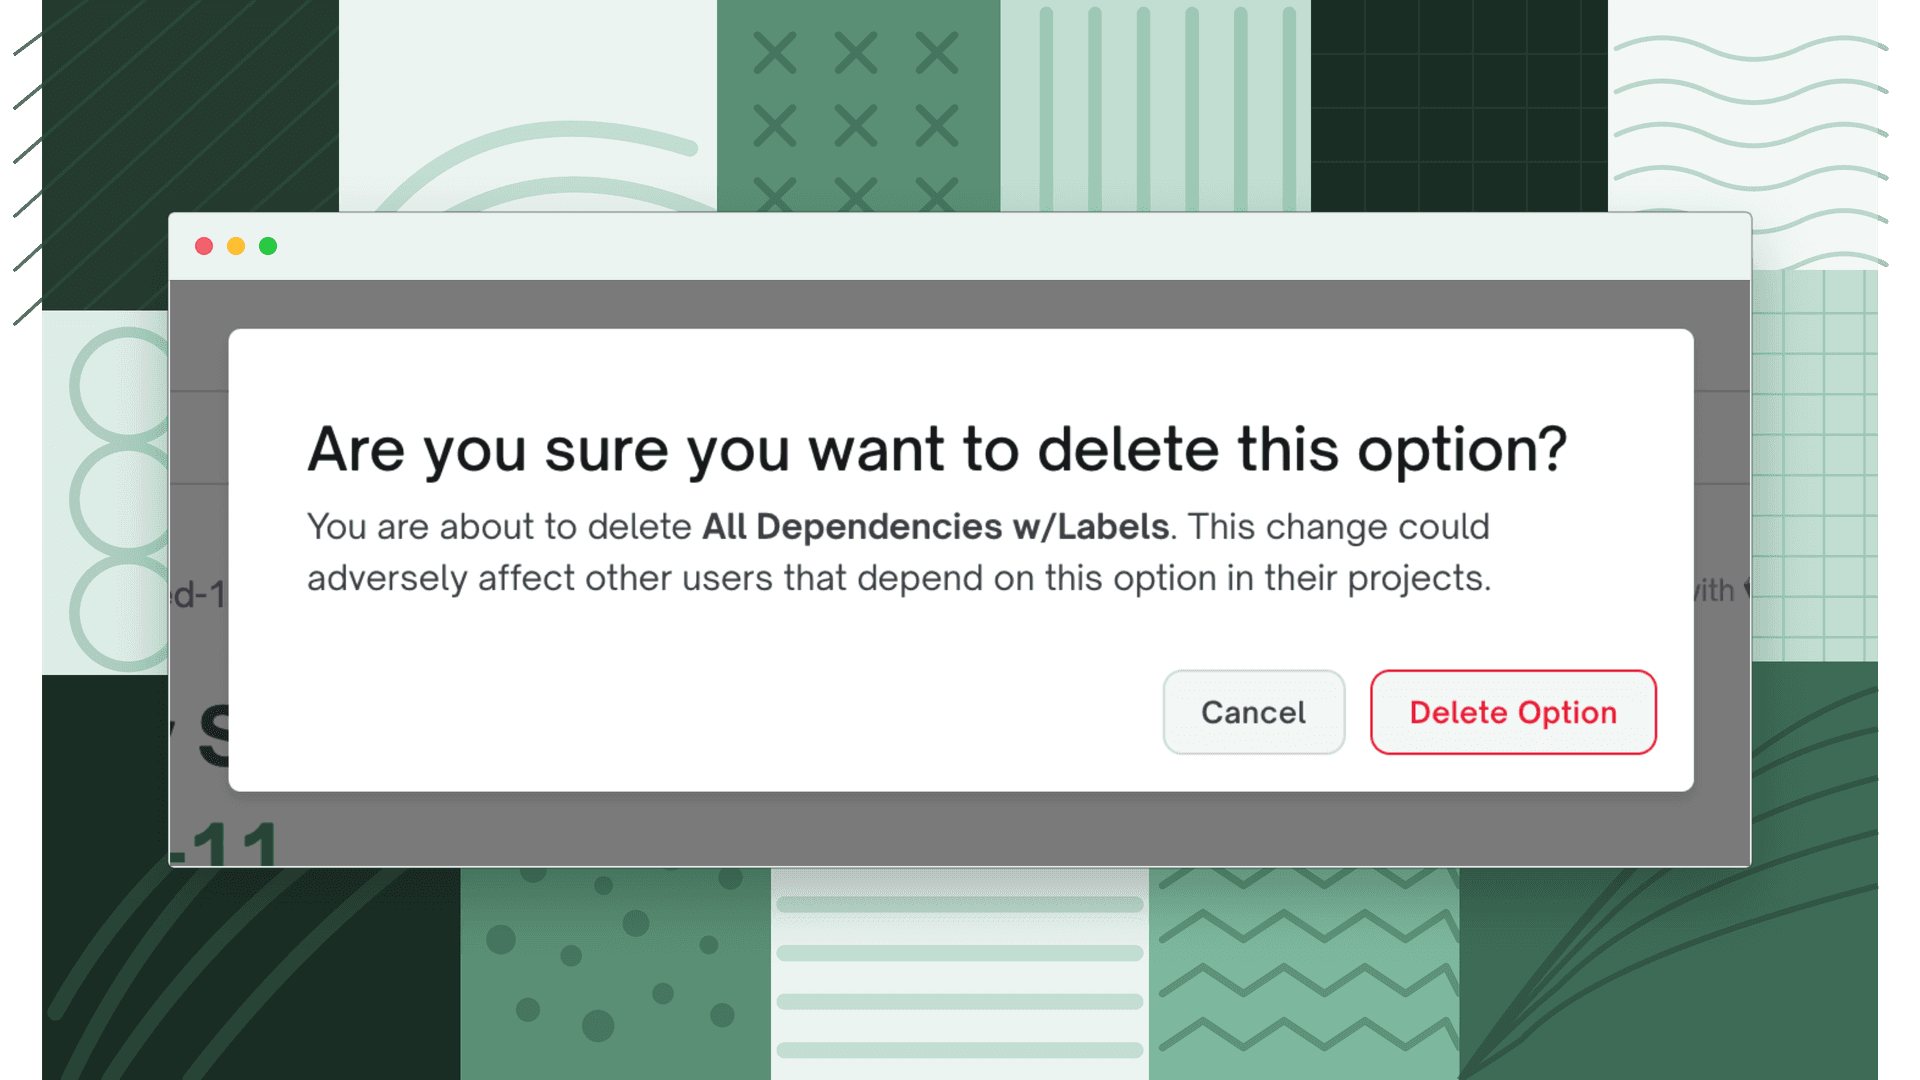
Note
Creating, renaming, and deleting saved options requires a paid plan and permission to manage report options. Users without that permission can apply existing saved options but cannot create, rename, or delete them.
Setting a default saved option
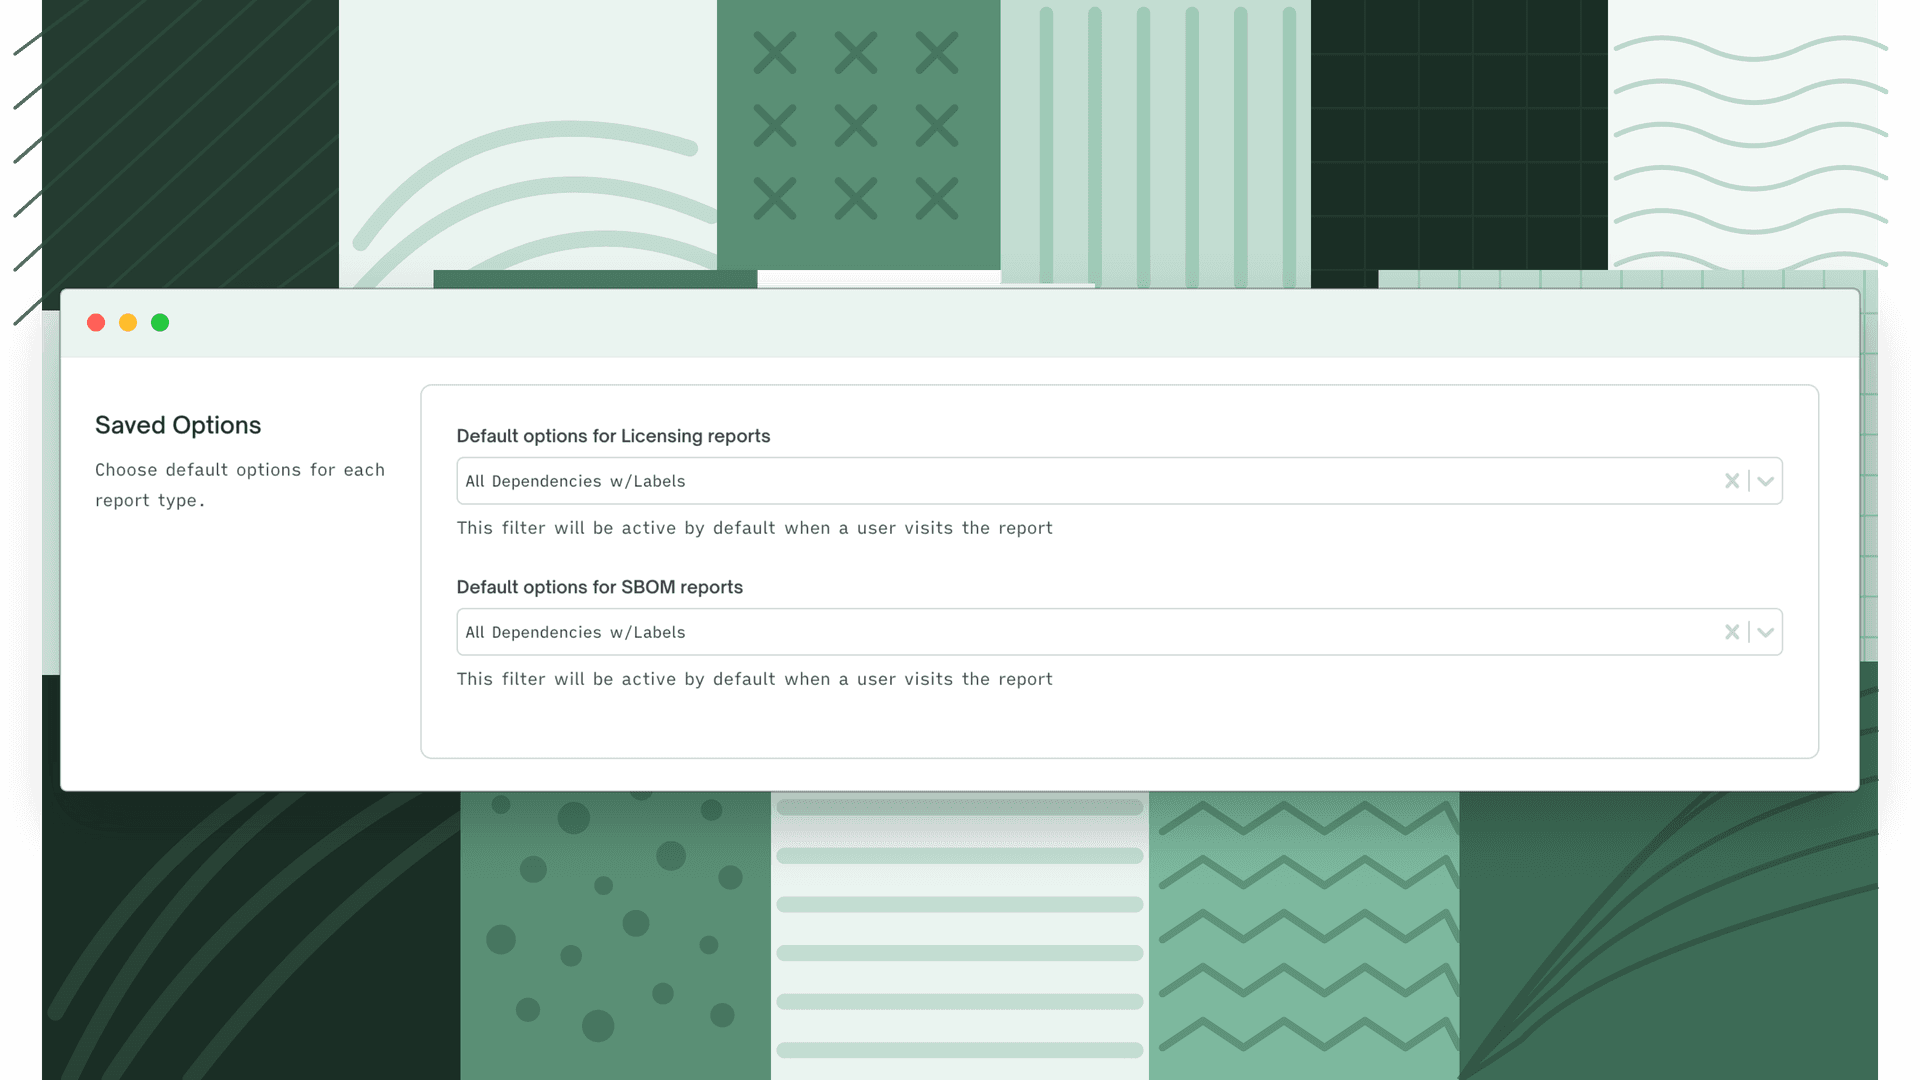
Saved options can be set as the default for a project's licensing or SBOM reports so that users land on pre-filtered results when they open the report. Set defaults in Project Settings → Reports or Release Group Settings → Reports under the Saved Options section.
SBOM author defaults
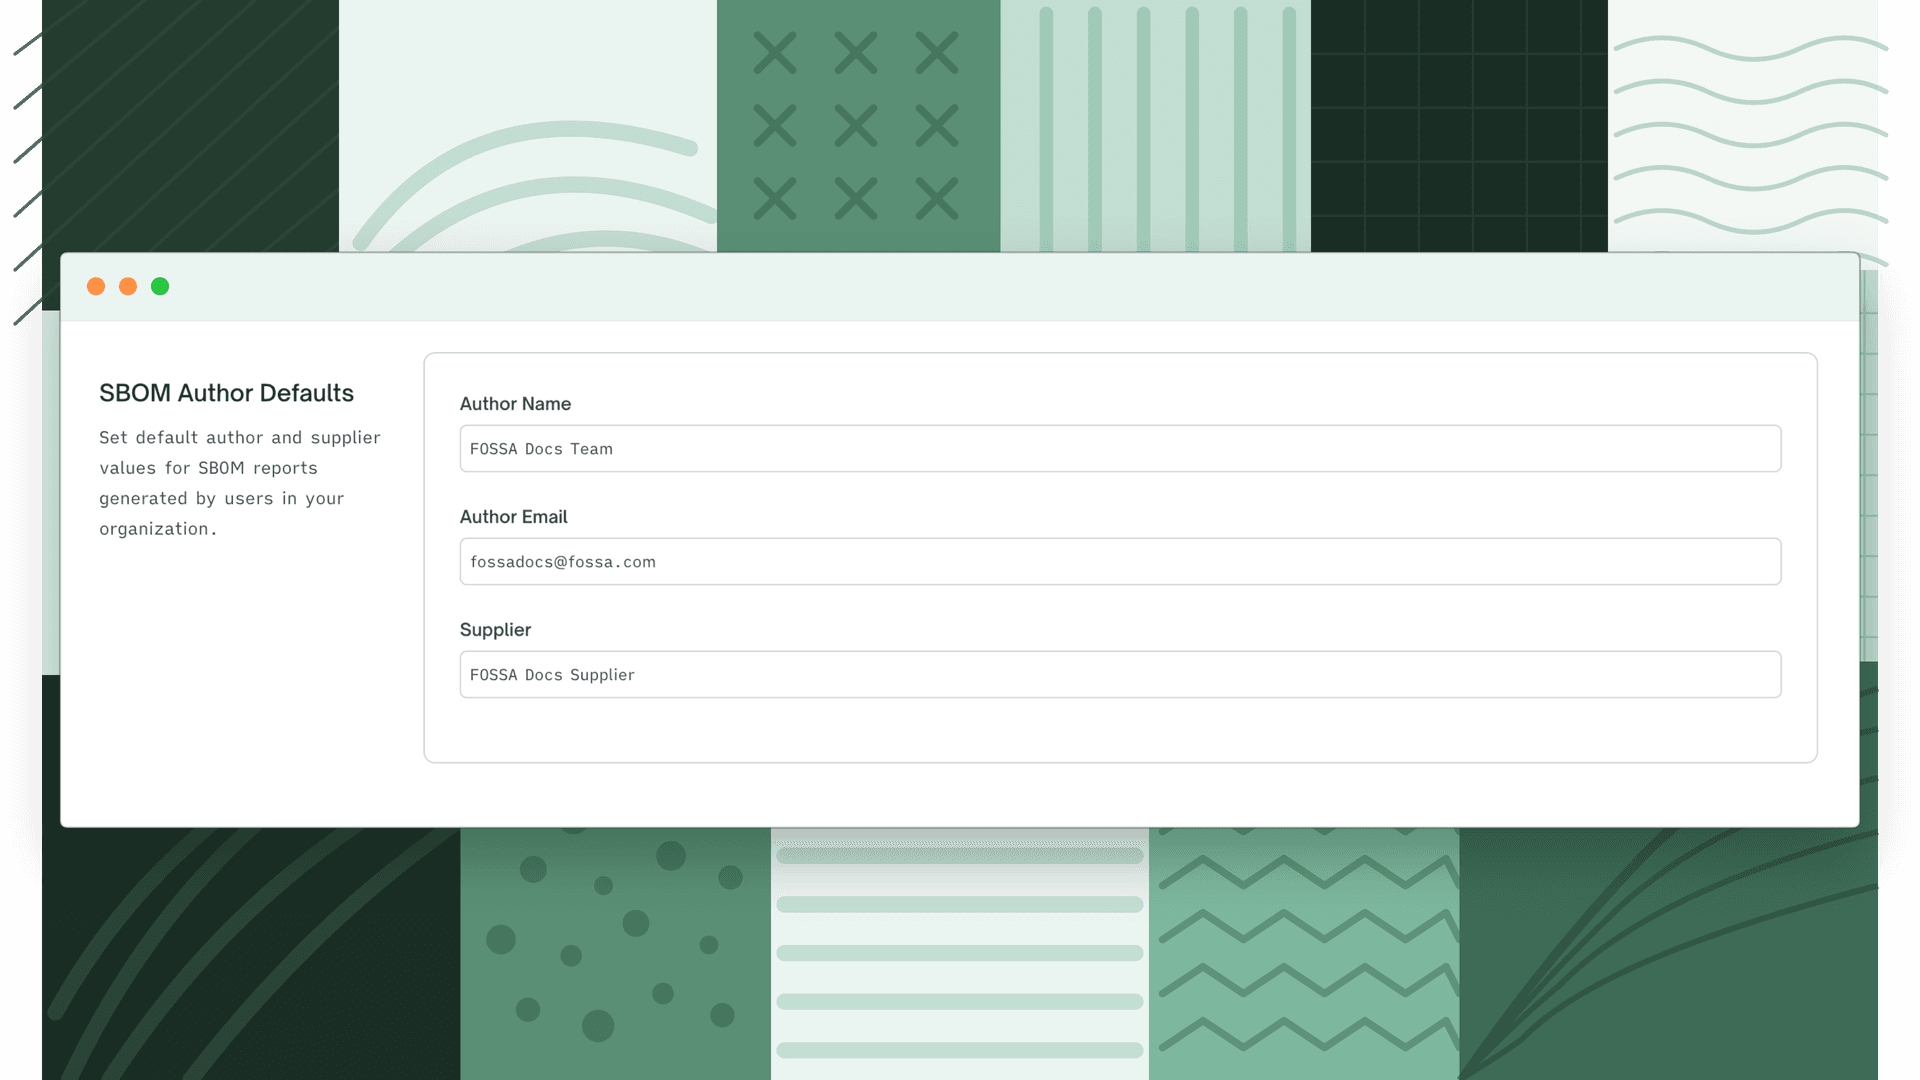
Set default author and supplier metadata for SBOM reports generated from this project or release group. These values pre-fill the SBOM author fields at report generation time; users can override them before generating.
| Field | Description |
|---|---|
| Author Name | Name of the person or team authoring the SBOM |
| Author Email | Contact email for the SBOM author |
| Supplier | Organization supplying the software described in the SBOM |