

Security Policies
Create and configure security policies that control which vulnerabilities FOSSA flags as issues across your projects.
Enterprise feature
Available on: Business, Enterprise.
Rule configuration (Severity Filter, CWE rules, CVE rules) requires a paid plan; policy creation and title management are available on all plans.
Overview
A security policy defines which vulnerabilities FOSSA raises as issues. You set a severity threshold, suppress false positives with allow rules, and force-flag specific weaknesses with deny rules. Once configured, a policy can be set as the organization default or applied to individual projects.
How security policies work
When FOSSA scans a project, the issue scanner evaluates each detected vulnerability against the active security policy. The policy holds five independent rule types:
| Rule type | What it does |
|---|---|
| Severity Filter | Sets a minimum CVSS severity level (Low / Medium / High / Critical) or a minimum CVSS score (0–10). Vulnerabilities below the threshold are not flagged. Vulnerabilities with unknown severity are always included regardless of this setting. |
| CWE Allow Rules | Suppresses vulnerabilities that are associated with any listed CWE. If a vulnerability matches any one of the listed CWEs, it is never flagged. |
| CWE Deny Rules | Force-flags vulnerabilities that are associated with any listed CWE, even if they fall below the severity threshold. |
| CVE Allow Rules | Suppresses specific CVEs by identifier. Listed CVEs are never flagged. |
| CVE Filter Rules | Controls whether vulnerabilities with a Disputed CVE status appear in issues and reports. Disputed CVEs are hidden by default; enabling Show Disputed CVEs makes them visible. |
Note
For CWE Allow and Deny Rules, each entry is evaluated independently. A vulnerability is affected by the rule if it matches any one of the listed CWEs, not all of them.
Note
Avoid suppressing vulnerability categories at the policy level unless you have a specific reason to. FOSSA recommends using the Issue Inbox and its filters to triage unwanted issues so that all vulnerabilities remain captured in your data.
Creating a security policy
- 1
Open the Policies page
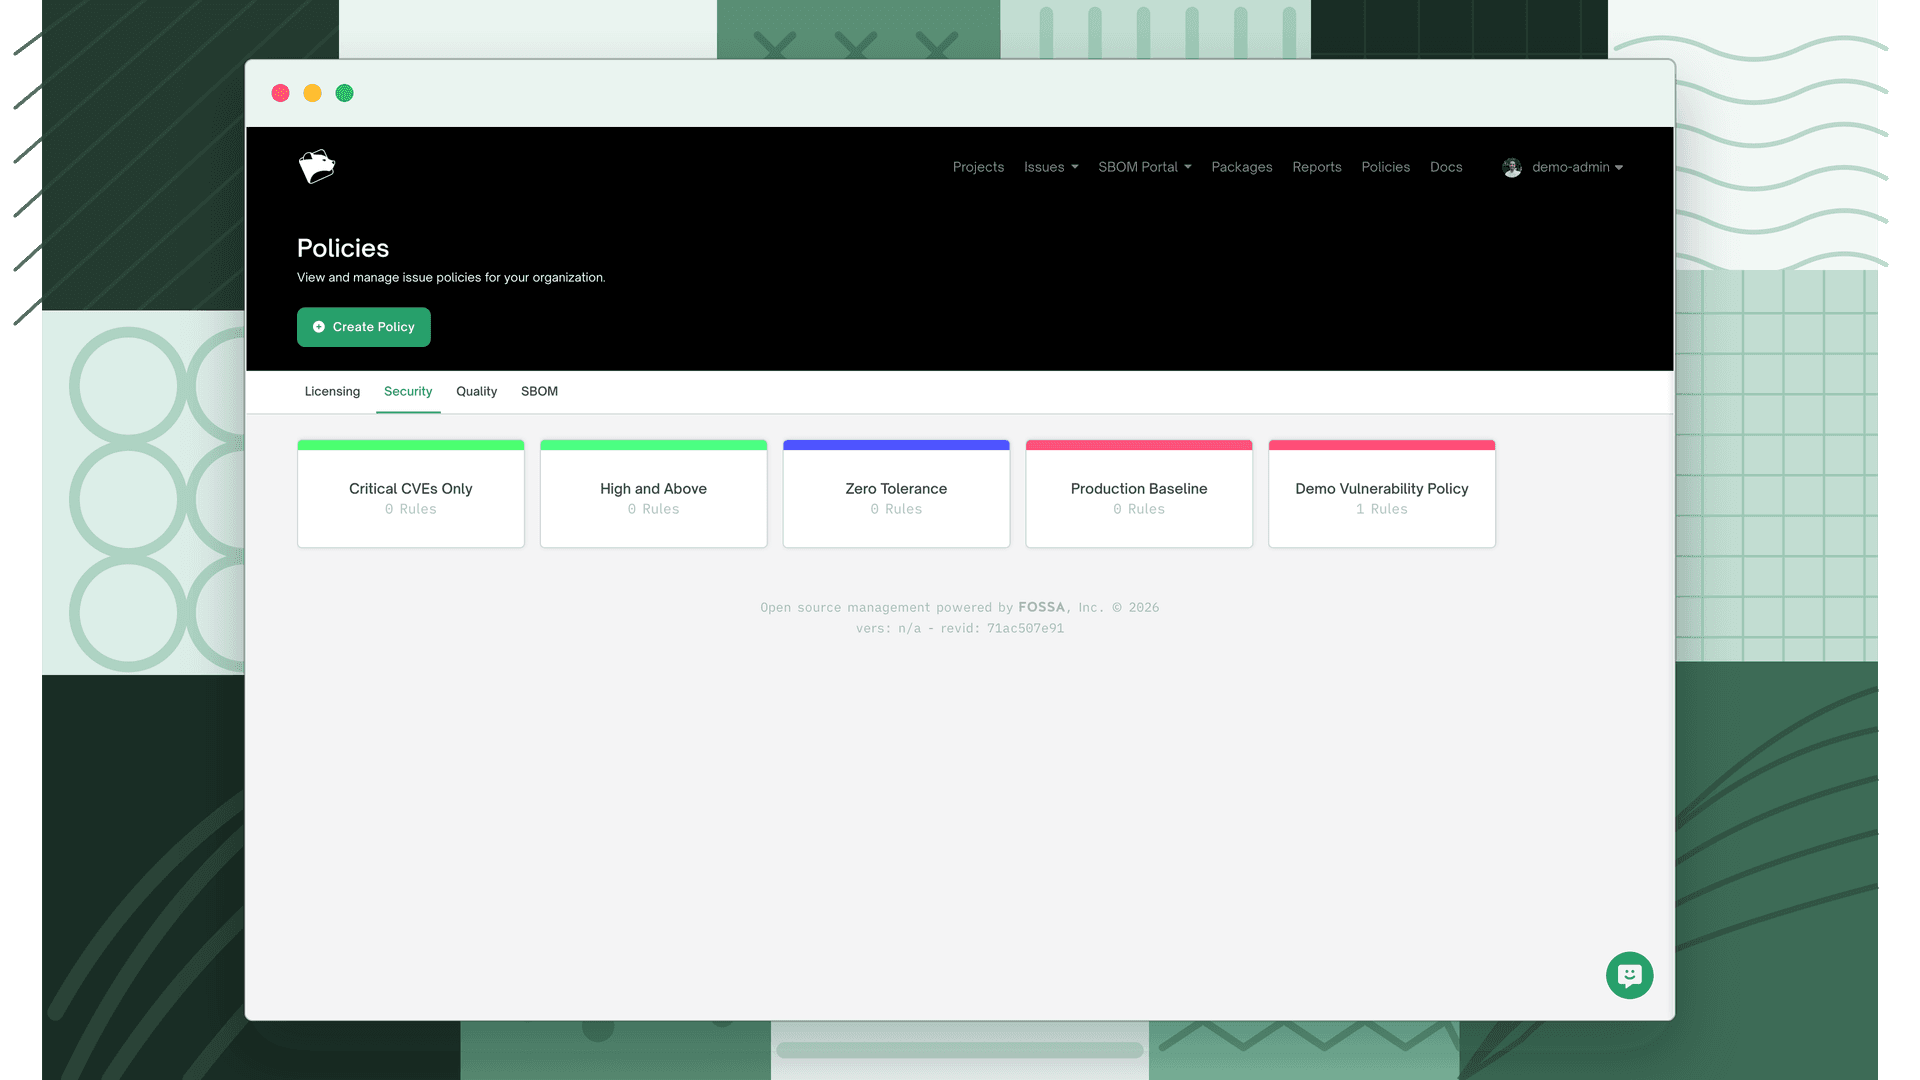
Navigate to Policies in the top navigation, then select the Security tab.
- 2
Create the policy
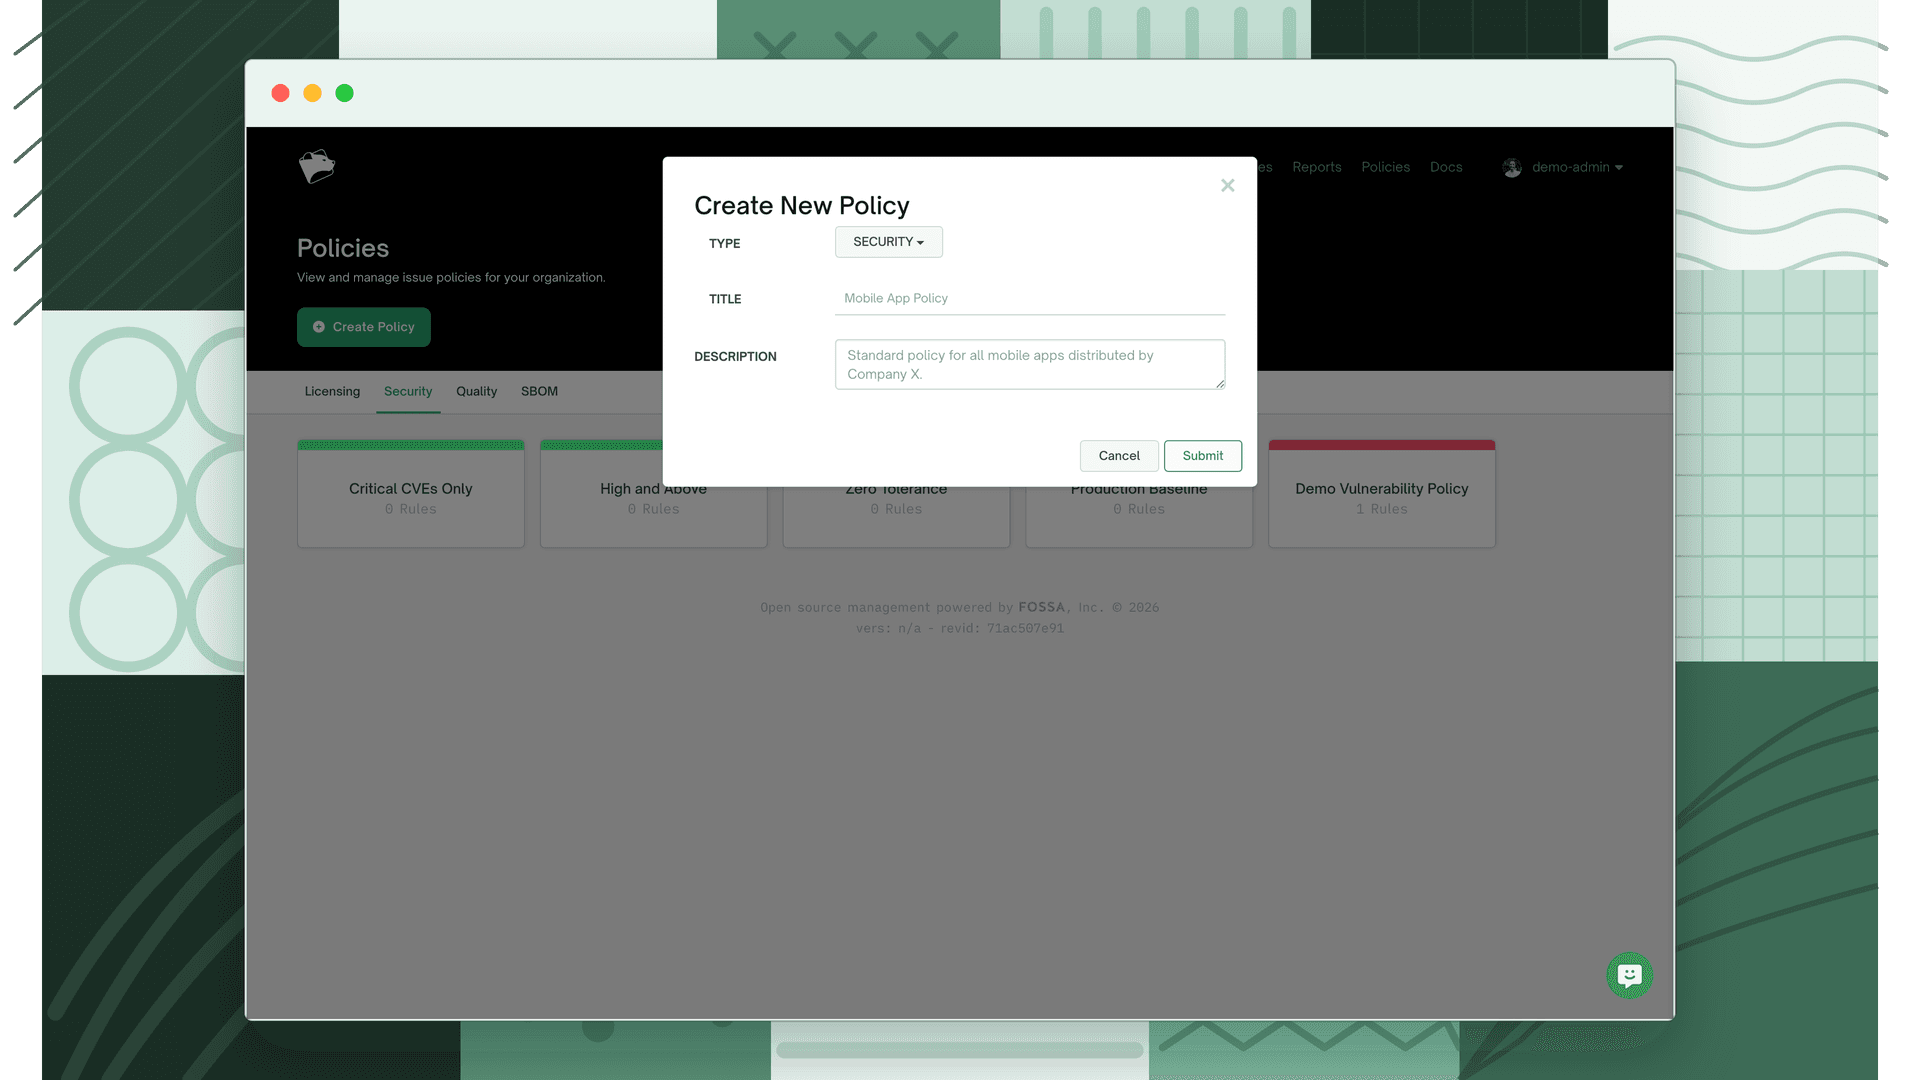
Click Create Policy. In the dialog that appears, confirm Type is set to Security, enter a Title and optional Description, then click Submit.
The policy is created with no rules configured. Proceed to Configuring policy rules to define thresholds.
Configuring policy rules
- 1
Open the policy
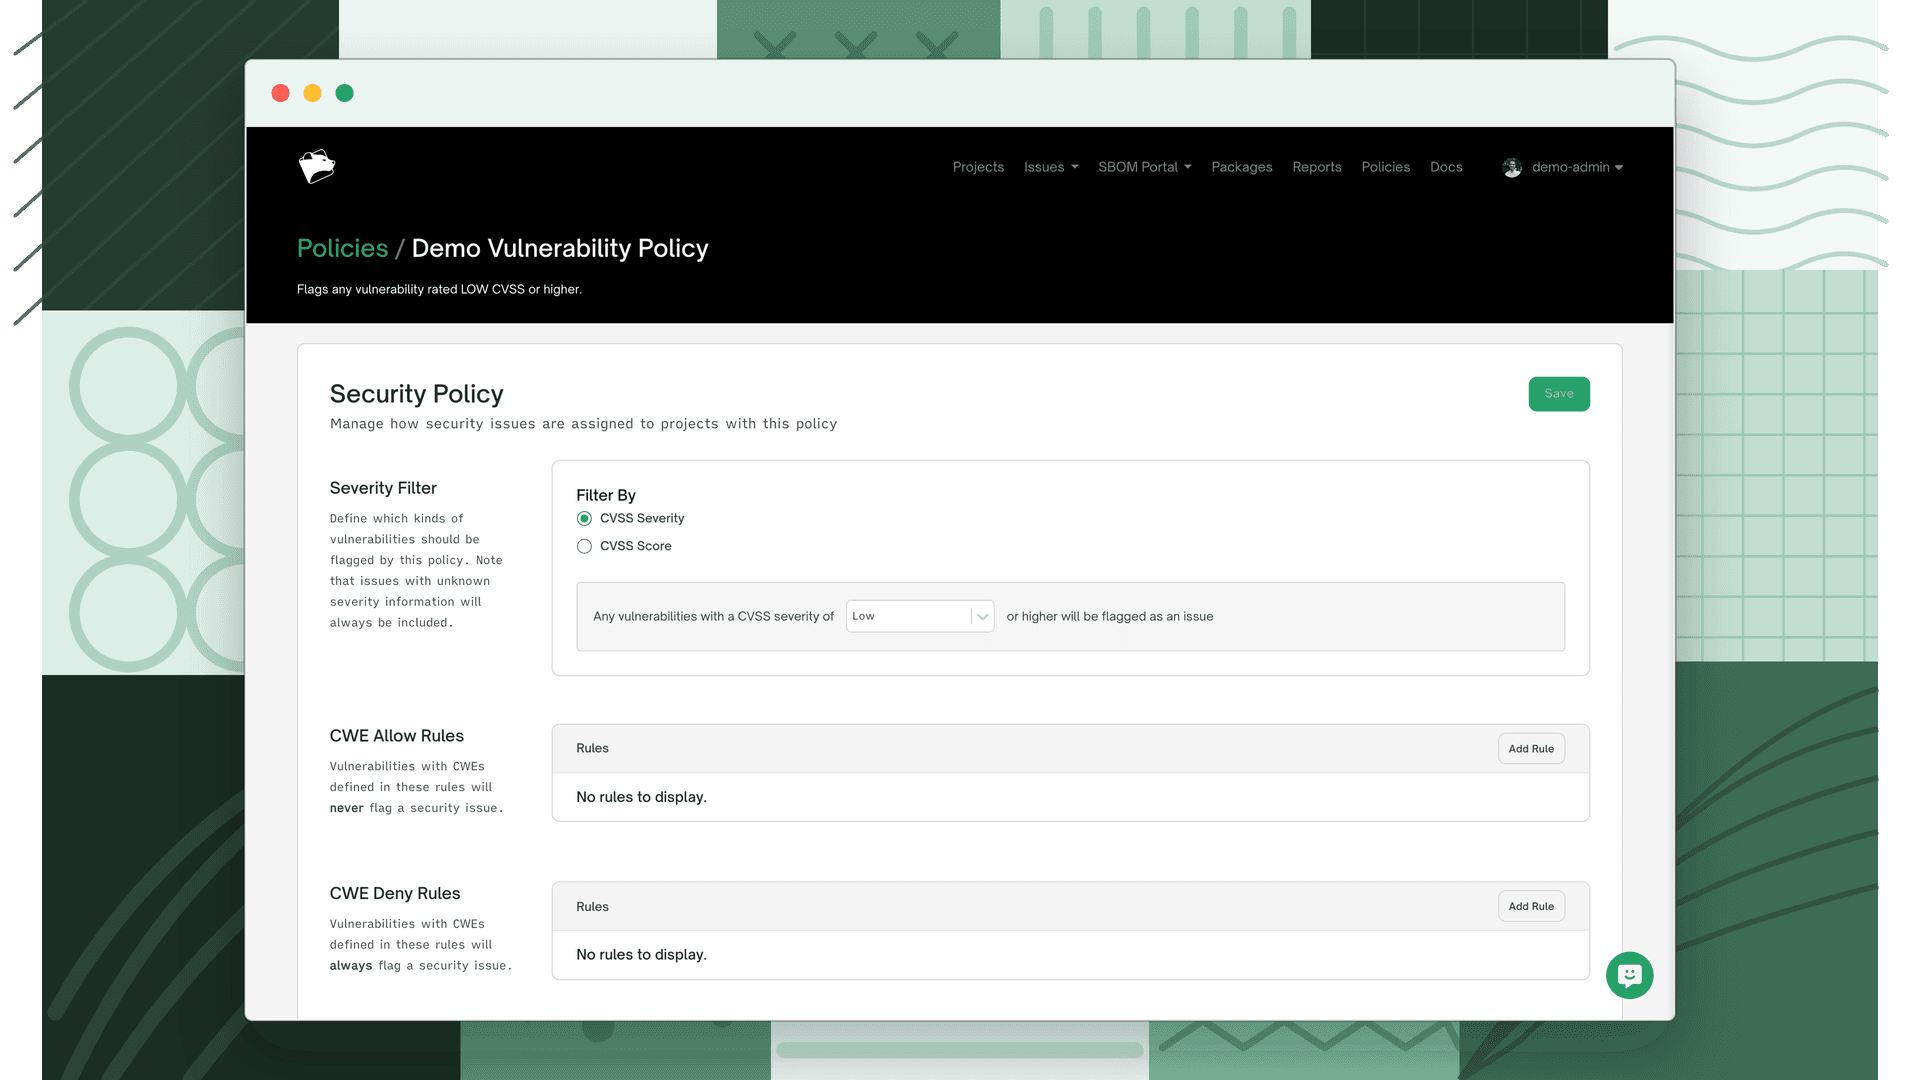
Navigate to Policies > Security and click the policy you want to edit.
- 2
Configure each rule section
Update the Severity Filter, CWE Allow Rules, CWE Deny Rules, CVE Allow Rules, and CVE Filter Rules sections to match your requirements. See the rule type reference above for details on each.
- 3
Save
Click Save at the top of the page to apply all changes.
Setting the organization default
The organization default policy applies to all projects that have not been assigned a specific policy.
- 1
Open Settings
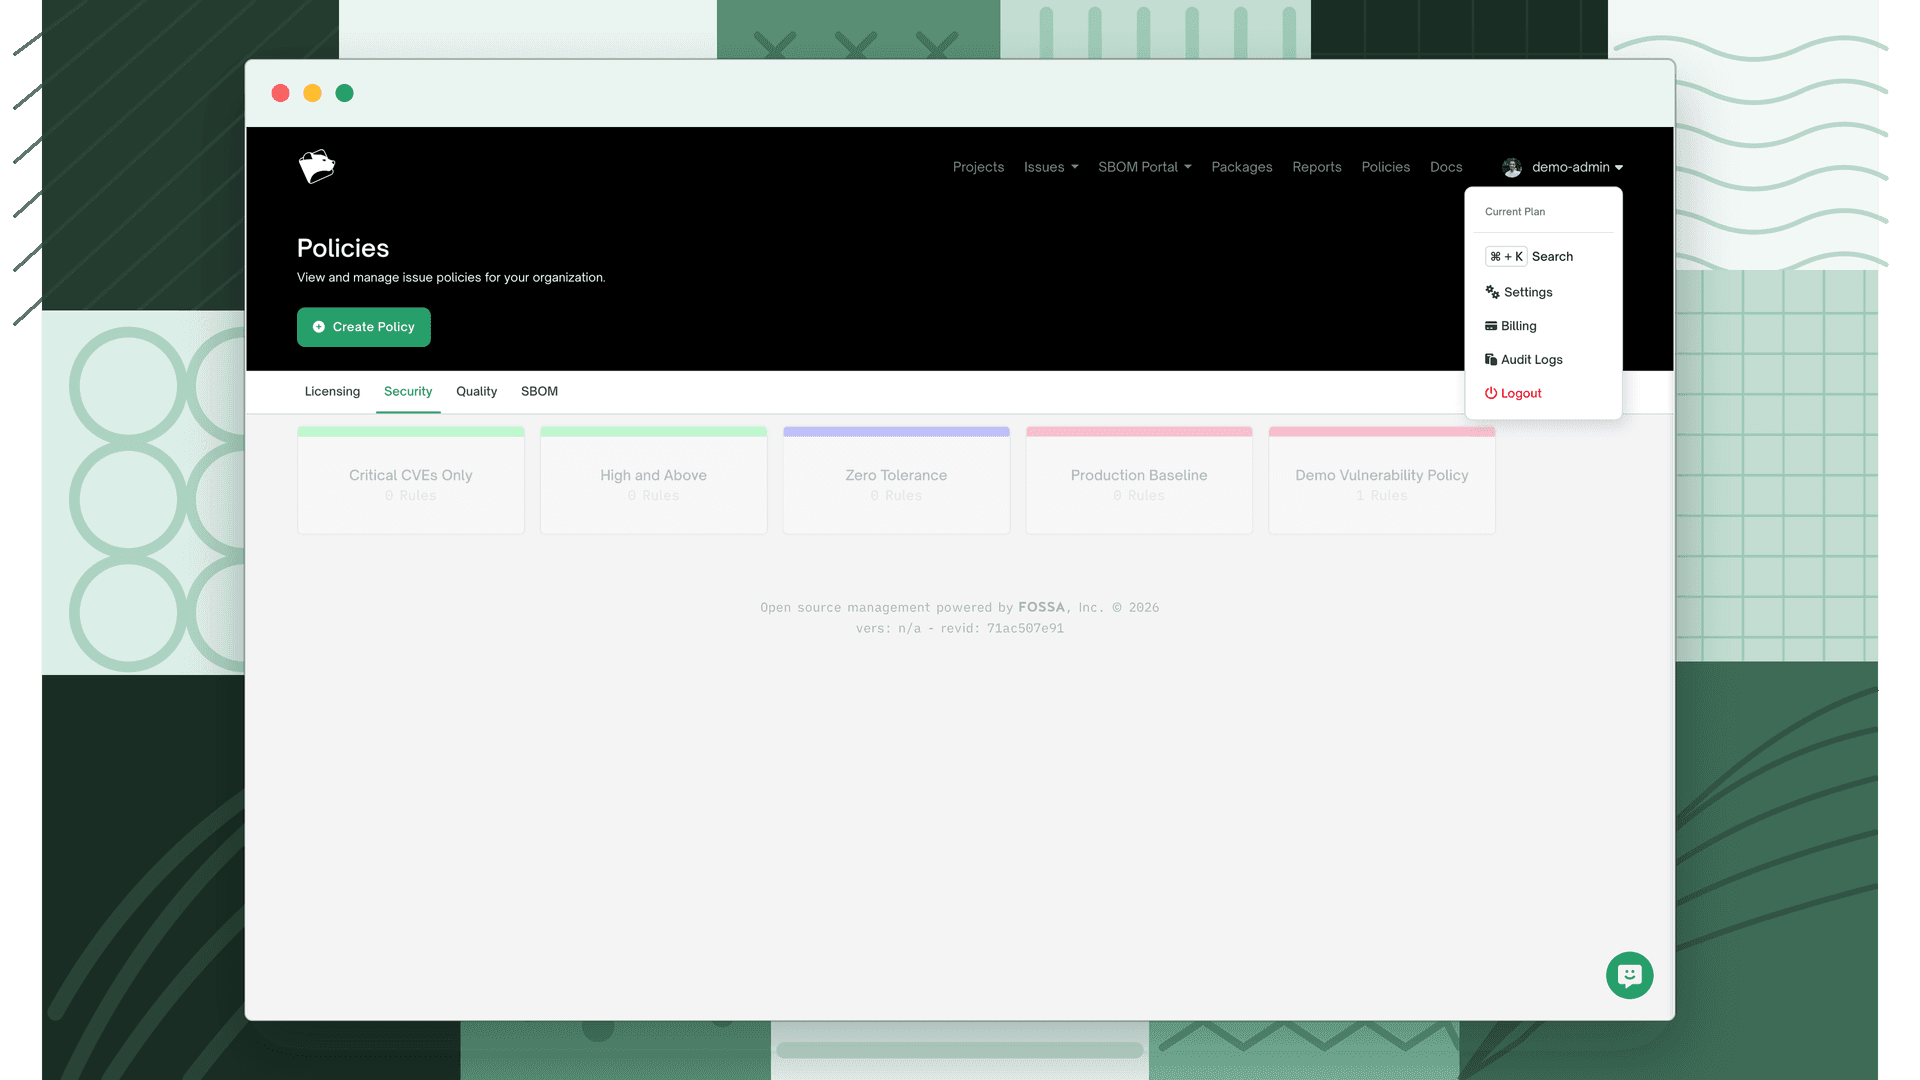
Click your username in the top-right corner and select Settings.
- 2
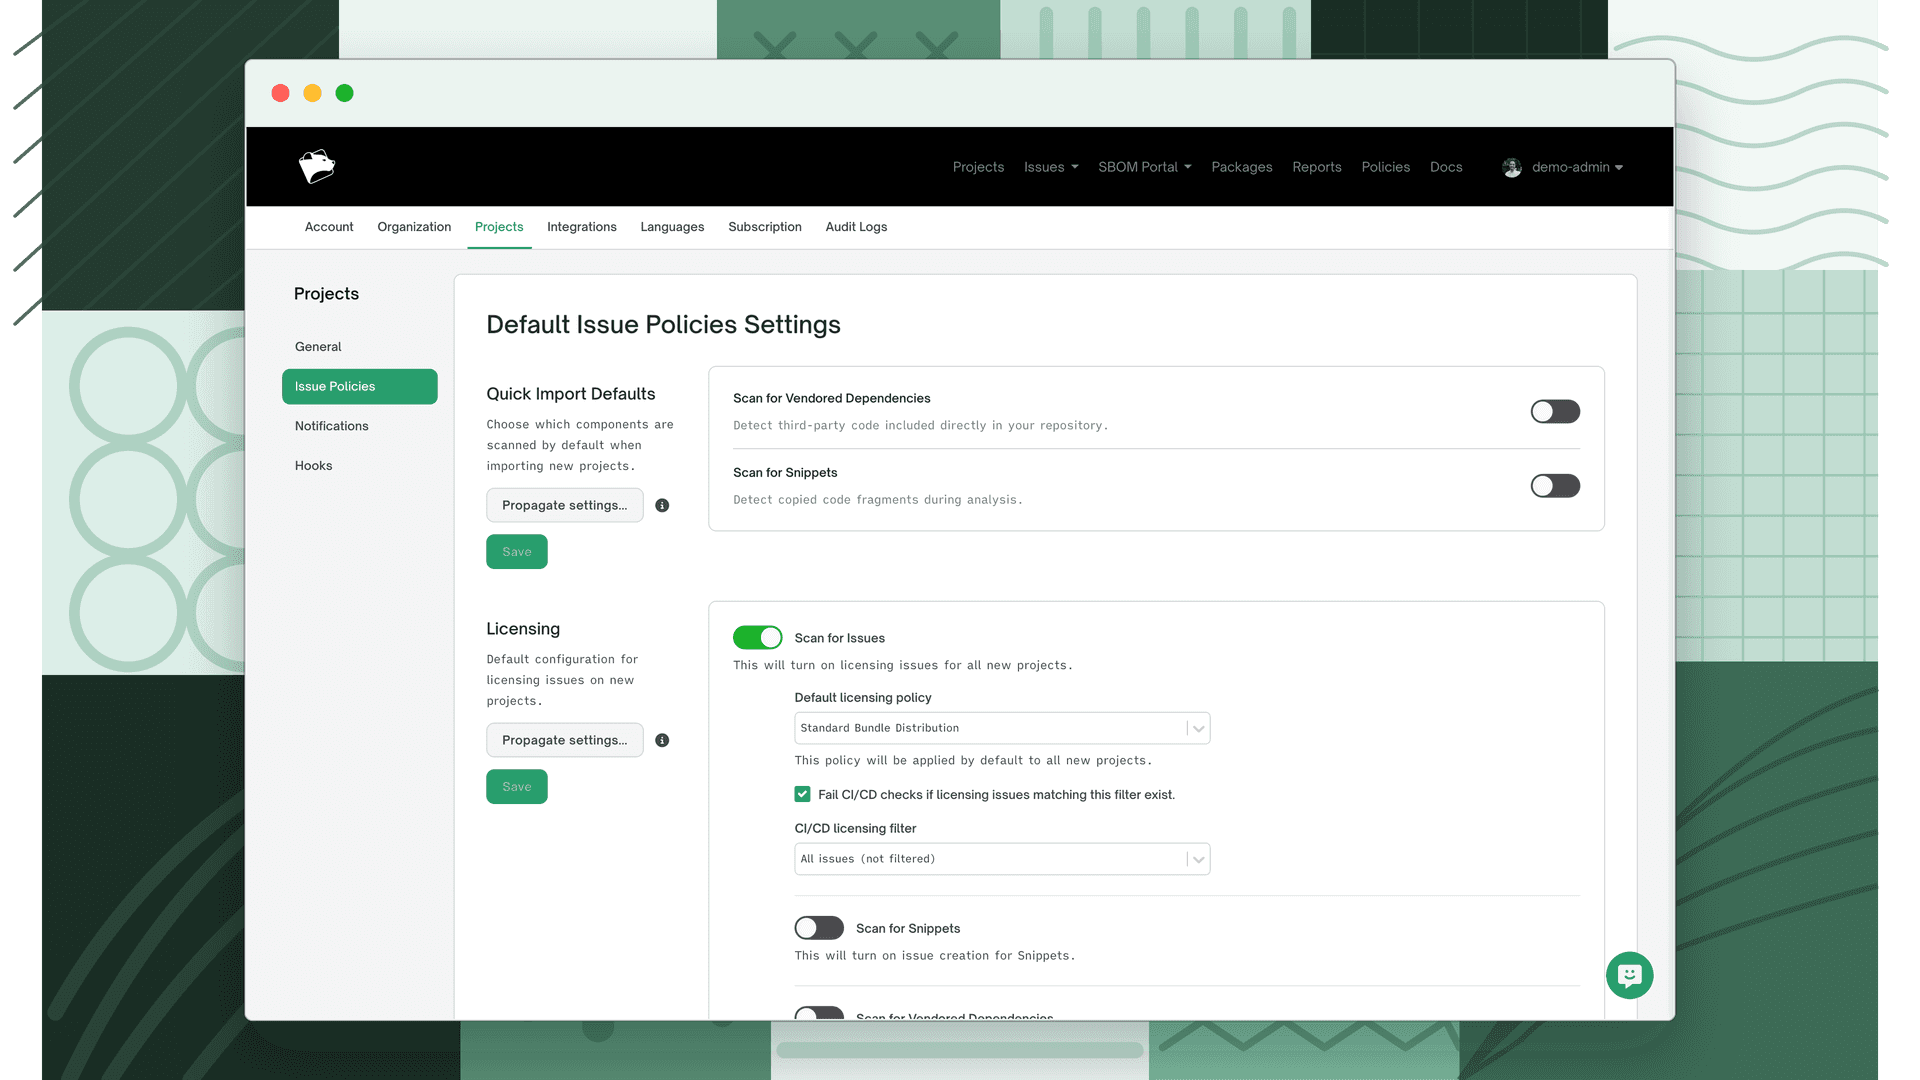
Navigate to Issue Policies
Go to Organization > Projects > Issue Policies.
- 3
Assign the default policy
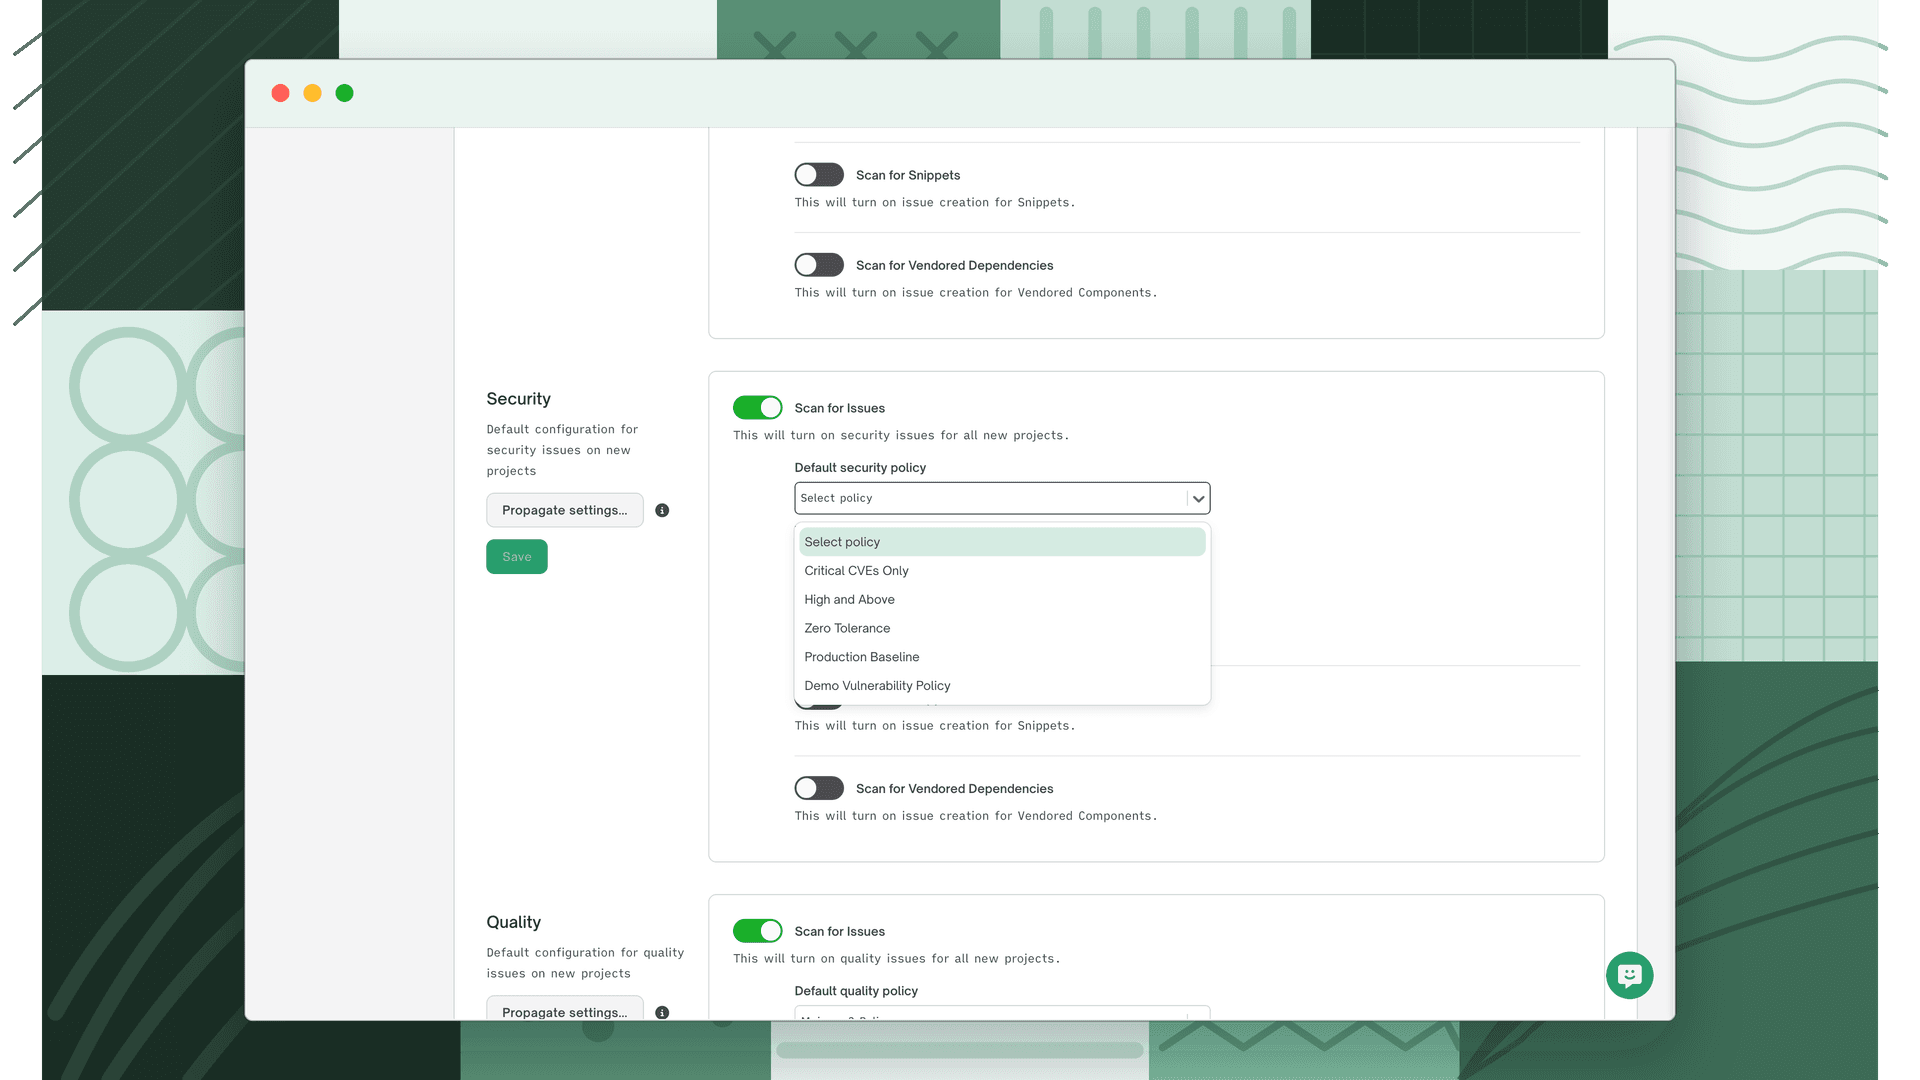
Under Security, click the Default security policy dropdown, select your policy, then click Save.
- 4
Propagate to existing projects (optional)
To push the new default to projects already in use, click Propagate settings…, select which settings to propagate, then click Propagate settings.
Applying a policy to a project
- 1
Open project settings
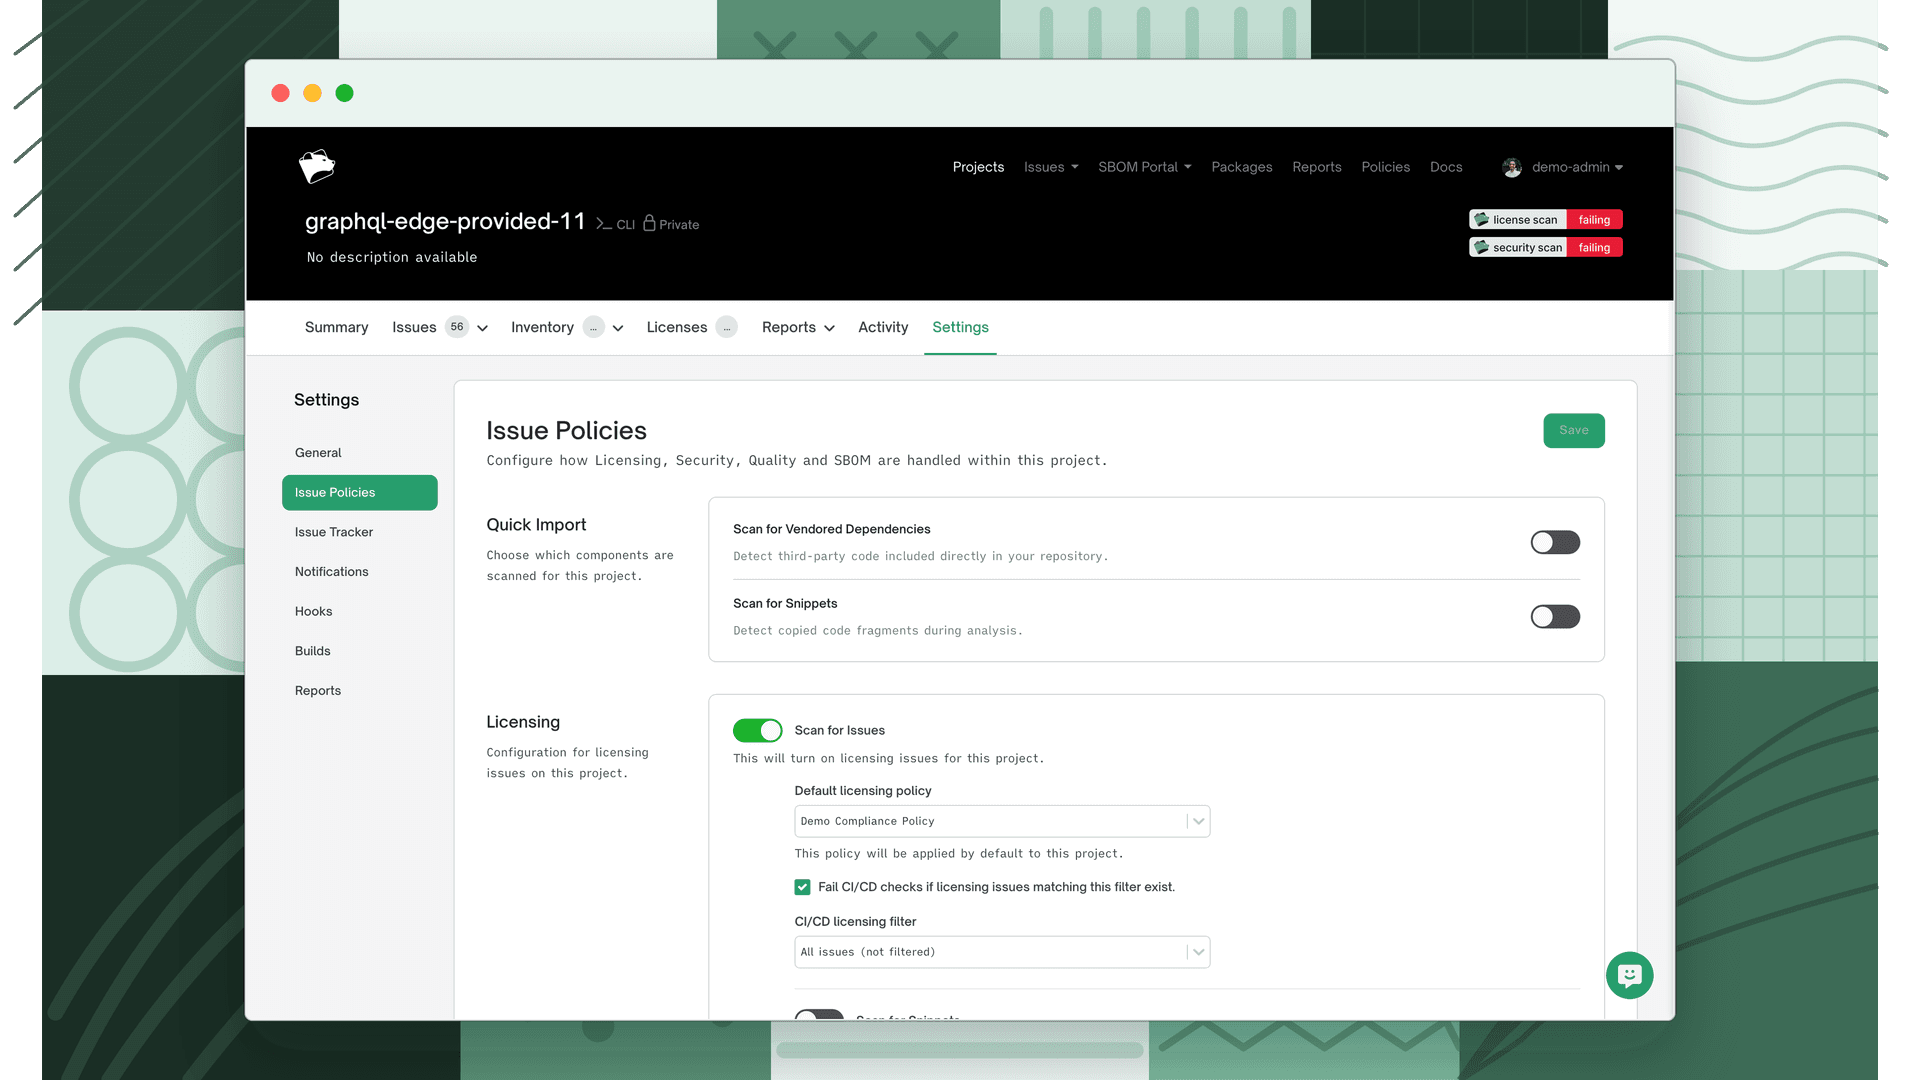
Go to your project list, select the project, then navigate to Settings > Issue Policies.
- 2
Assign the policy
Under Security, click the Default security policy dropdown, select a policy, then click Save.
- 3
Run a new scan
Trigger a new scan on the project. The updated policy applies to issues generated by the next completed scan.
Editing a policy title
- 1
Find the policy
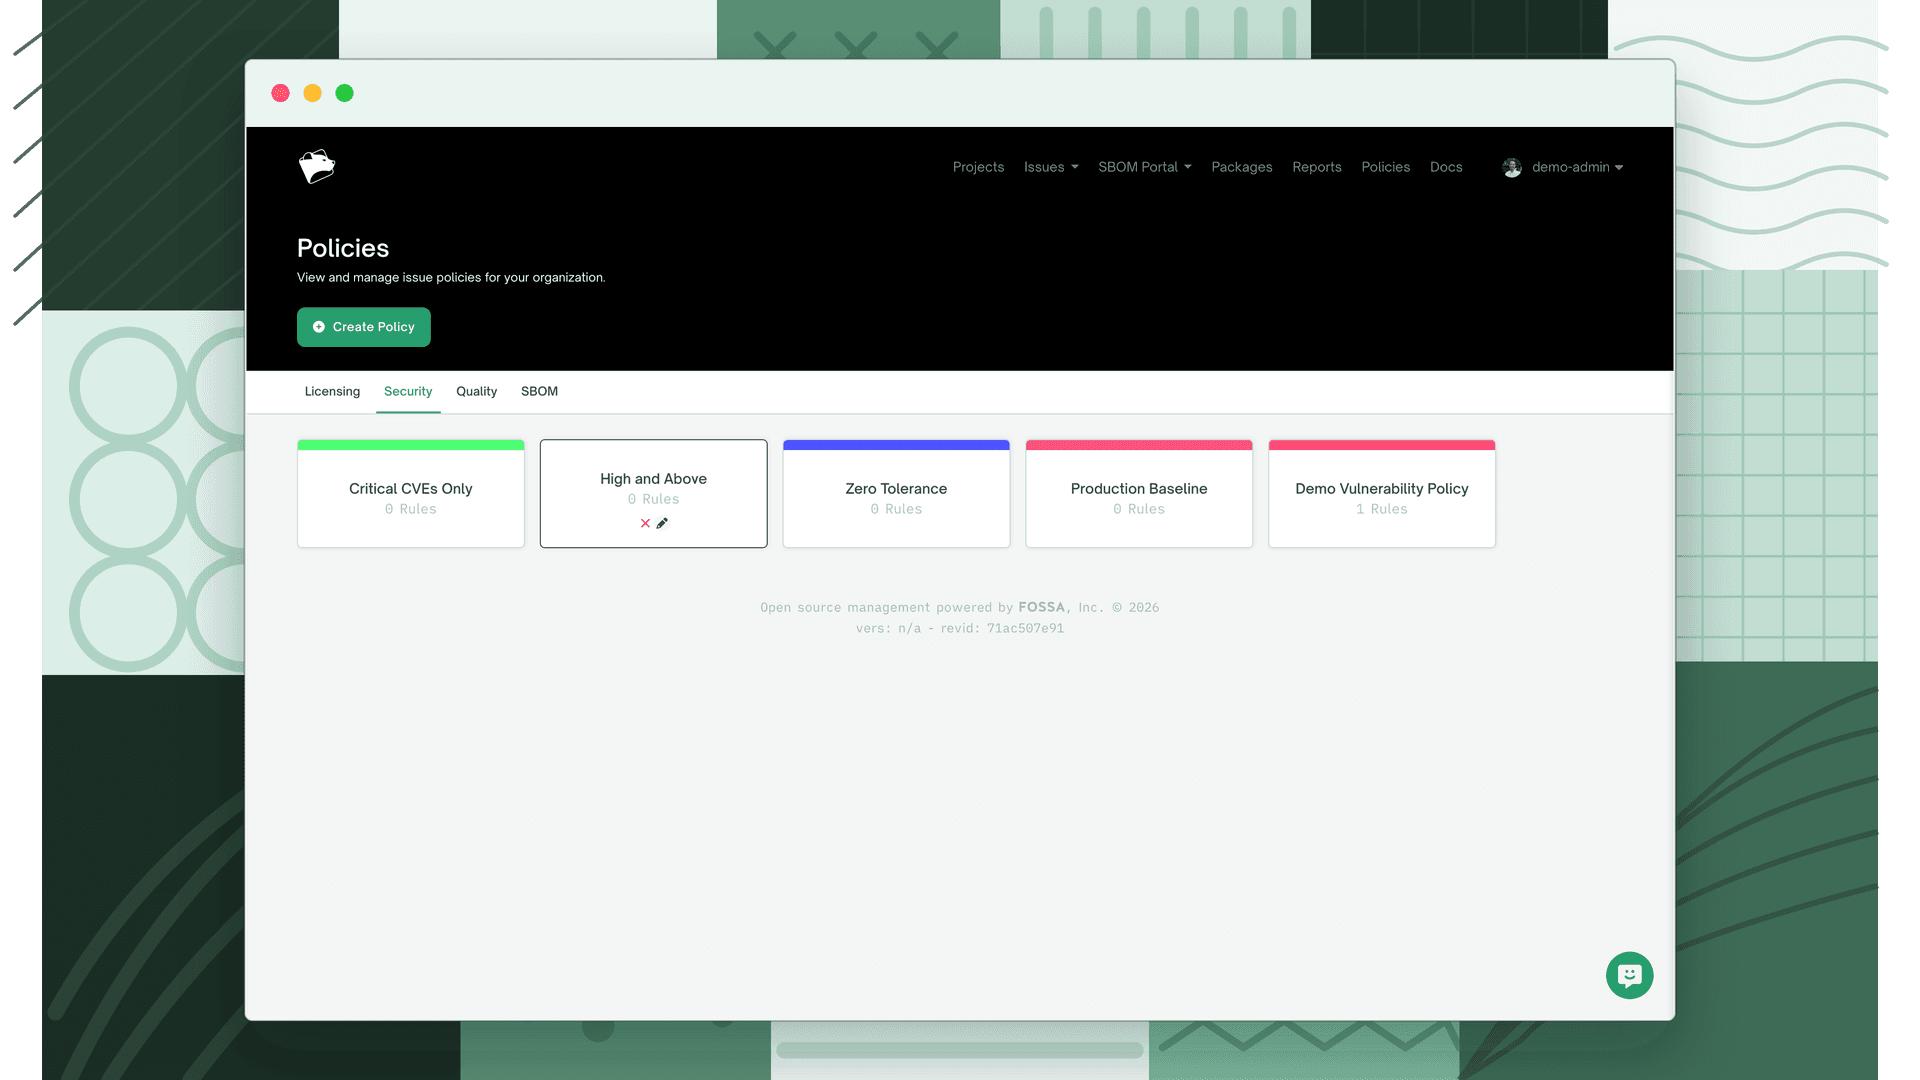
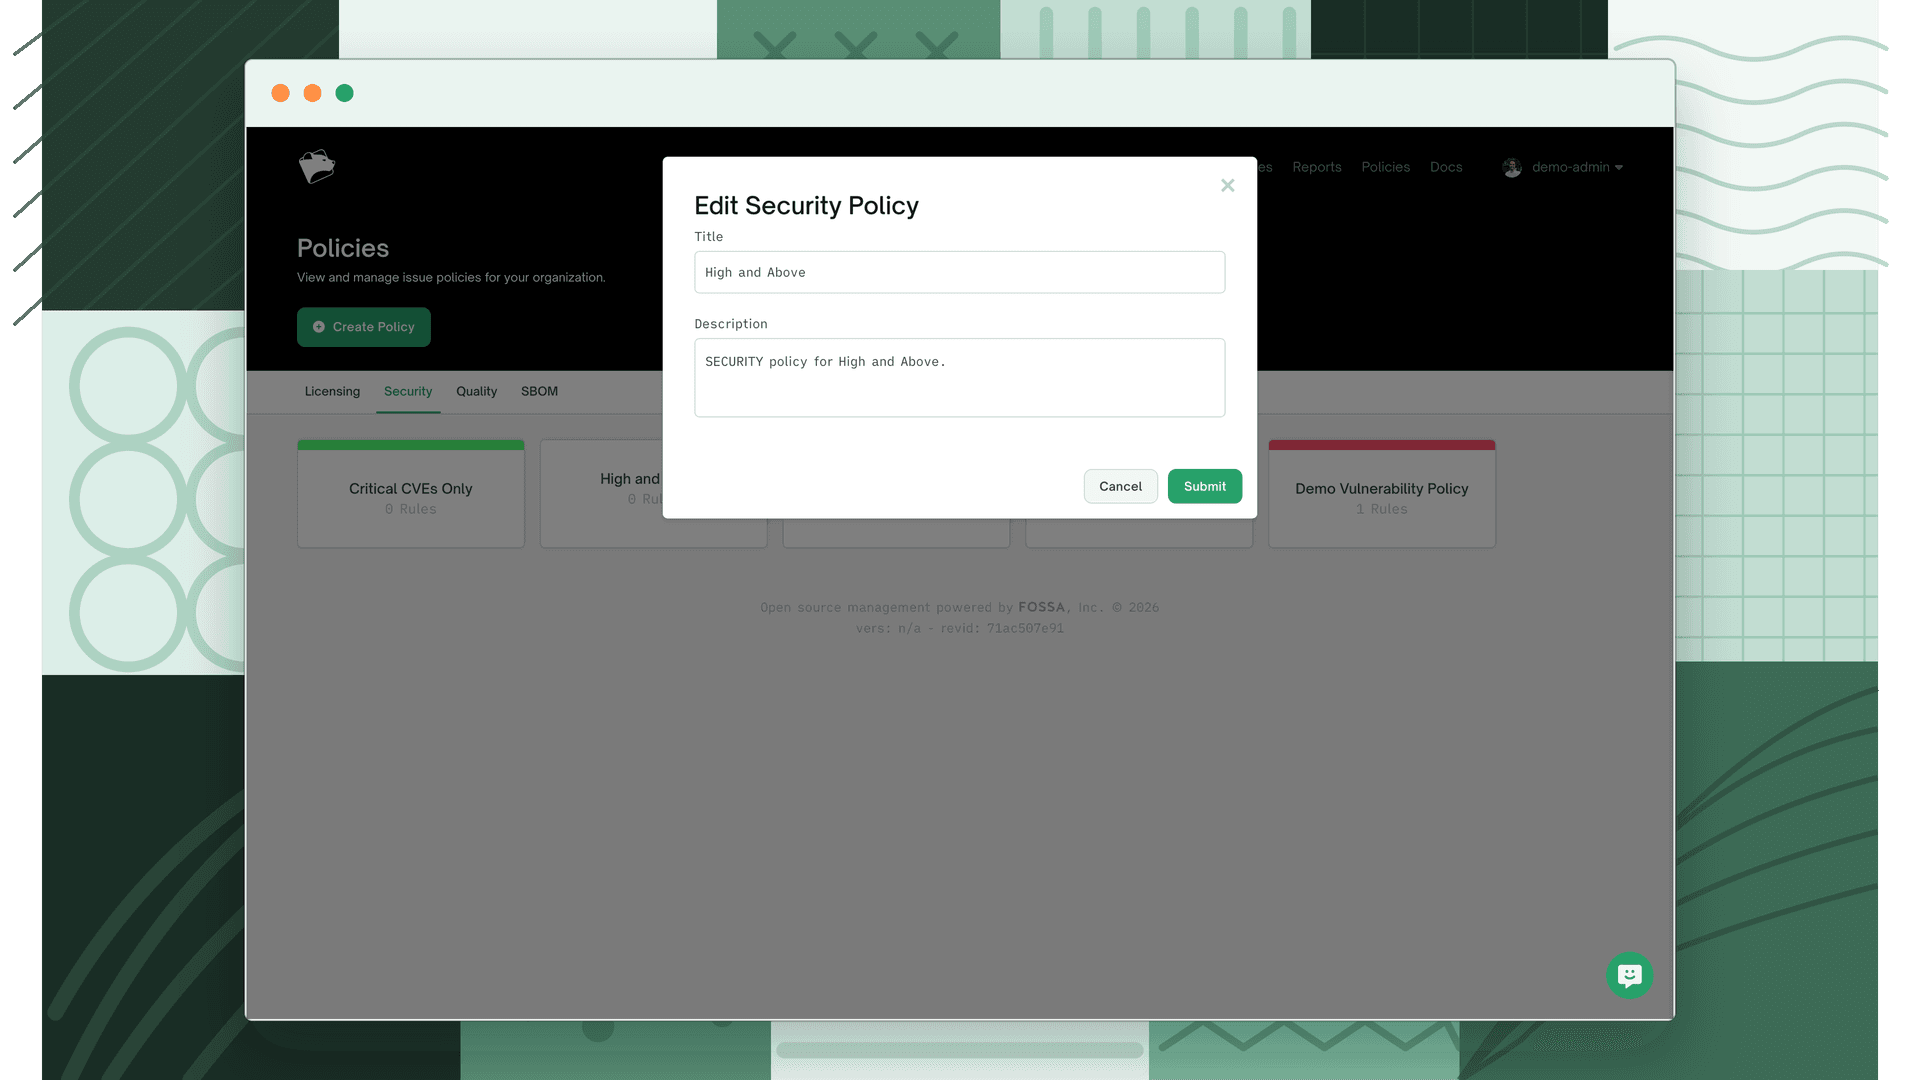
Navigate to Policies > Security and hover over the policy you want to rename. Click the pencil icon that appears.
- 2
Save
Update the Title and Description in the dialog, then click Submit.
Deleting a policy
- 1
Find the policy
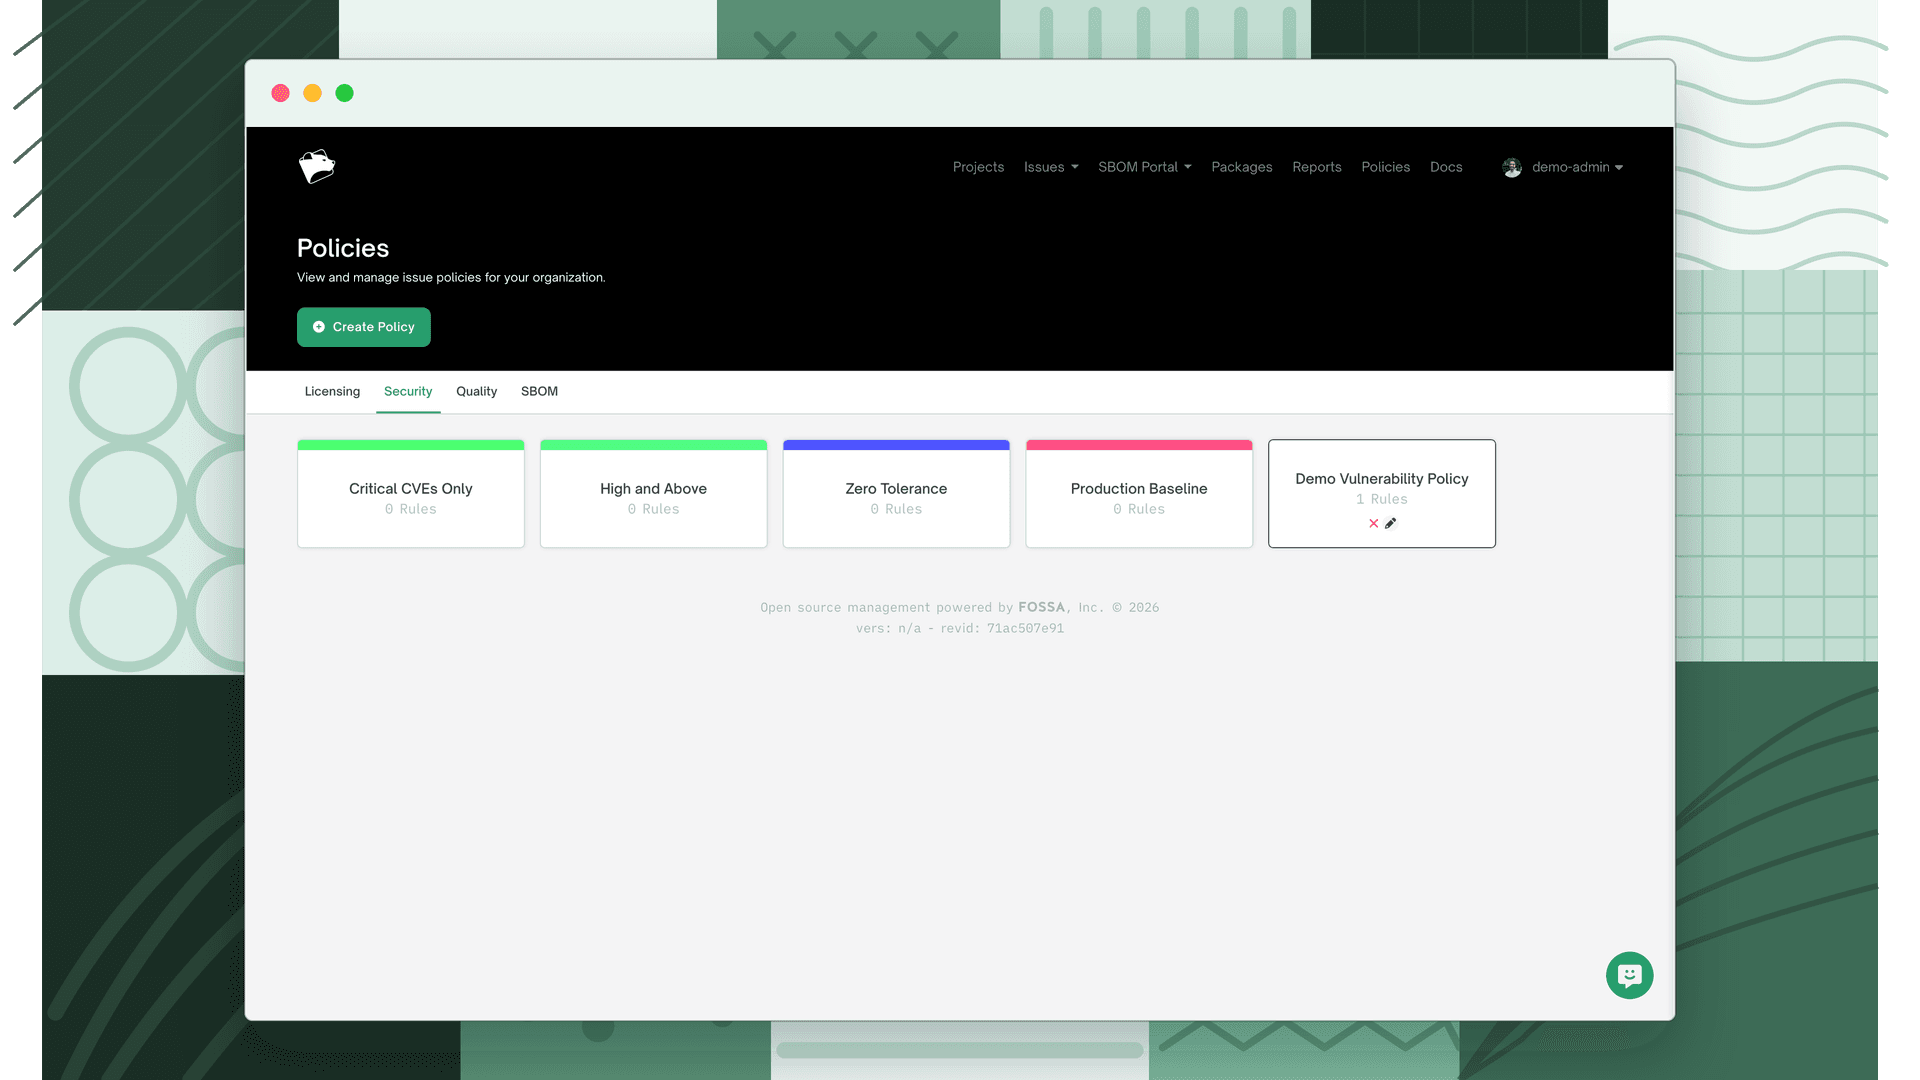
Navigate to Policies > Security and hover over the policy you want to delete. Click the red X icon that appears.
- 2
Confirm
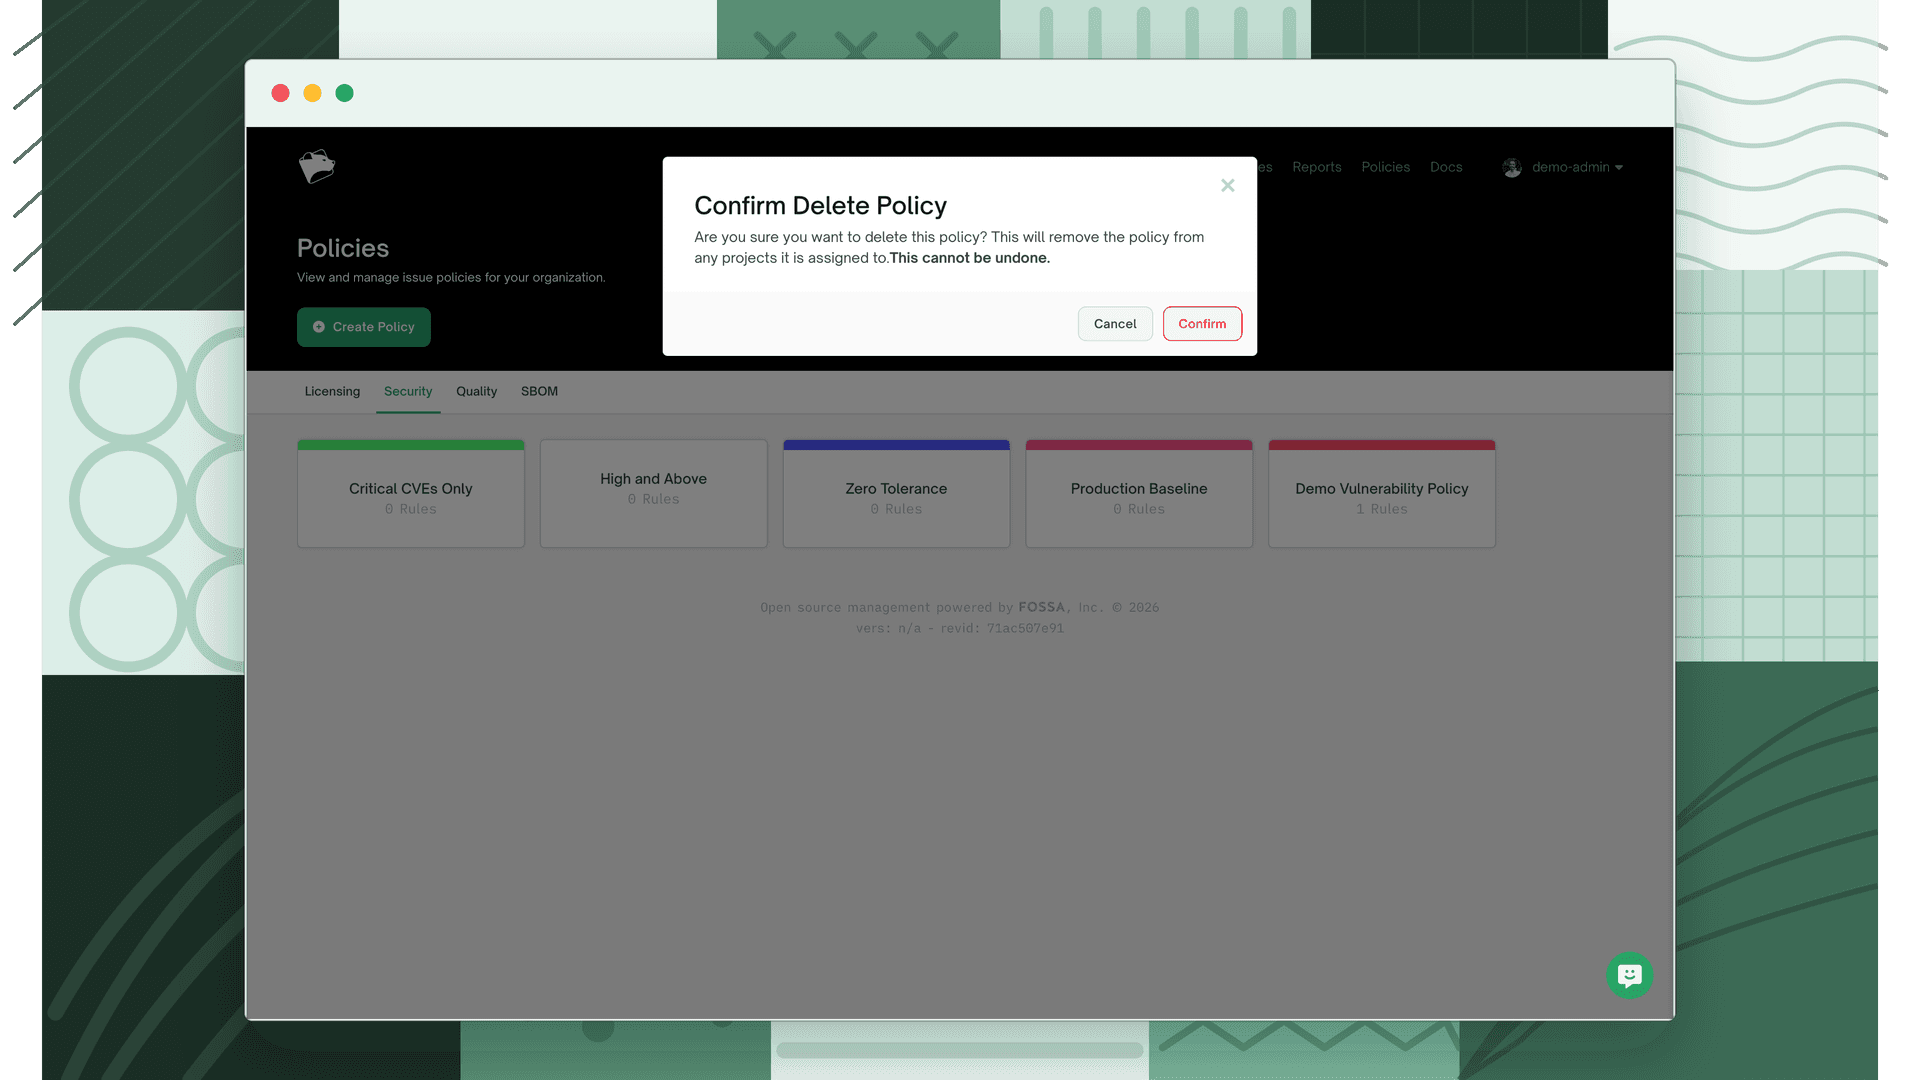
In the confirmation dialog, click Confirm.
Warning
Deleting a policy cannot be undone. Projects assigned to the deleted policy fall back to the organization default.
What's next
- Reviewing Security Issues: Triage vulnerabilities flagged by your security policy.
- Licensing Policies: Add licensing rules alongside security policies for comprehensive compliance.
- Fail CI/CD Checks: Enforce your policy in CI/CD to block builds with unresolved vulnerabilities.