

Creating a Release Group
Create a release group, add projects, and configure your first release.
Creating a release group
- 1
Open the Release Groups page
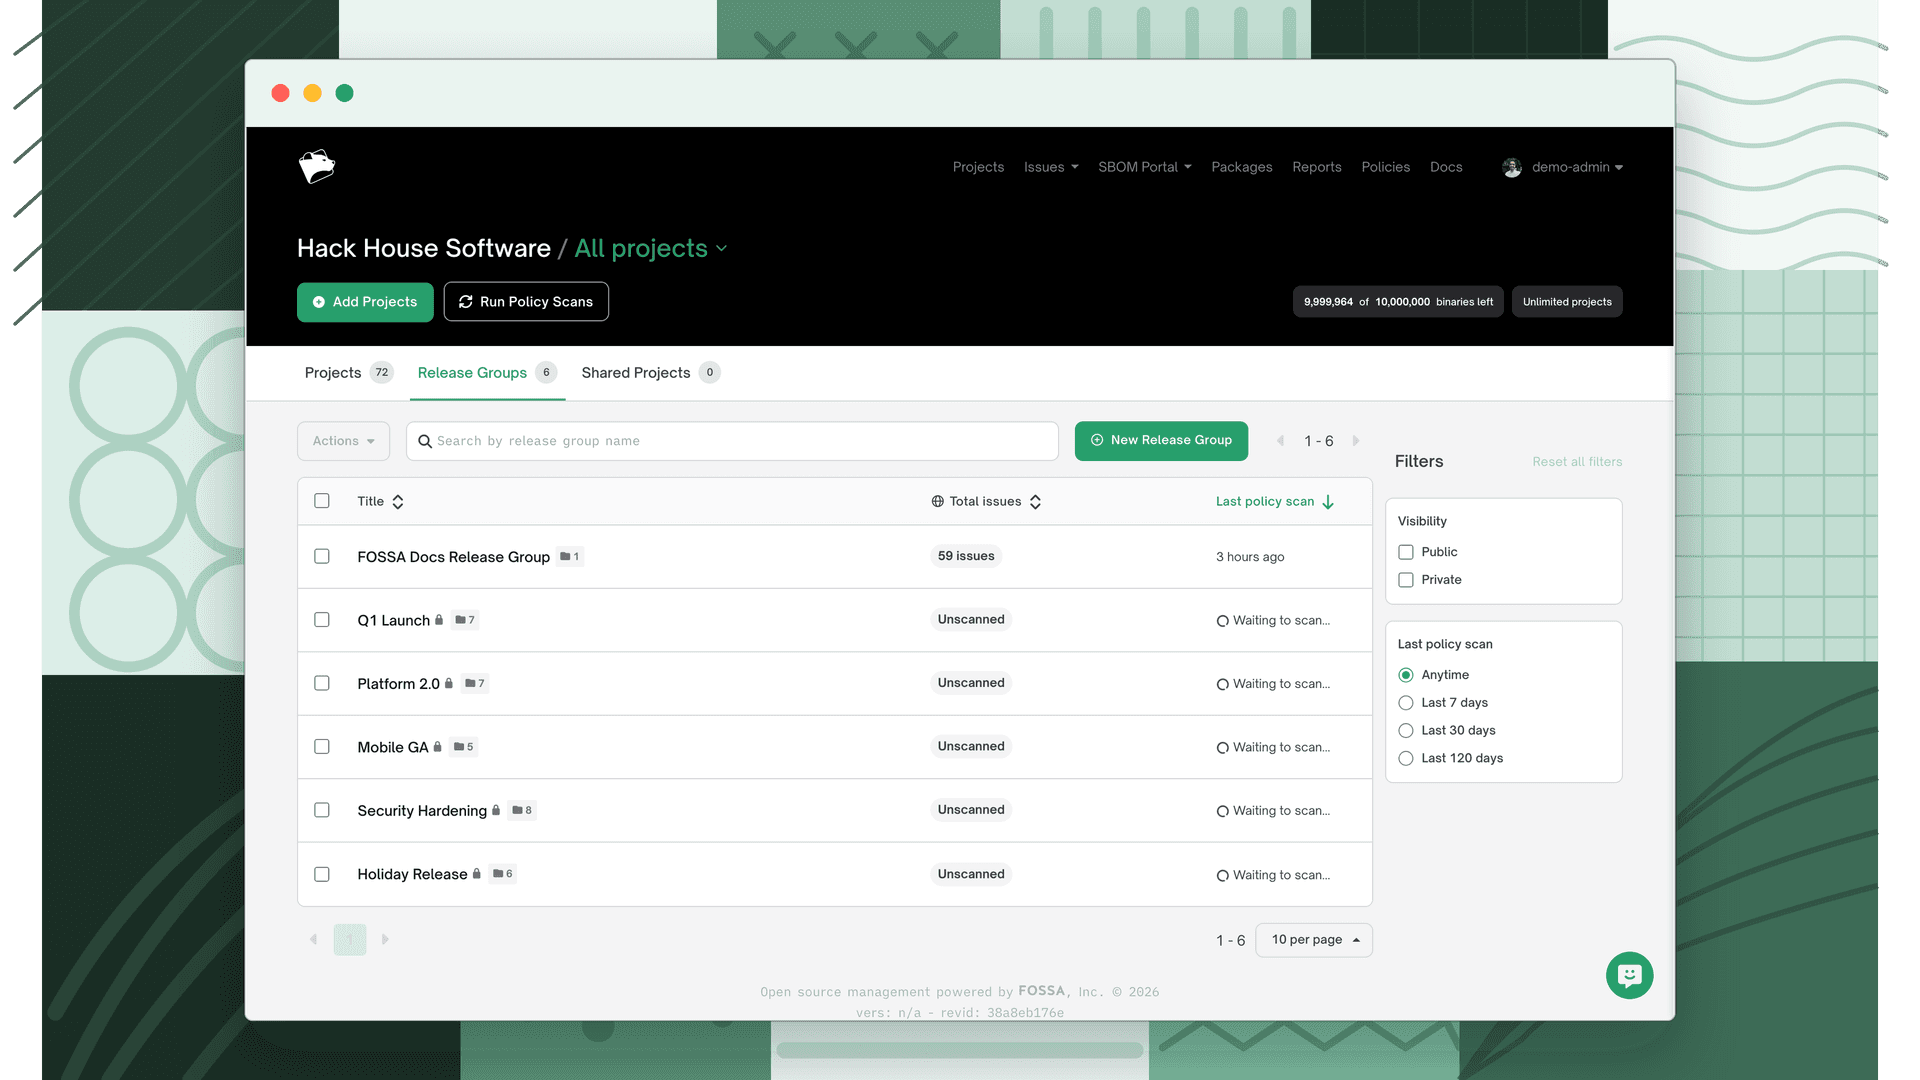
From the Projects dashboard, select the Release Groups tab, then click New Release Group.
- 2
Name your first release
Enter a title for the first release, for example,
v1.4.0or2024-Q3. This names the initial release snapshot, not the group itself. You'll name the group in settings after creation.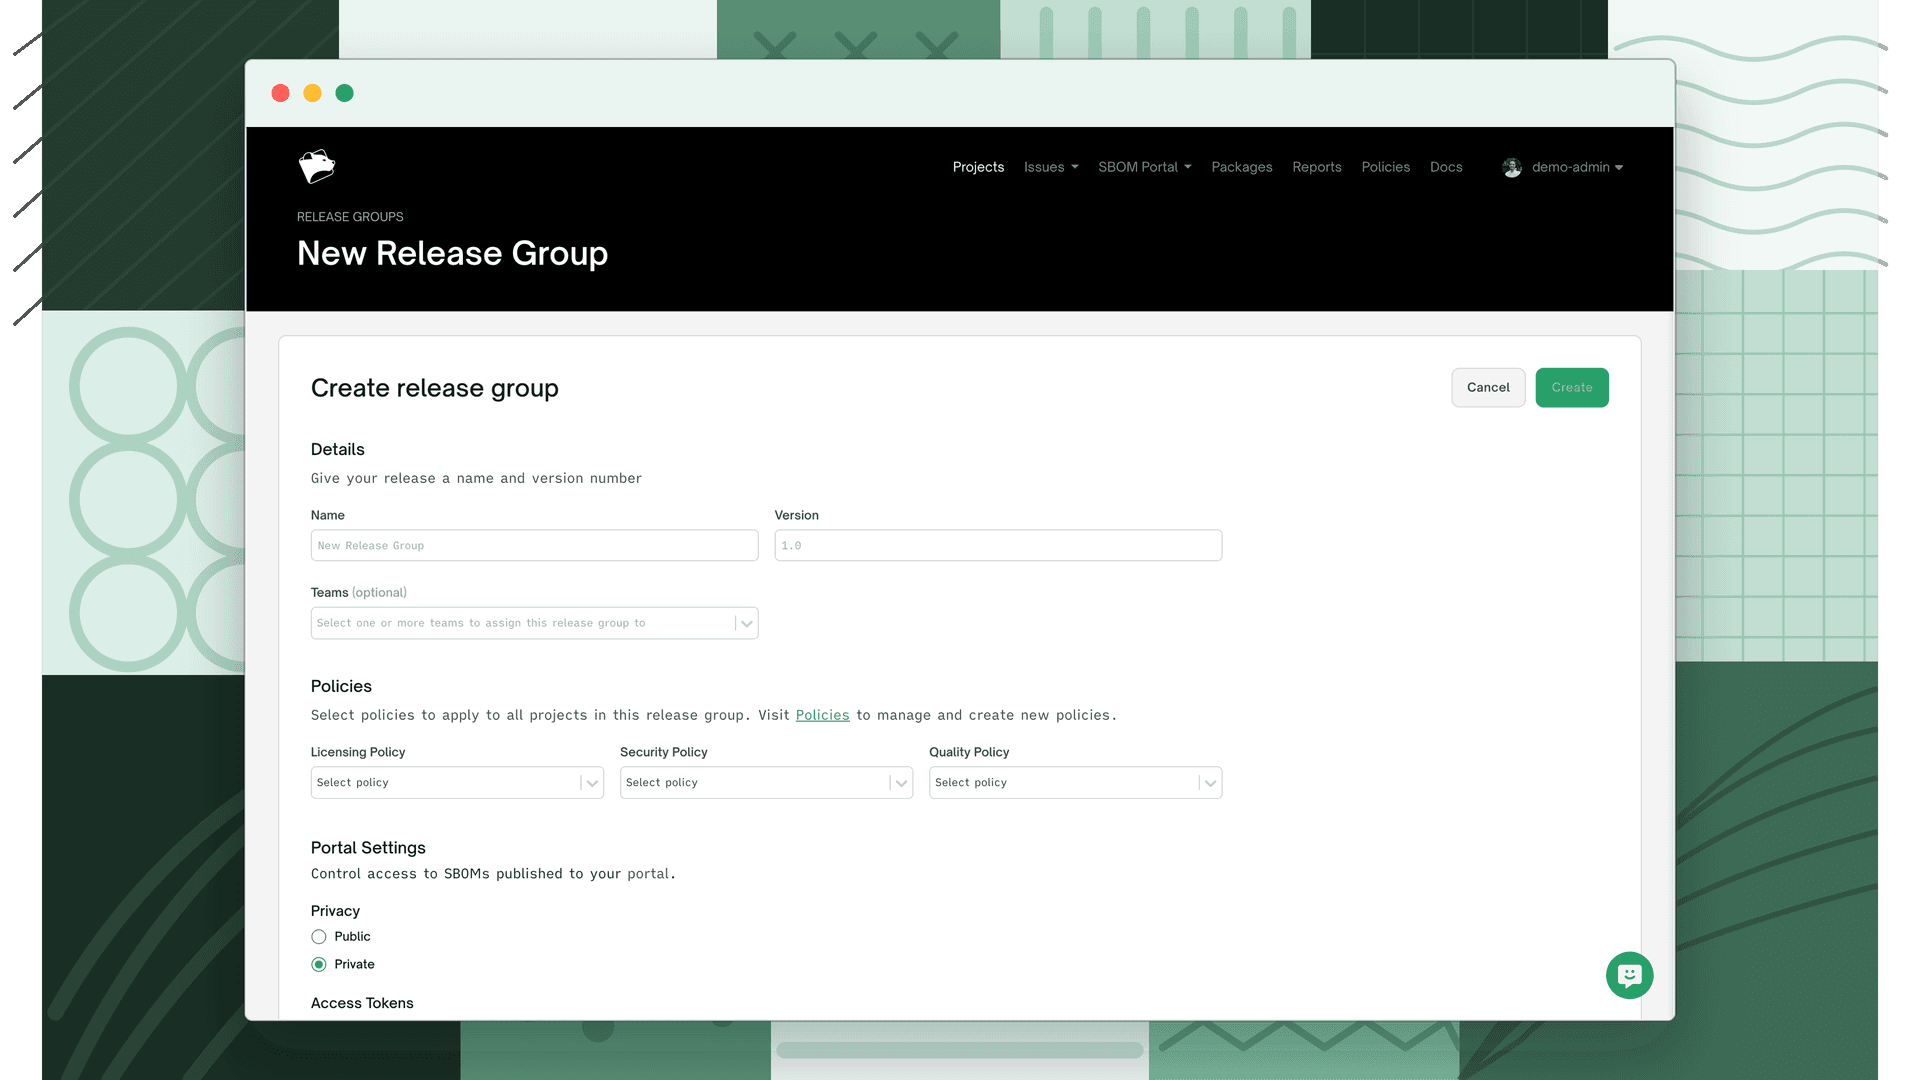
- 3
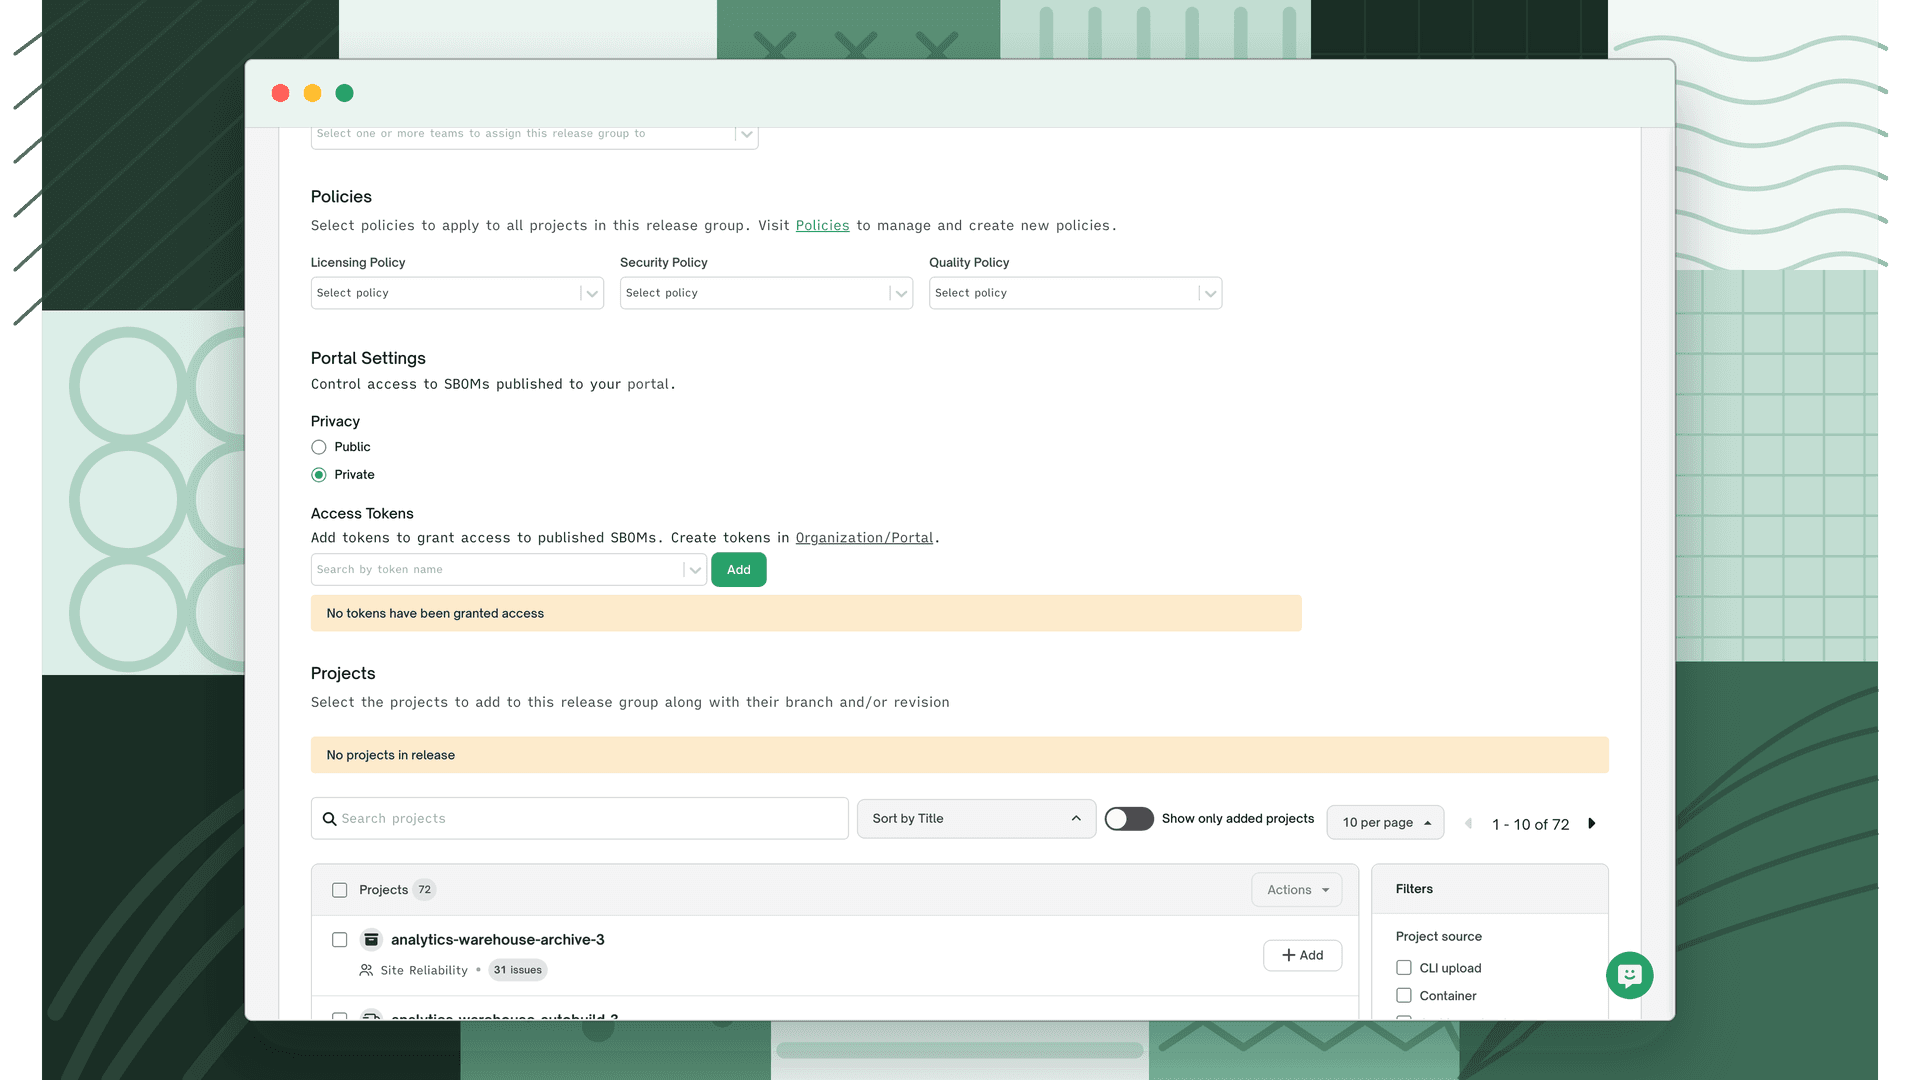
Add projects
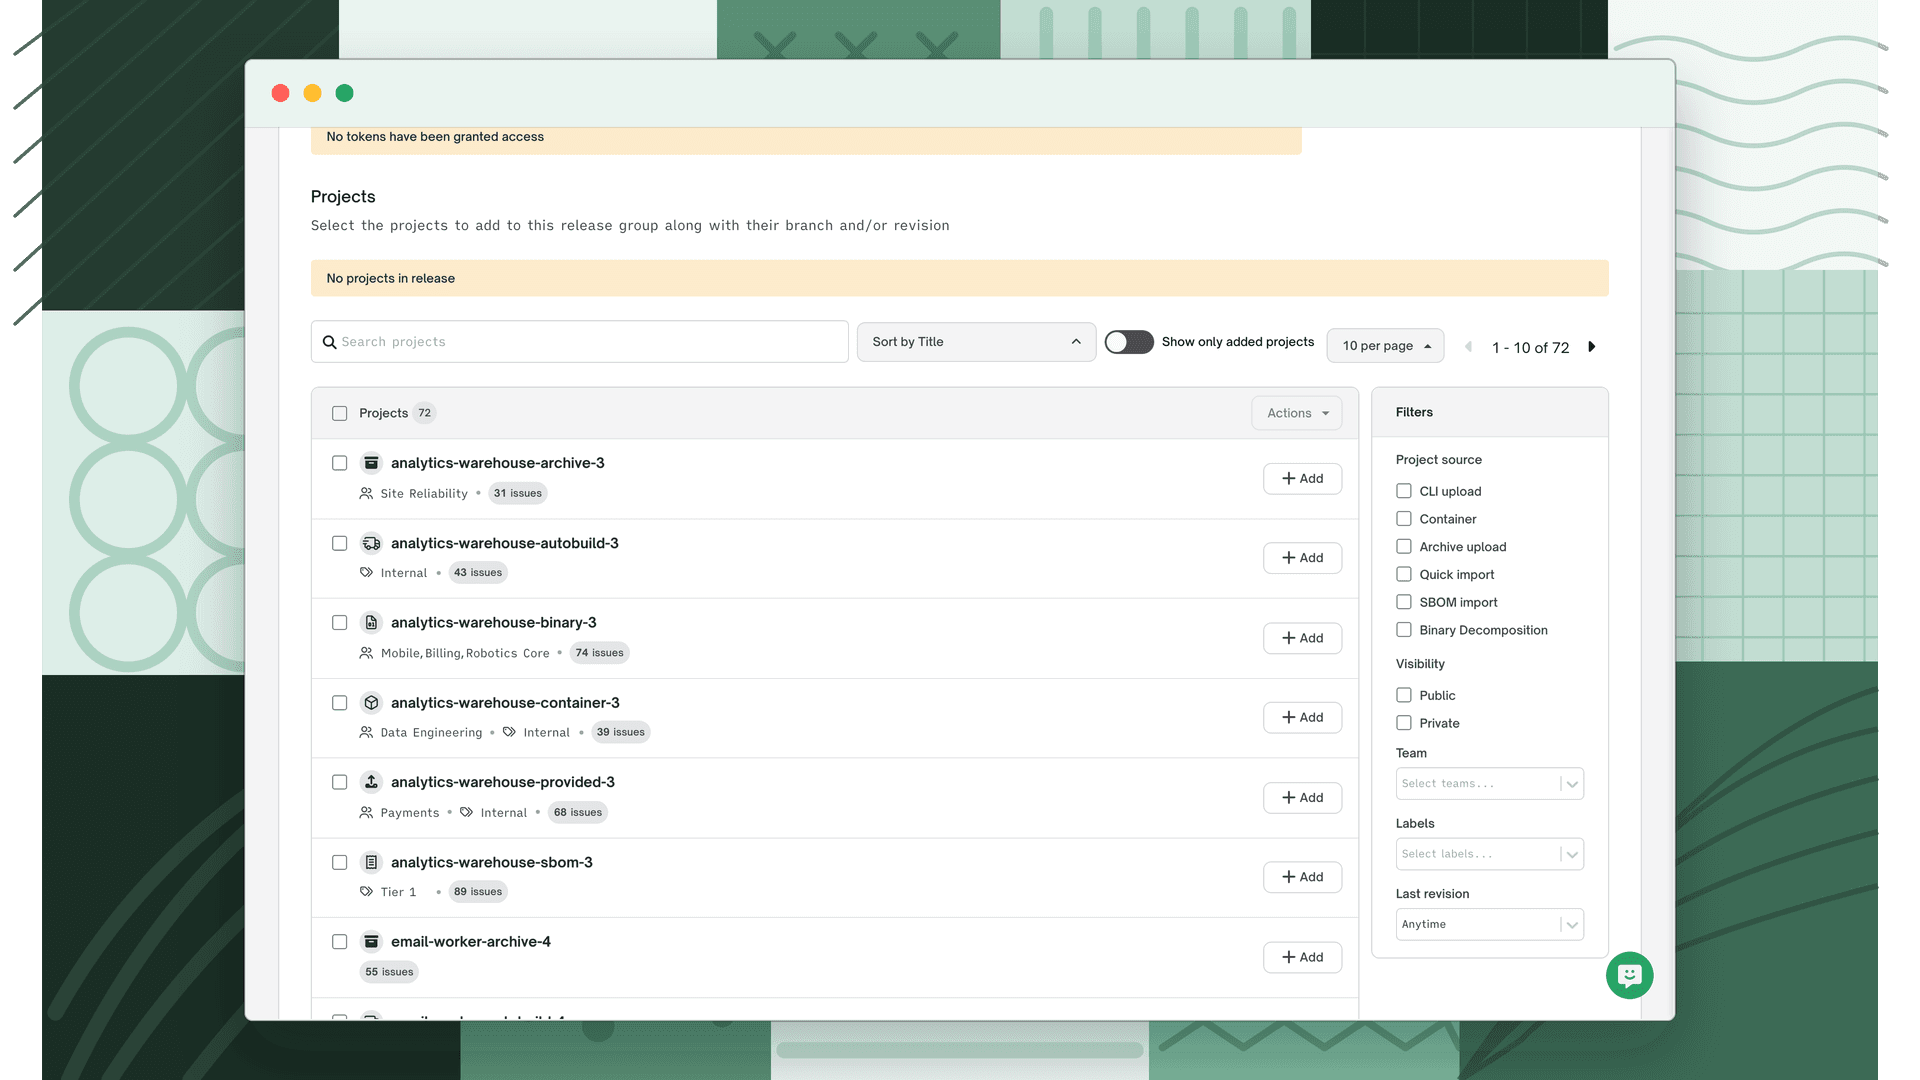
Browse or search your projects and click Add on each one you want to include. Use Add All to bulk-add everything matching the current filters.
For each project you add, select the branch and revision to pin. The revision is what will be evaluated for compliance. Choose the commit or tag that corresponds to this release.
- 4
Assign teams (optional)
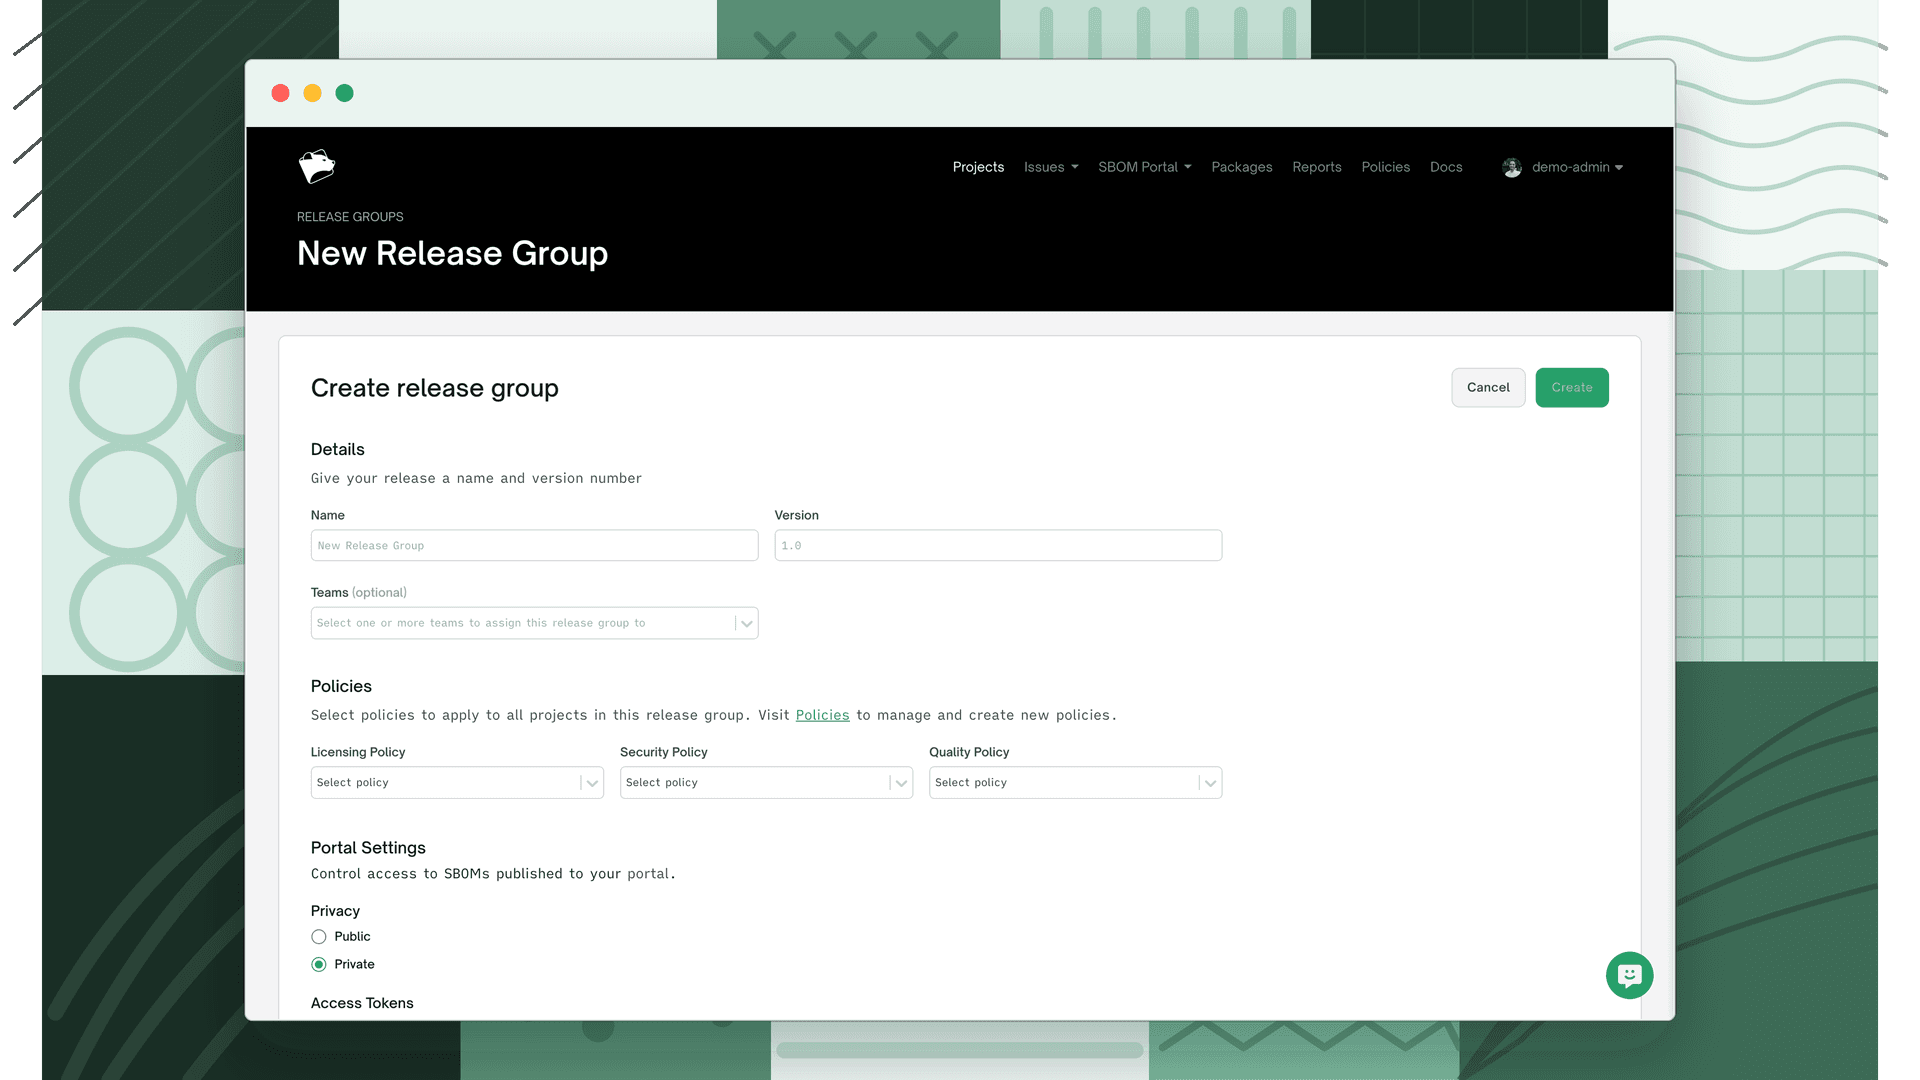
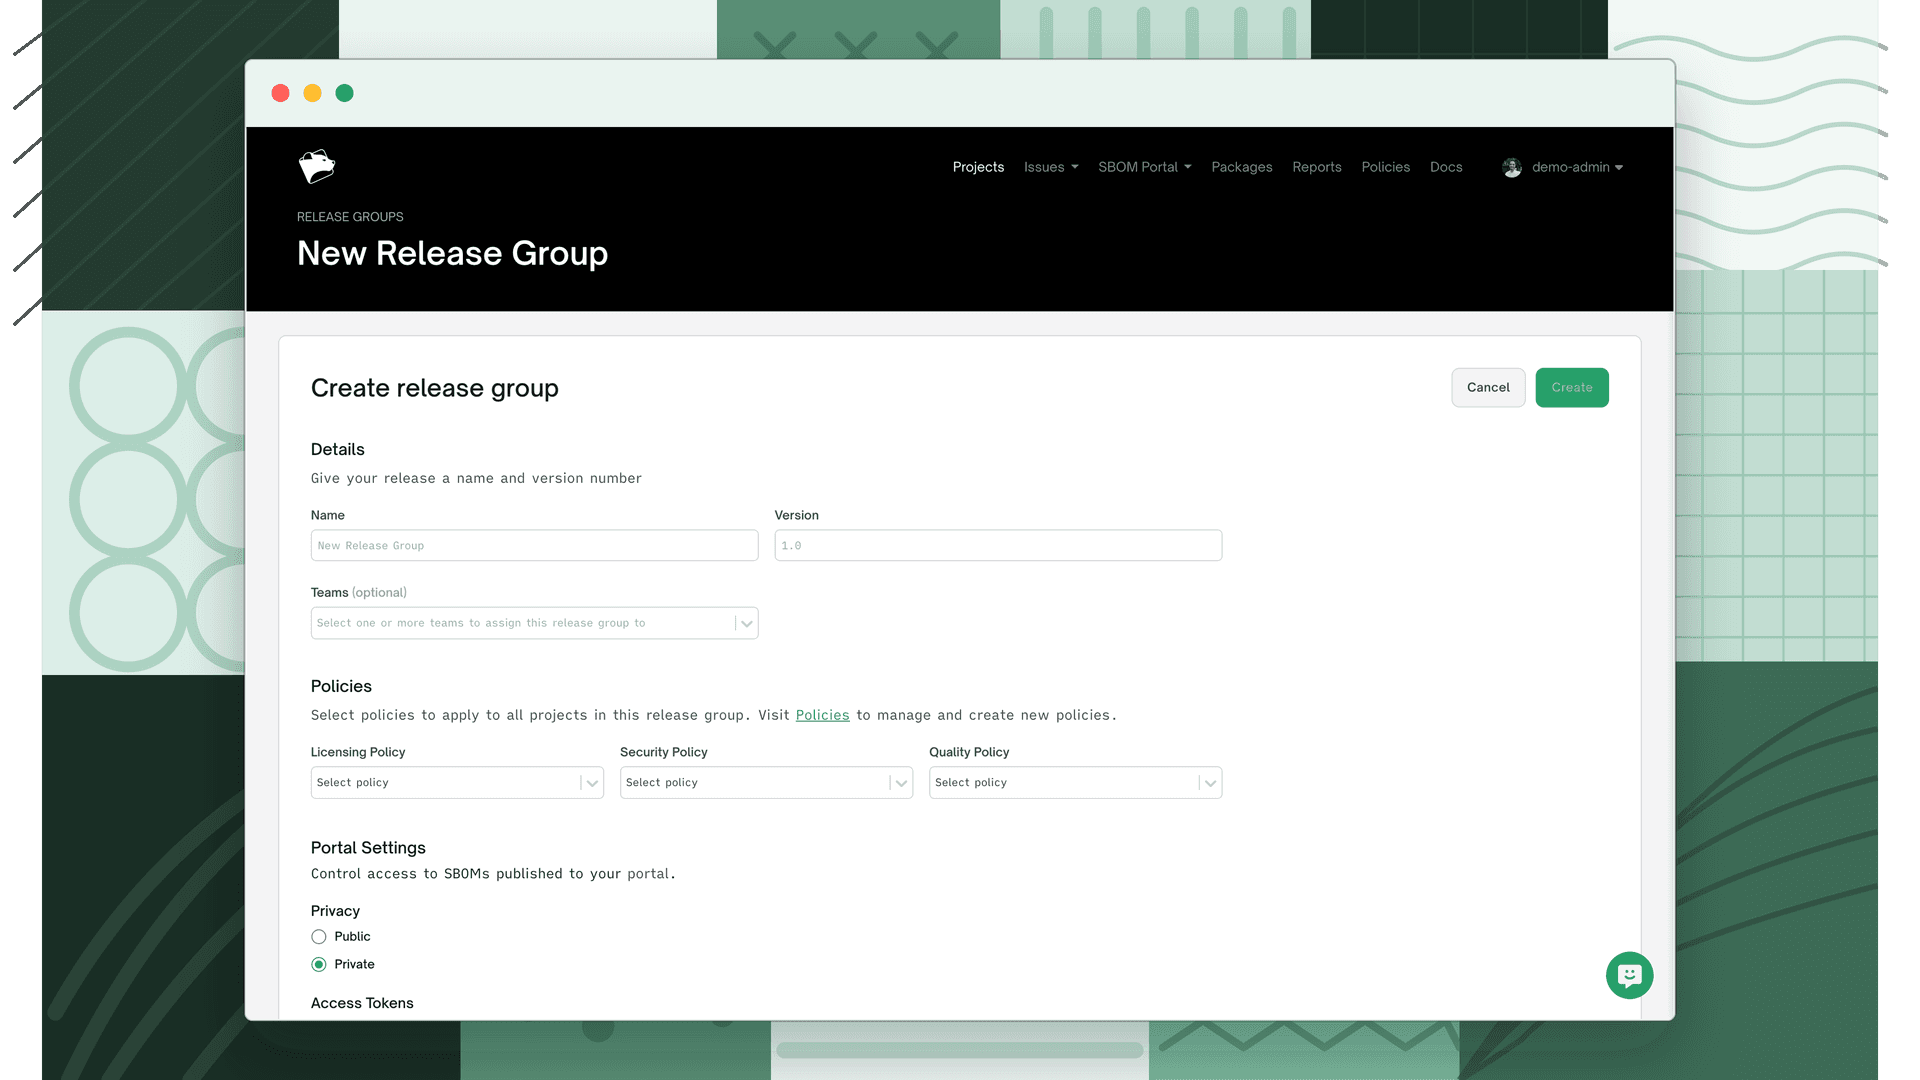
Select one or more teams to assign to the release group. FOSSA applies the selected teams to every project you add, bulk-assigning team ownership across the entire release in one step. You can skip this and manage team access later.
- 5
Assign policies (optional)
Choose a licensing, security, or quality policy to apply across the group. You can also do this later from the group's settings. See Settings for details.
- 6
Save the group
Click Create. FOSSA creates the group with your first release and redirects you to the group overview.
Note
The group title is set in Settings → General after creation, the creation flow names the first release, not the group itself.
Editing a release group
To change which projects belong to a release or update their pinned revisions, go to the Releases tab, find the release, and click Edit. You can add and remove projects, and change the branch or revision pinned for each one.
To rename the group or change its policies, go to Settings → General.
Deleting a release group
Deleting a release group removes it and all its releases. Projects within the group are unaffected; they remain in FOSSA as standalone projects.