
Create Licensing Policy
Once you have imported your projects, you are ready to configure your policies.
Click Policies to access the Policies page.
Under the Licensing tab, you can configure the three provided policies or create your own policy.
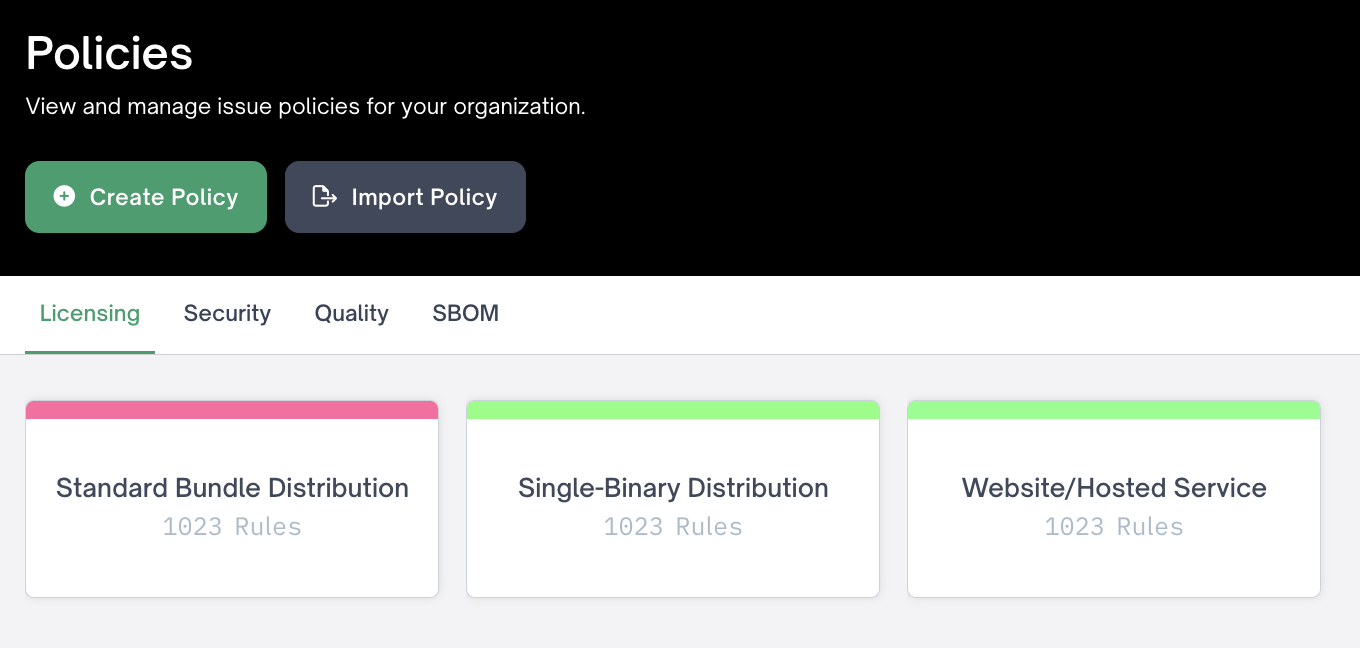
NOTEThe Standard Bundle Distribution policy is applied by default to all newly imported projects unless a different policy is set by the user.
If you do not have your own policy, it is recommended that you configure the Standard Bundle Distribution policy by reviewing and updating the policy’s settings to ensure they meet your needs.
TIPYou can edit the title and description of any policy by clicking the pencil icon that displays when you hover over the specific policy.
Creating a New Policy
Click Create Policy to get started.

From the Type dropdown, select Licensing.
Give the Policy a title along with a description that provides context.
You have the option to use one of the existing FOSSA templates as a skeleton for your policy or use an existing policy that you already have in your organization/team.

Once you have configured your policy, click your user name in the top right corner to access the Settings menu option.

TIPIf you are a first time user setting up your policies, it is recommended that you set the policy at the organization.
From Settings, select Organization > Project > General to access the Default Project Settings page.
Under the Licensing Issue Scanning section, click the Select a Policy dropdown to select your newly created policy.
Click Save Changes to apply the new policy to all future projects.
In the Propagate licensing settings action , you can select which settings you would like to propagate to all existing projects.
Updated 6 months ago