Auth0
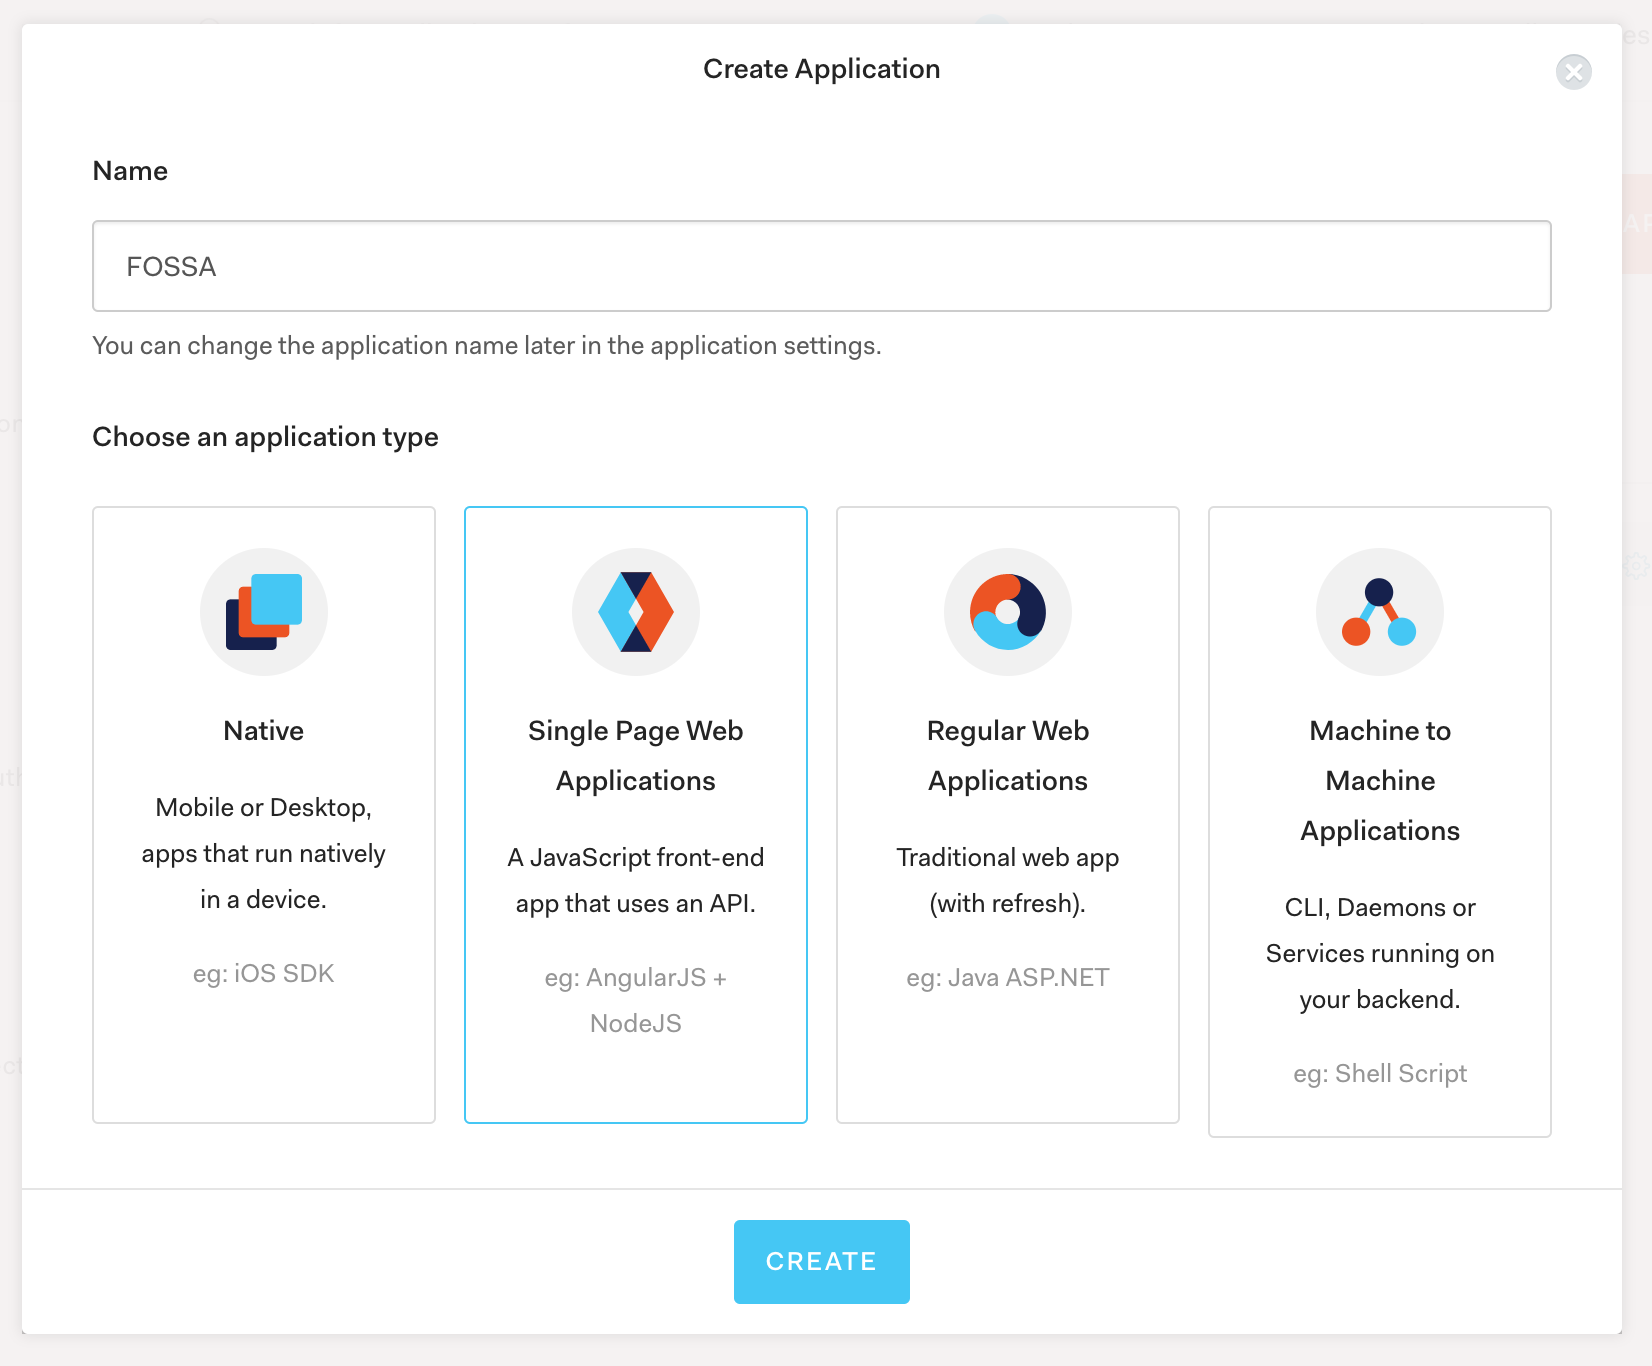
To configure Auth0 for single sign on with FOSSA, log in to your Auth0 admin panel and navigate to Applications → Create Application and choose "Single Page App" as the application type.
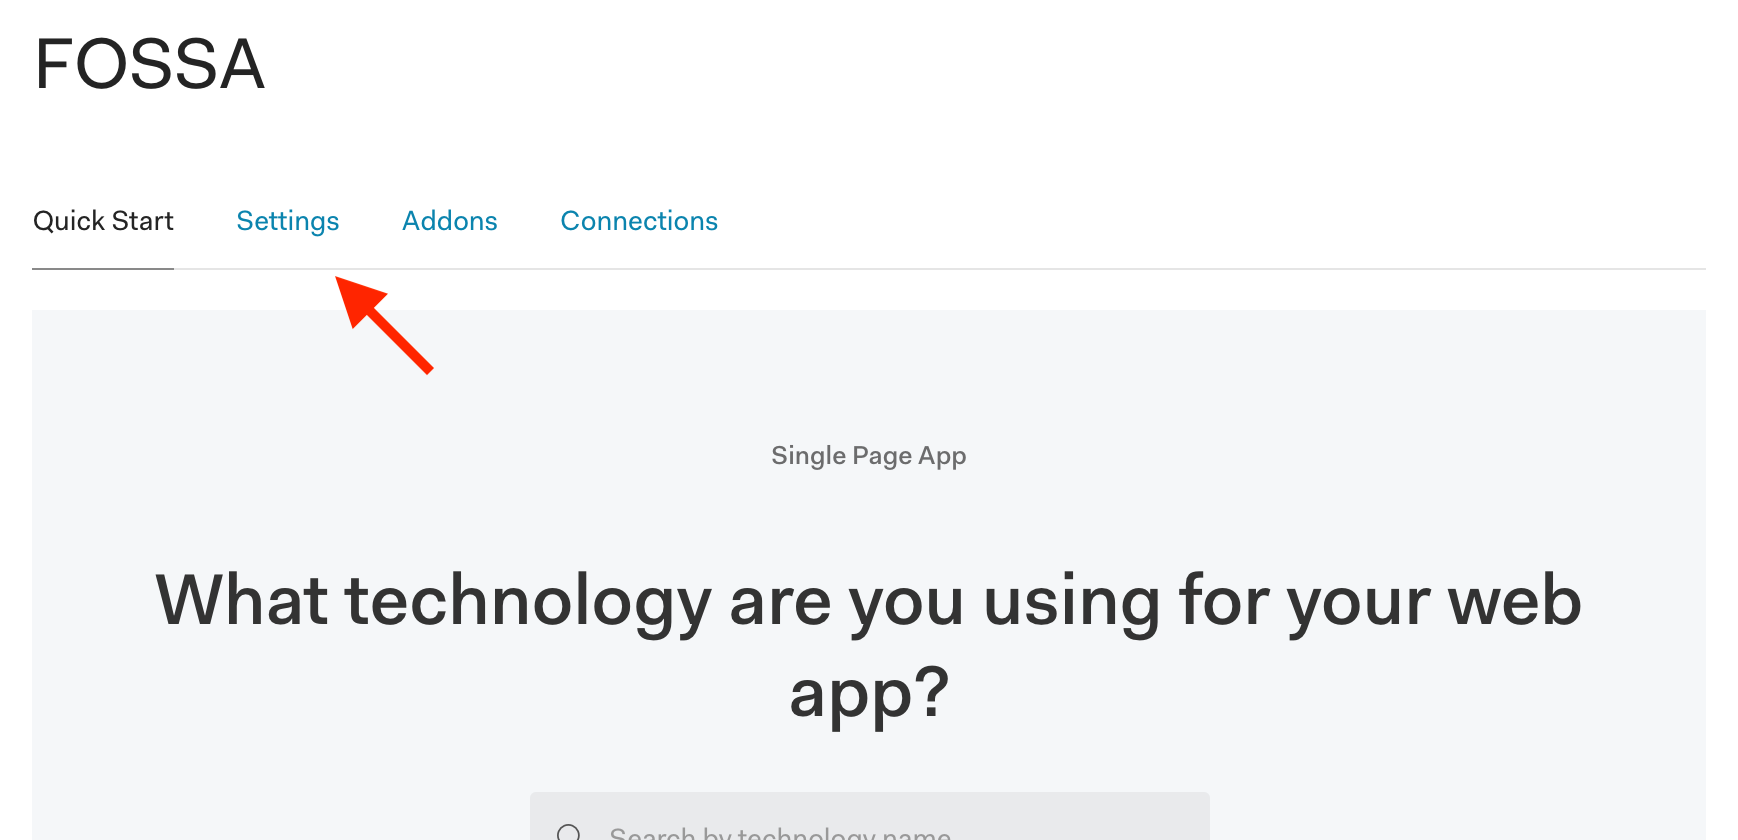
Ignore the Quick Start wizard and click Settings in the tab bar at the top, then scroll down and click Show Advanced Settings.
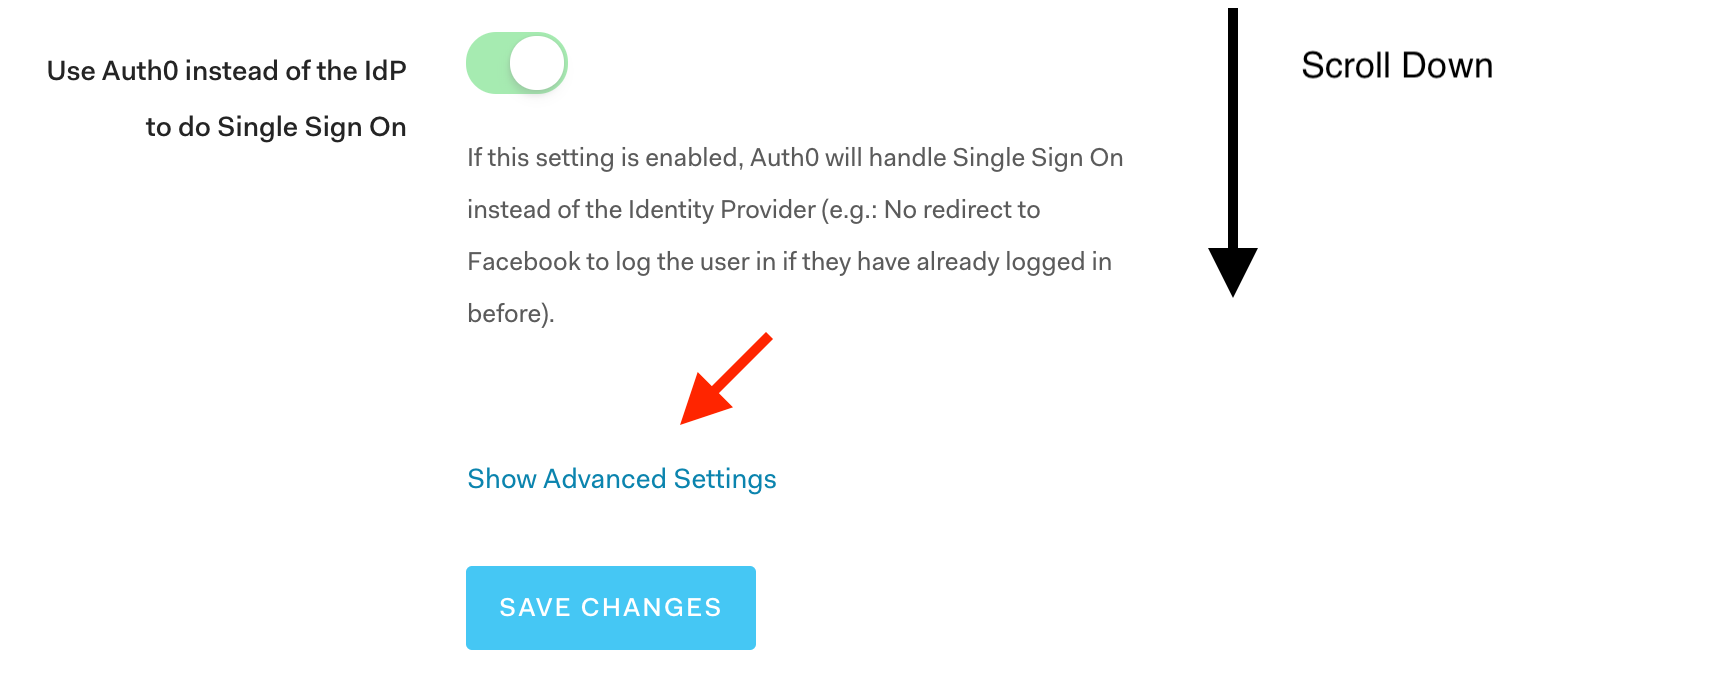
Click the Certificates tab in the advanced settings section, and copy the Signing Certificate into Certificate field on the SAML Settings page on FOSSA.
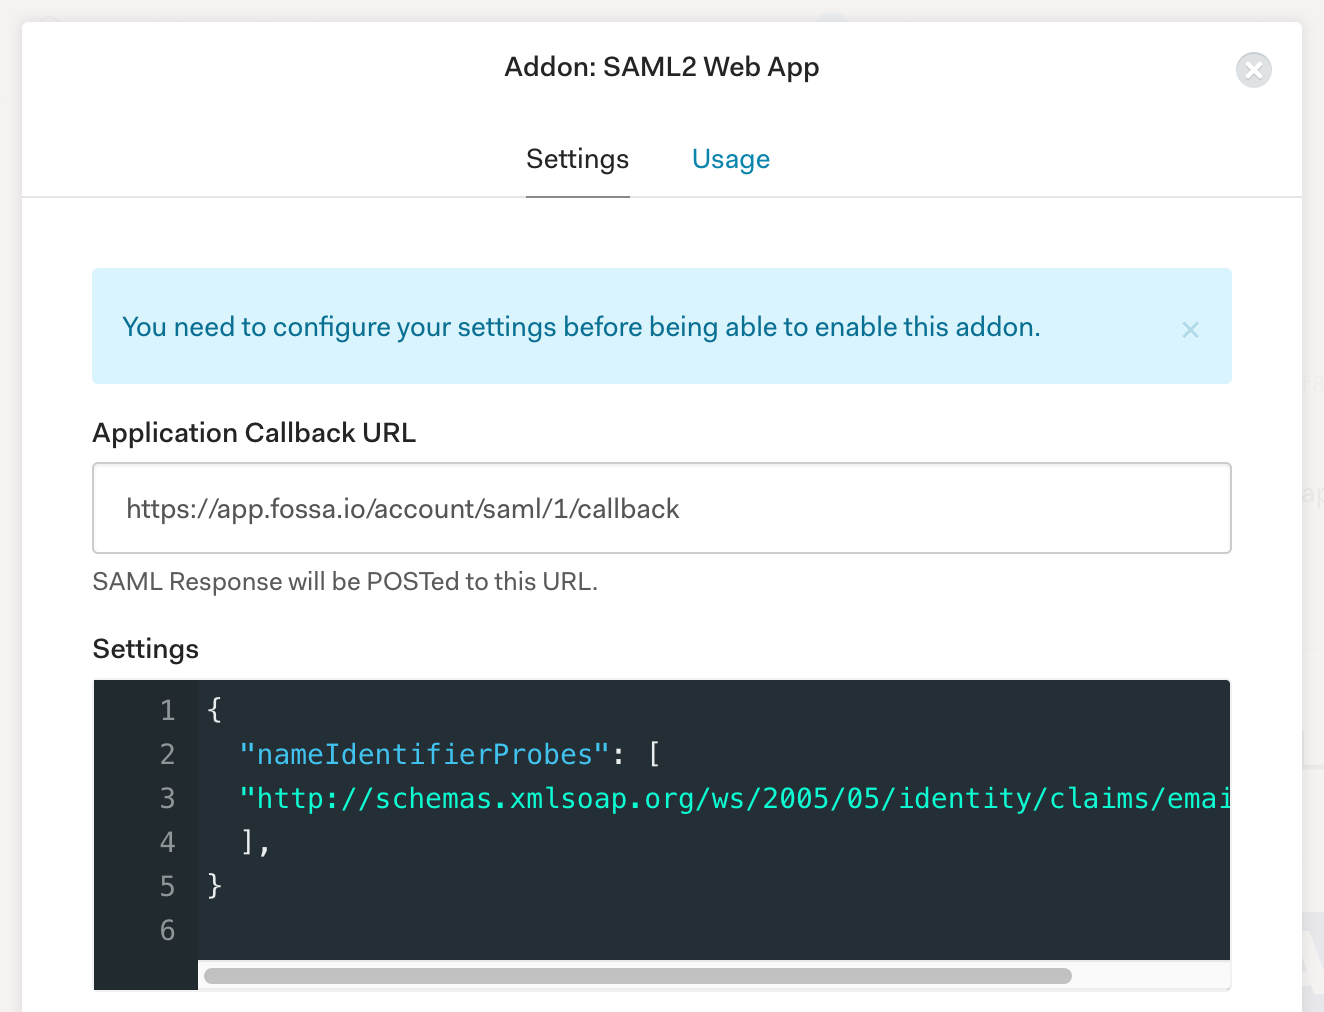
Scroll back up to the top of the page and click the Addons tab, then click on the SAML2 button. Copy the Callback URL from the SAML Settings page on FOSSA into the Application Callback URL field on Auth0, and paste the following into the settings field, then click Save at the bottom of the page.
{
  "nameIdentifierProbes": [
    "http://schemas.xmlsoap.org/ws/2005/05/identity/claims/emailaddress",
  ],
}
Click the Usage tab, and copy the Identity Provider Login URL into Identity Provider Single Sign On URL field on the SAML Settings page on FOSSA.
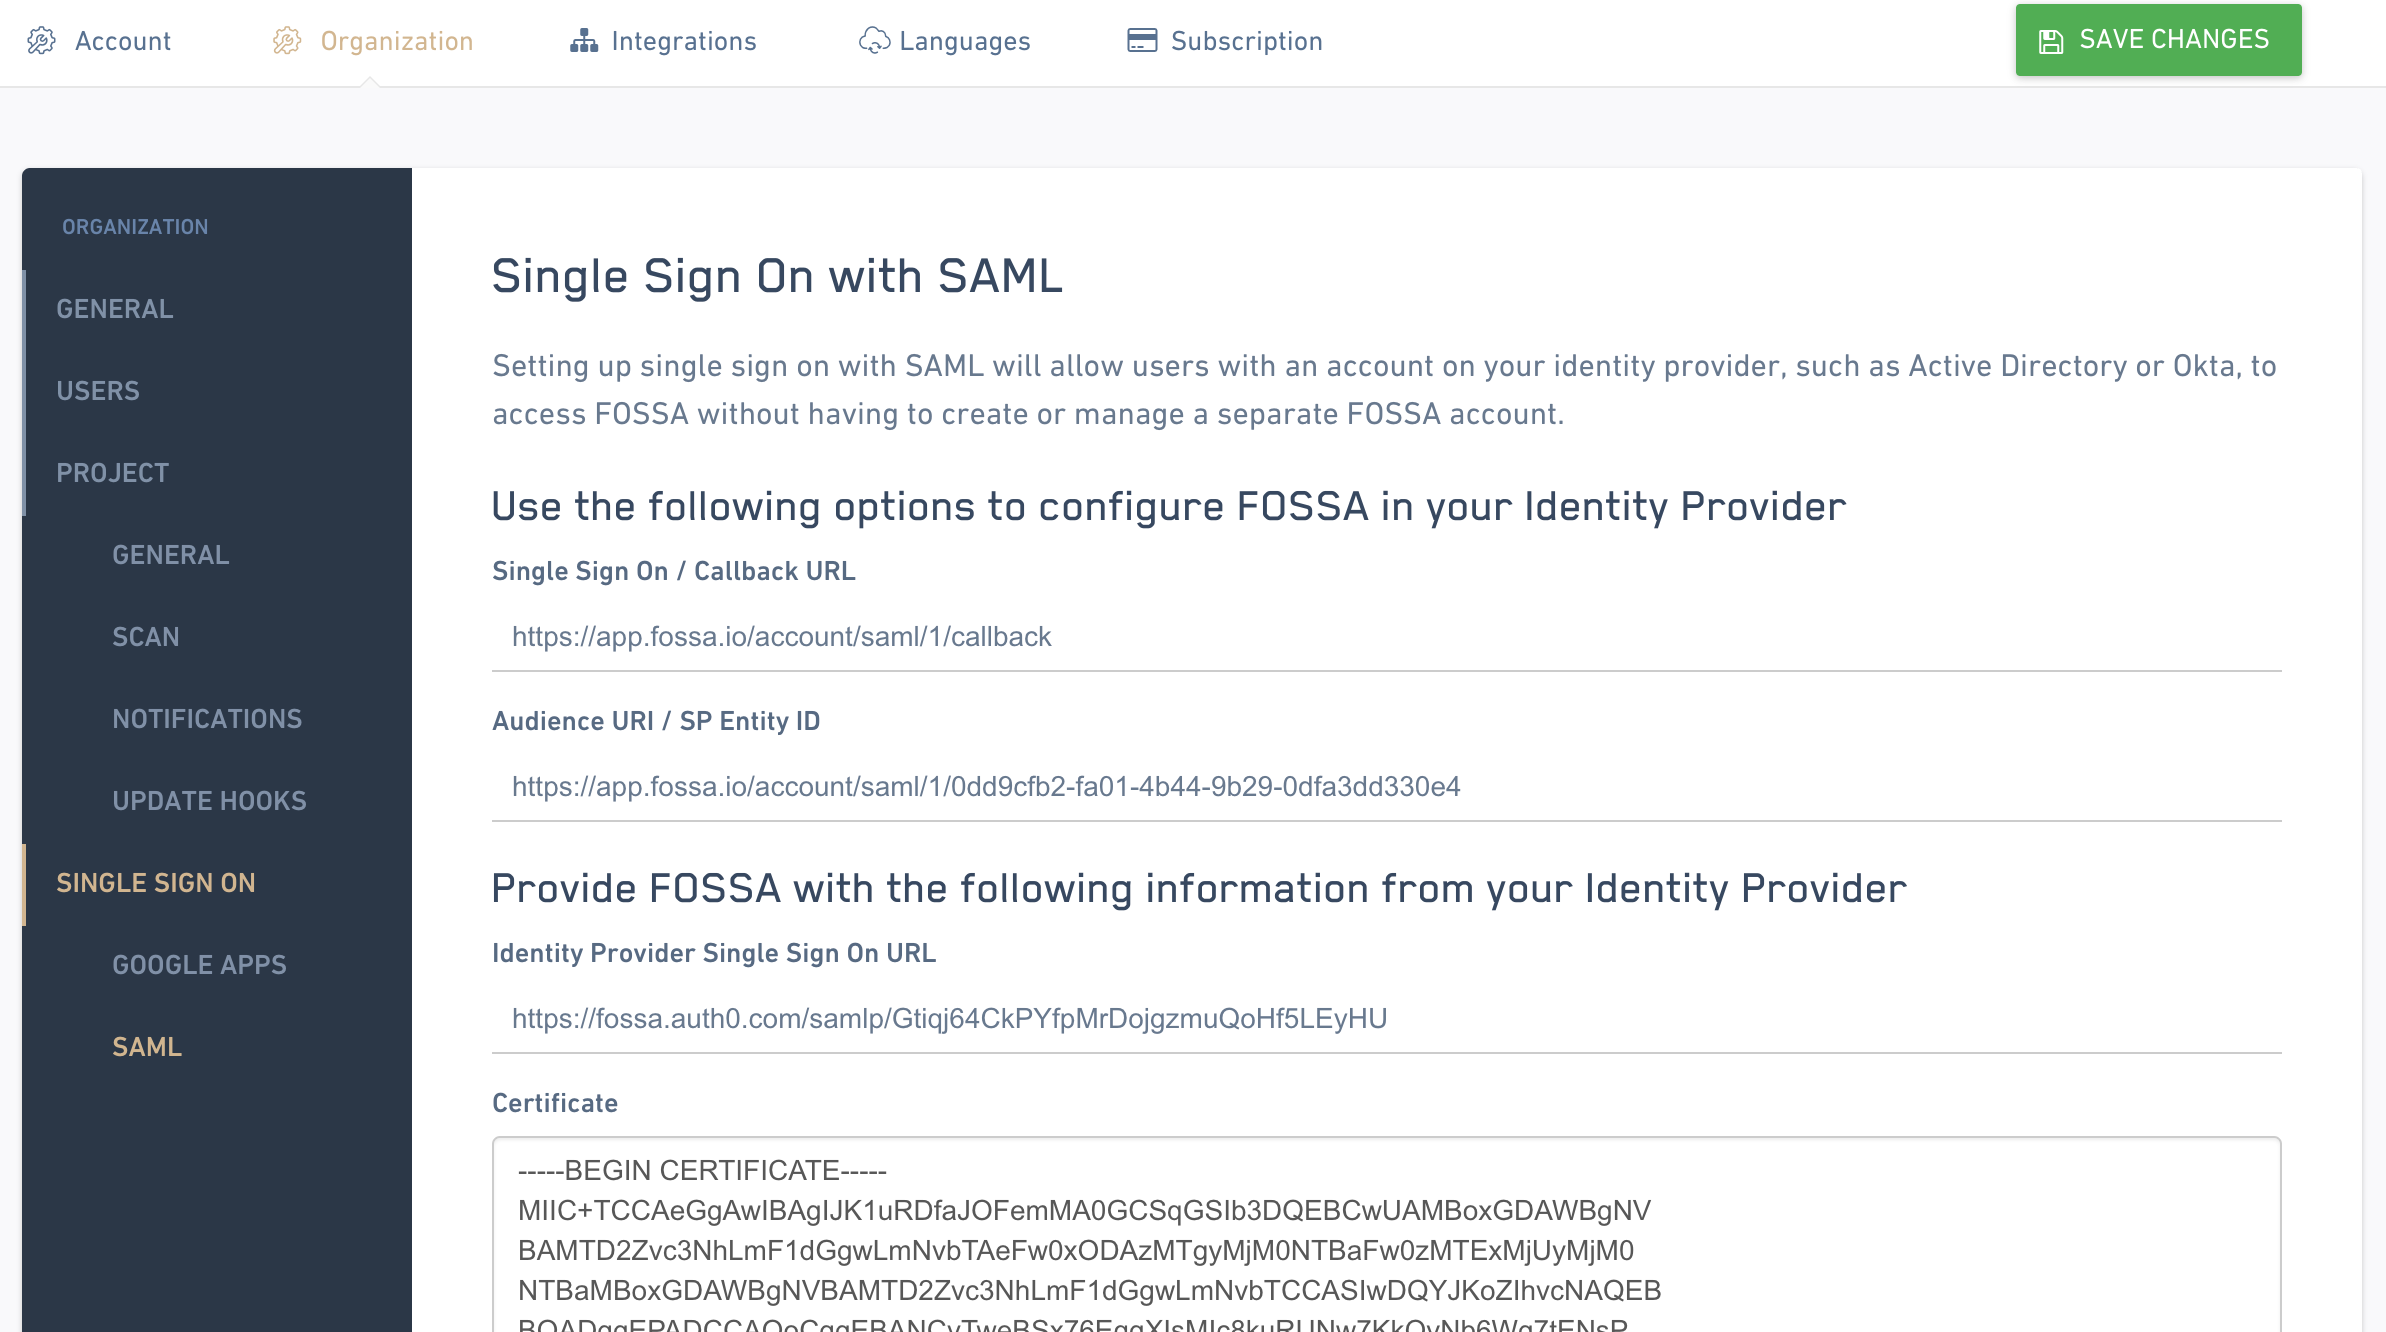
Click the green Save Changes button on FOSSA and you're good to go! For their first log in, your users will have to use the Identity Provider Login URL provided by Auth0, which will redirect them to FOSSA and create their account. Afterwards, they can continue to log in directly from Auth0, or by entering their email address on the FOSSA login page.
Updated 4 months ago
