Creating a security policy
Once you have imported your projects, you are ready to configure a security policy.
Click Policies to access the Policies page.
Under the Security tab, you can configure any listed policies or create your own
policy.
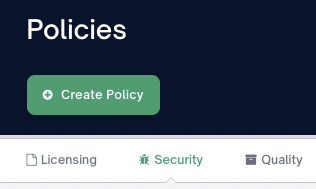
Creating a New Policy
Click Create Policy to get started.
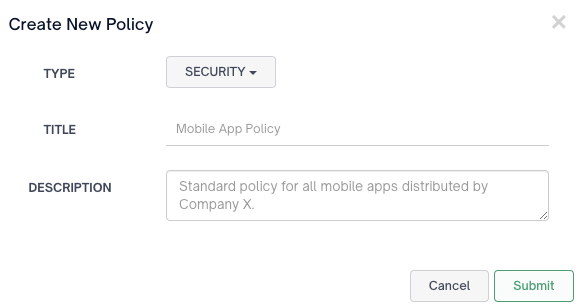
NOTEIf not already selected, choose Security for the Type field.
Give the Policy a title along with a description that provides context.
Click Submit to create the policy.
Updating a Security Policy Rules
Navigate to Policies > Security and click the policy you wish to update.
In the Security Policy window that displays, update the Vulnerability and CVE Filter Rules to match your needs.
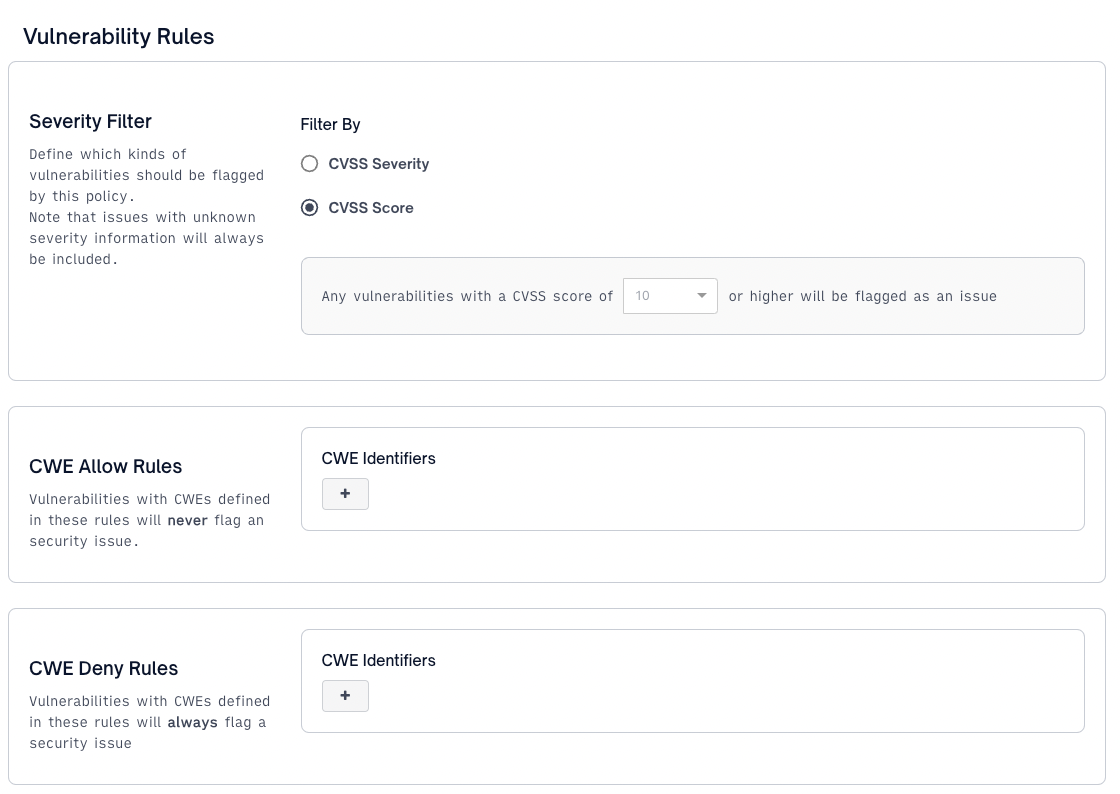
You can choose to update:
Vulnerability Rules
- Severity Filter - You can choose to filter by CVSS Severity or CVSS Score.
- CWE Allow Rules - You can select specific CWEs to remove them from the list of flagged issues.
IMPORTANTIf you select more than one CWE, the system treats them as an OR not AND operation. It only accepts the Allow Rule if all the listed CWEs are present and apply in a specific project.
- CWE Deny Rules - You can select specific CWEs to always be added to the list of flagged issues.
IMPORTANTIf you select more than one CWE, the system treats them as an OR not AND operation. It only accepts the Deny Rule if all the listed CWEs are present and apply in a specific project.
- CVE Allow Rules - You can select specific CVEs to remove them from the list of flagged issues.
CVE Filter Rules
- Show disputed CVEs - By toggling this rule on, you can see which CVEs have a Disputed status.
NOTEIt is recommended that you avoid filtering out the creation of security issues so that all vulnerabilities in your environment are captured. We recommend leveraging the Issue Inbox & Filters to remove any undesired security issues.
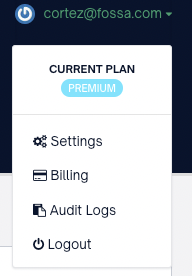
Once you have configured your policy, click your user name in the top right corner to access
the Settings menu option.
If you are a first time user setting up your policies, it is recommended that you set the policy
at the organization.
From Settings, select Organization > Project > General to access the Default Project
Settings page.
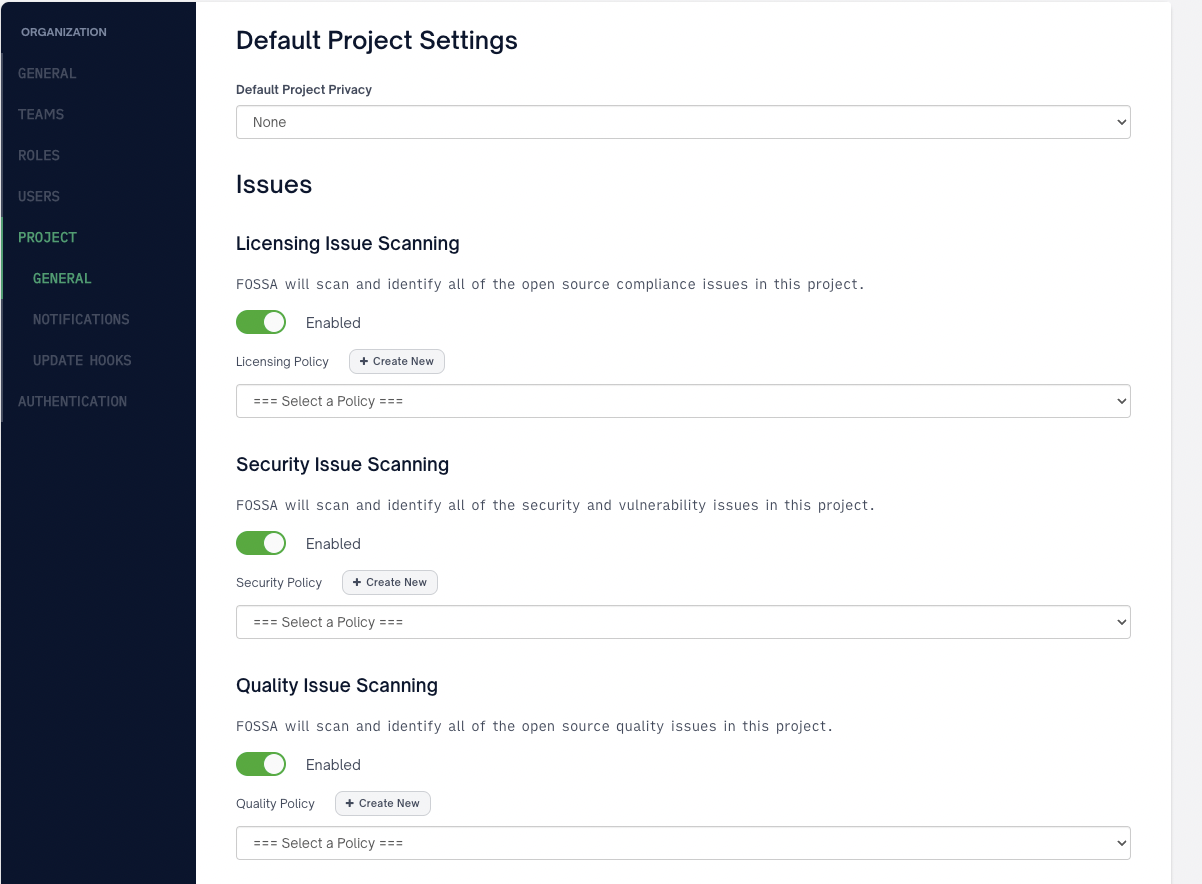
Under the Security Issue Scanning section, click the Select a Policy dropdown to select
your newly created policy.
Click Save Changes to apply the new policy.
In the Change organization level project settings pop-up, you can select Make default or
Propagate to existing projects and make default.
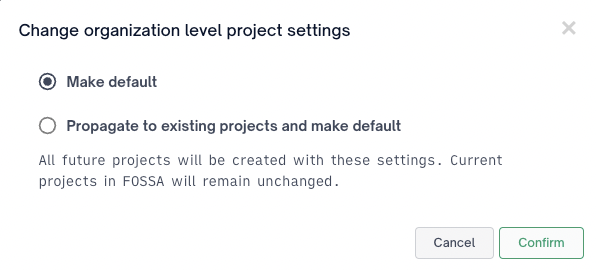
Click Confirm to apply the change.
Setting a Security Policy in a Project
Navigate to your list of projects and select the project to which you are applying a security policy.
Click Settings > Issues to view the Issue Tracker window and apply the Security Policy.
Under the Security Issue Scanning section, click the Select a Policy dropdown to select a security policy.

Click Save Changes to apply the policy.
You must now run a new policy scan on the project to identify new issues based on the new policy.
Editing Policy Title
Navigate to the specific policy you wish to edit its title.
Click the pencil icon that displays when you hover over the specific policy.
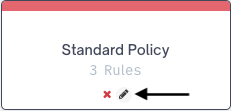
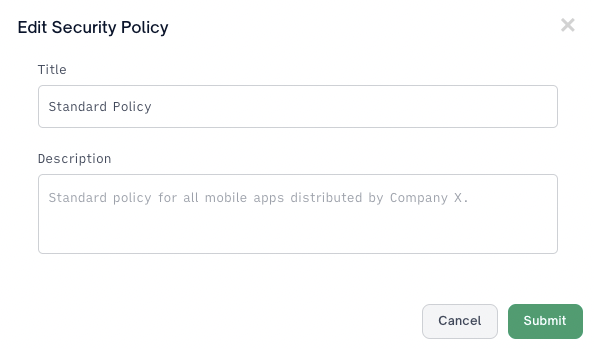
In the Edit Security Policy pop-up that displays, enter the new title and description and click Submit.
Deleting a Policy
Navigate to the specific policy you wish to delete.
Click the red X that appears when you hover over the specific policy.
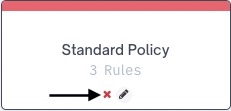
In the Confirm Delete Policy pop-up that displays, click Confirm to delete the policy.

IMPORTANTIf you delete a policy, it cannot be undone.
Updated 5 months ago
