Editing a Dependency
FOSSA allows you to correct, add, or remove licenses from a dependency.
This change is scoped to your organization, and you'll need an appropriate organization-level role to execute the instructions in this guide.
Editing a dependency applies to every project in your organization and every revision of that project.
Contents
Adding a License to an Unlicensed Dependency
In some cases, FOSSA may be able to resolve a dependency, but is unable to find a license for the dependency.
If this happens, we provide the tools to find the license and make the correction for your Organization so that you are not blocked on deployment.
Let's take Moq 4, for instance:

It's currently being flagged, as unlicensed dependencies are against the Policy I've configured. However, FOSSA has successfully identified and fetched this dependency from the Nuget Gallery, and found that there is no license in the .nupkg file that was analyzed.
How can we determine which license to add?
Since FOSSA was able to resolve this dependency, it also populated the metadata, including the homepage. By clicking the icon between the name and version of the dependency, we can go to it's homepage.
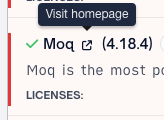
Once on the homepage, we can find the relevant information about the License used in our dependency.
If the homepage leads to GitHub, you can likely find this in the "About" section, on the right-hand side of the page.
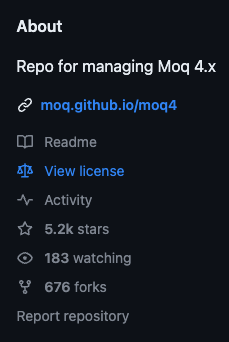
Other websites or repositories may have a different layout for their license information.
If we click through to "View License" on the Moq repository, we can see that it is a BSD 3-Clause License.
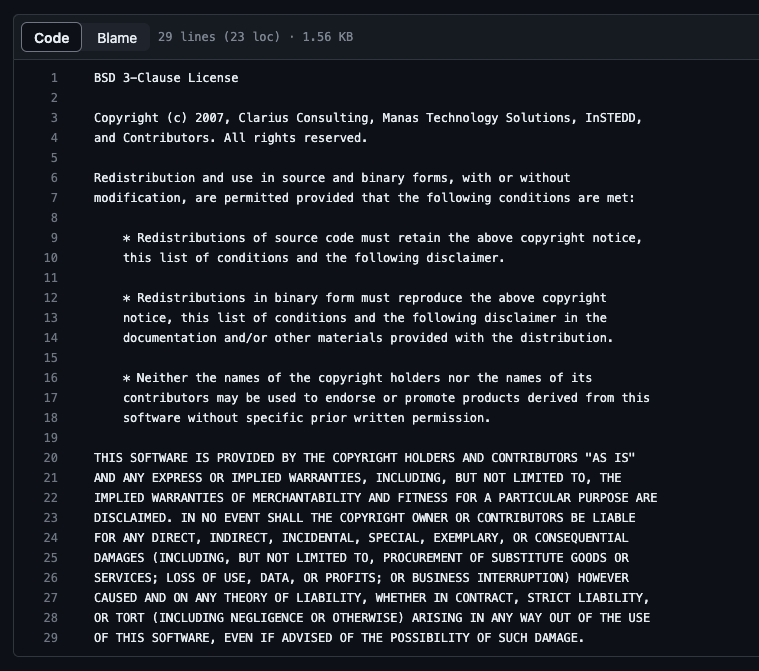
Note that the Copyrights are available here as well, we can use these later.
With this information, we can go back and edit our dependency to reflect the appropriate data.
To do so, we'll click the "View/Edit" button that appears on the right-hand side when we mouse over the dependency.

Clicking this button will open a modal, filled with the metadata that FOSSA knows about the dependency.
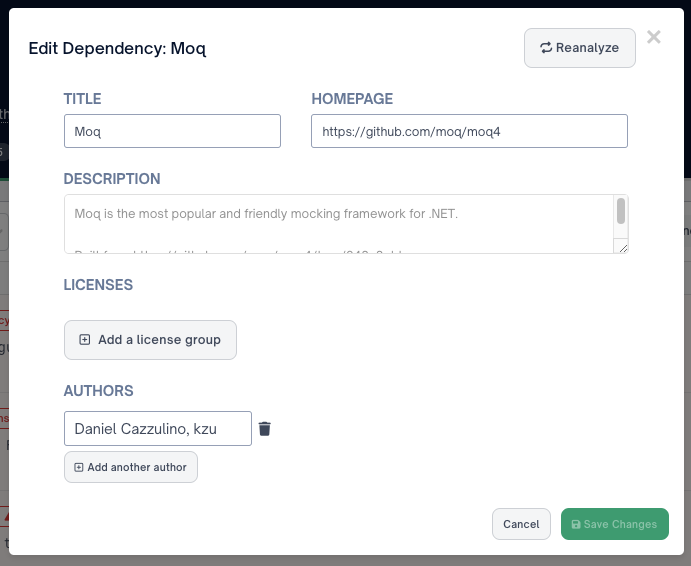
From here, click "Add a license group" which will open a new modal.
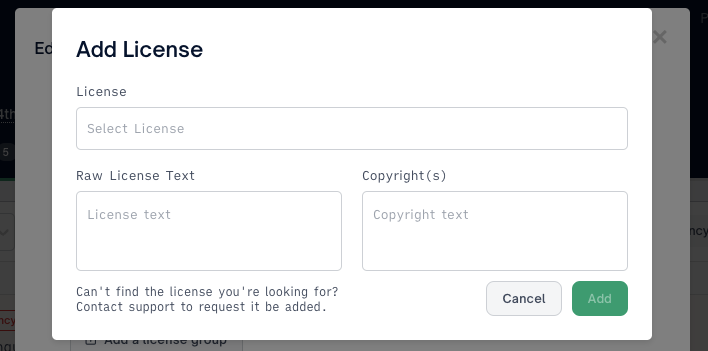
Note that you can additionally include Copyrights and Raw License Text
We can search for our desired license in the text entry field, and select the appropriate one. Here, I'll select BSD 3-Clause "New" or "Revised License"
"](https://files.readme.io/df93028-image.png)
If your license isn't in the list, see "Adding a Custom License"
After selecting your license, add your Raw License Text and Copyright(s) as desired, and select "Add".
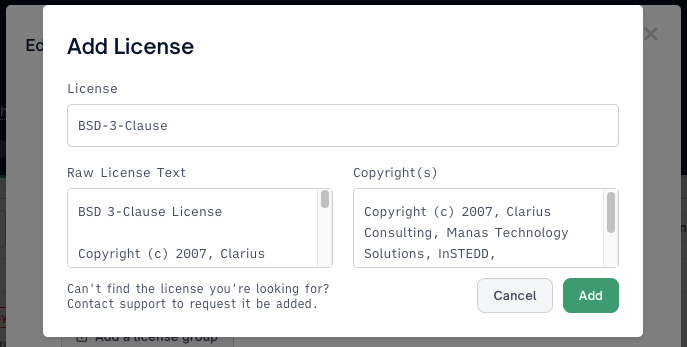
This should update the "View/Edit" modal with our newly added license!
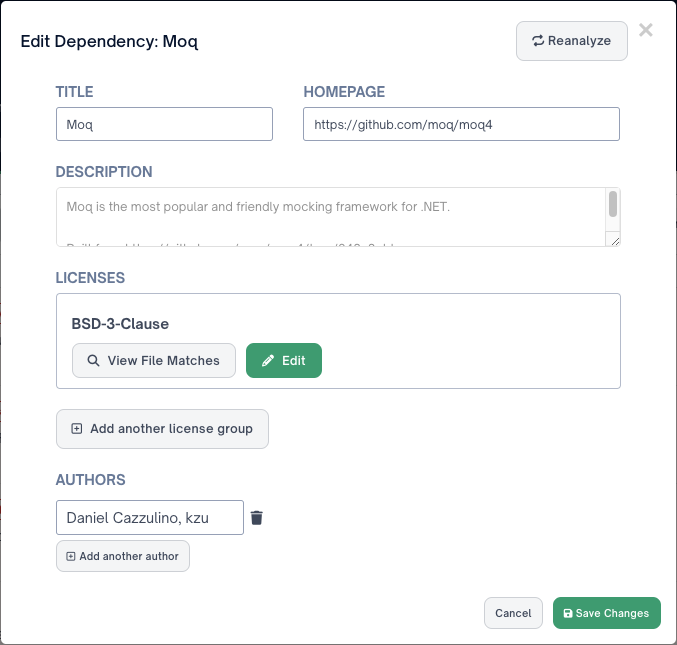
From here, we can "Save Changes" and head over to the "Summary" tab of our project, to run a new policy scan.
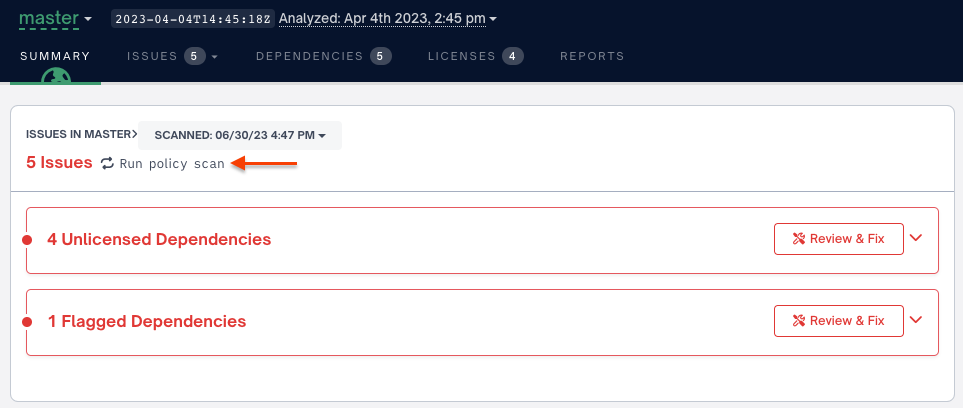
If your newly added license is in compliance with your policy, your issue count should go down.
Heading back to the "Dependencies" tab will show the updated Dependency, no longer flagged if the License is allowed in our policy:

Congratulations! You've successfully added a new license to a dependency for your organization!
Removing an Unwanted License
The process for removing a license is similar to adding one, as we'll be using the same "View / Edit" modal.
Begin by selecting a dependency that has a license you would like to remove. Let's remove the BSD-3-Clause license we've just added to Moq:

Hovering over the dependency will reveal the "View / Edit" Button.
Clicking the View/Edit button will open a modal where we can see the metadata about our dependency:
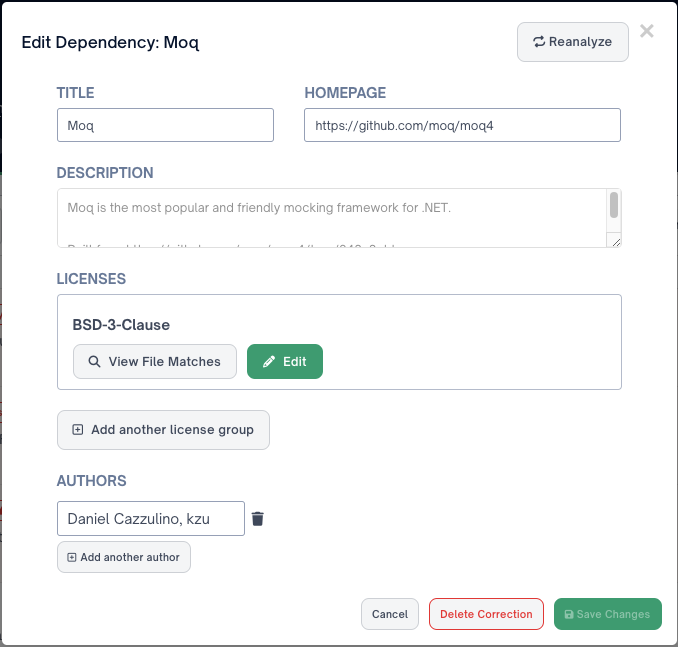
You may not have the "Delete Correction" button unless your dependency was manually changed.
Clicking the "Edit Button" will expand a section, allowing us to Change, Delete, or Add another license to this License Group:
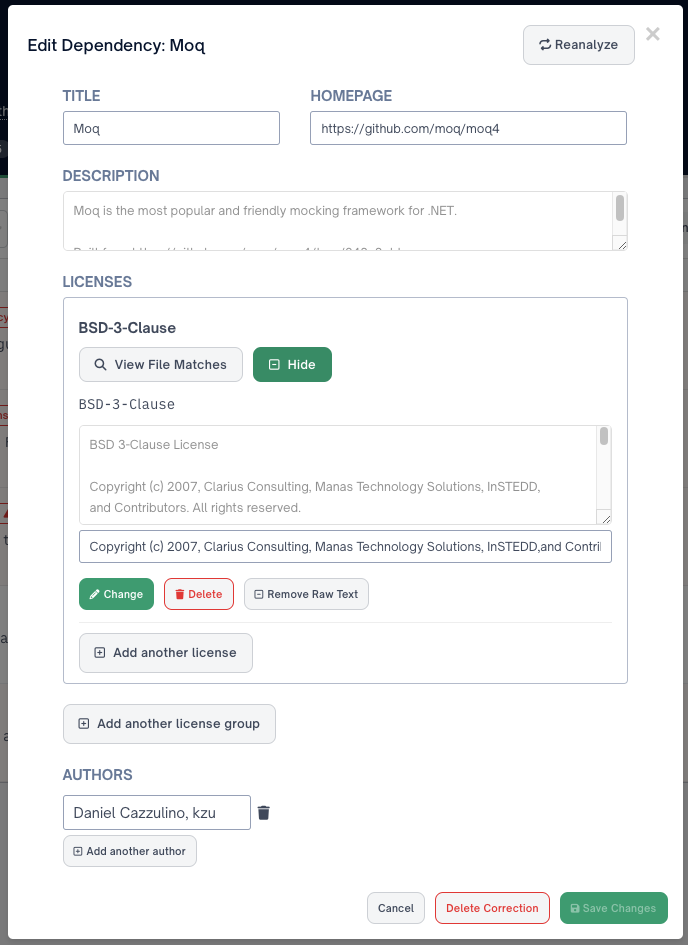
FOSSA supports AND and OR clause license additions, which you can specify from the section above.
Selecting "Delete" will remove the unwanted license:
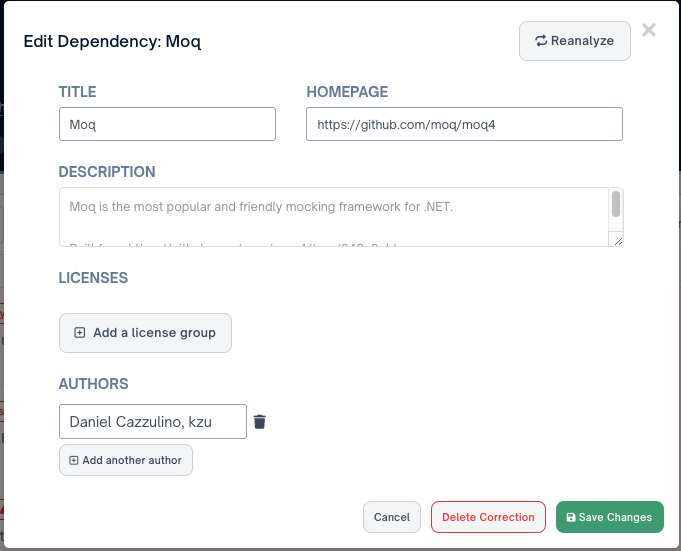
Now, we can "Save Changes," head to the "Summary" tab of our project, and perform a Policy Scan:
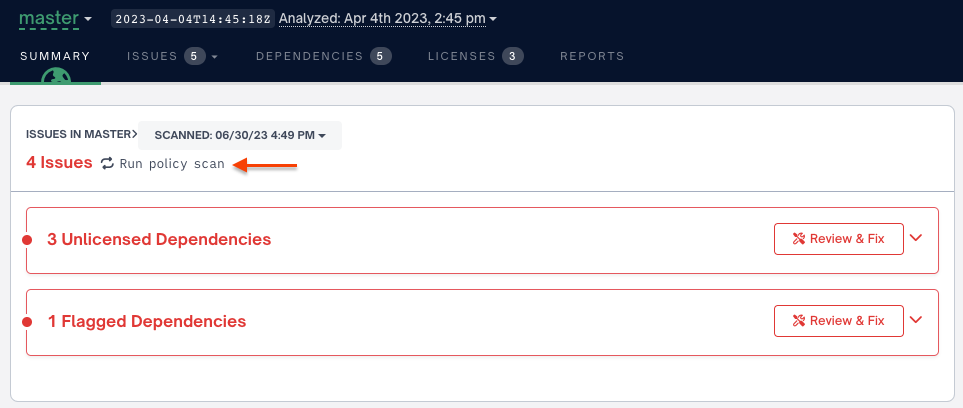
Running a policy scan should update your Issue count, finalizing the removal of the undesired license.
Congratulations on successfully removing a license!
Notice Files
FOSSA can detect and reproduce Notice files. Notice files are detected by their filename. This detection is independent of their position in the directory tree.
FOSSA will analyze for, case-insensitively, Notice file(s) matching notice.txt or third-party-notices.txt or *_notice.txt.
You can review, edit, and ignore Notice files detected in our database, which will be surfaced in the Notice Files section. First, select the dependency name with the Notice file, or select Edit Package from the action menu.
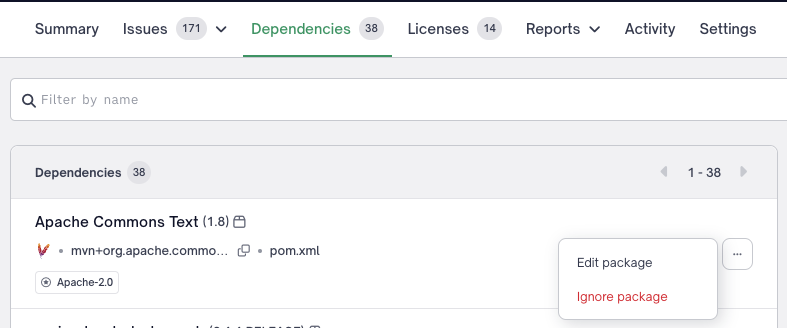
Review and Edit Notice Files
Select Edit , within the Notice files section, to review the detected Notice file(s). Here you can review or change the raw Notice files text or copyrights that will be used to populate the Attribution reports.
Ignore Notice Files
Select Ignore if you do not want to reproduce the Notice file(s) text or copyrights within your Attribution reports. A user may select Stop Ignoring to return reproducing the Notice files(s) text.
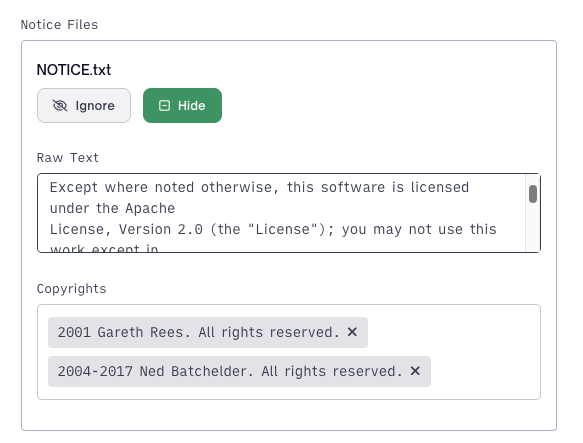
Dependency CorrectionsSimilarly to other dependency edits (licenses, copyrights, metadata), Notice file(s) edits are scoped to all projects and all versions.
Updated 3 months ago
Is one of your dependencies greyed out? Check out our guide on how to fix that!
