
SBOM Portal and Distribution
SBOM Portal Overview
With FOSSA you can securely host and distribute your SBOMs with your own SBOM Portal. You can customize this Portal to use your own logos, descriptions, and URL slug. You can publish SBOMs and any supported attribution formats publicly for all users with the URL to view/download. In addition you can publish SBOMs private with time-based access tokens to ensure only your intended end users can view/download your SBOMs.
NoteSBOM Portal is in early access
preview. Expect continuous polish as we improve the experience on path to General Availability. FOSSA may change feature availability as additional enhancements are made.
Creating your SBOM portal
Start by navigating to your SBOM Portal settings either via the top-level navigation SBOM Portal or via Organization Settings > Organization > Portal
Here you will have the option to provide:
- Portal Name
- Name of your SBOM Portal
- Portal Description
- Description detailing the usage of your SBOM Portal
- URL slug
- Custom URL slug to easily navigate to your SBOM Portal
https://portal.fossa.com/p/{someUrlSlugHere}
- Logo
- Custom Logo to appear on your SBOM Portal
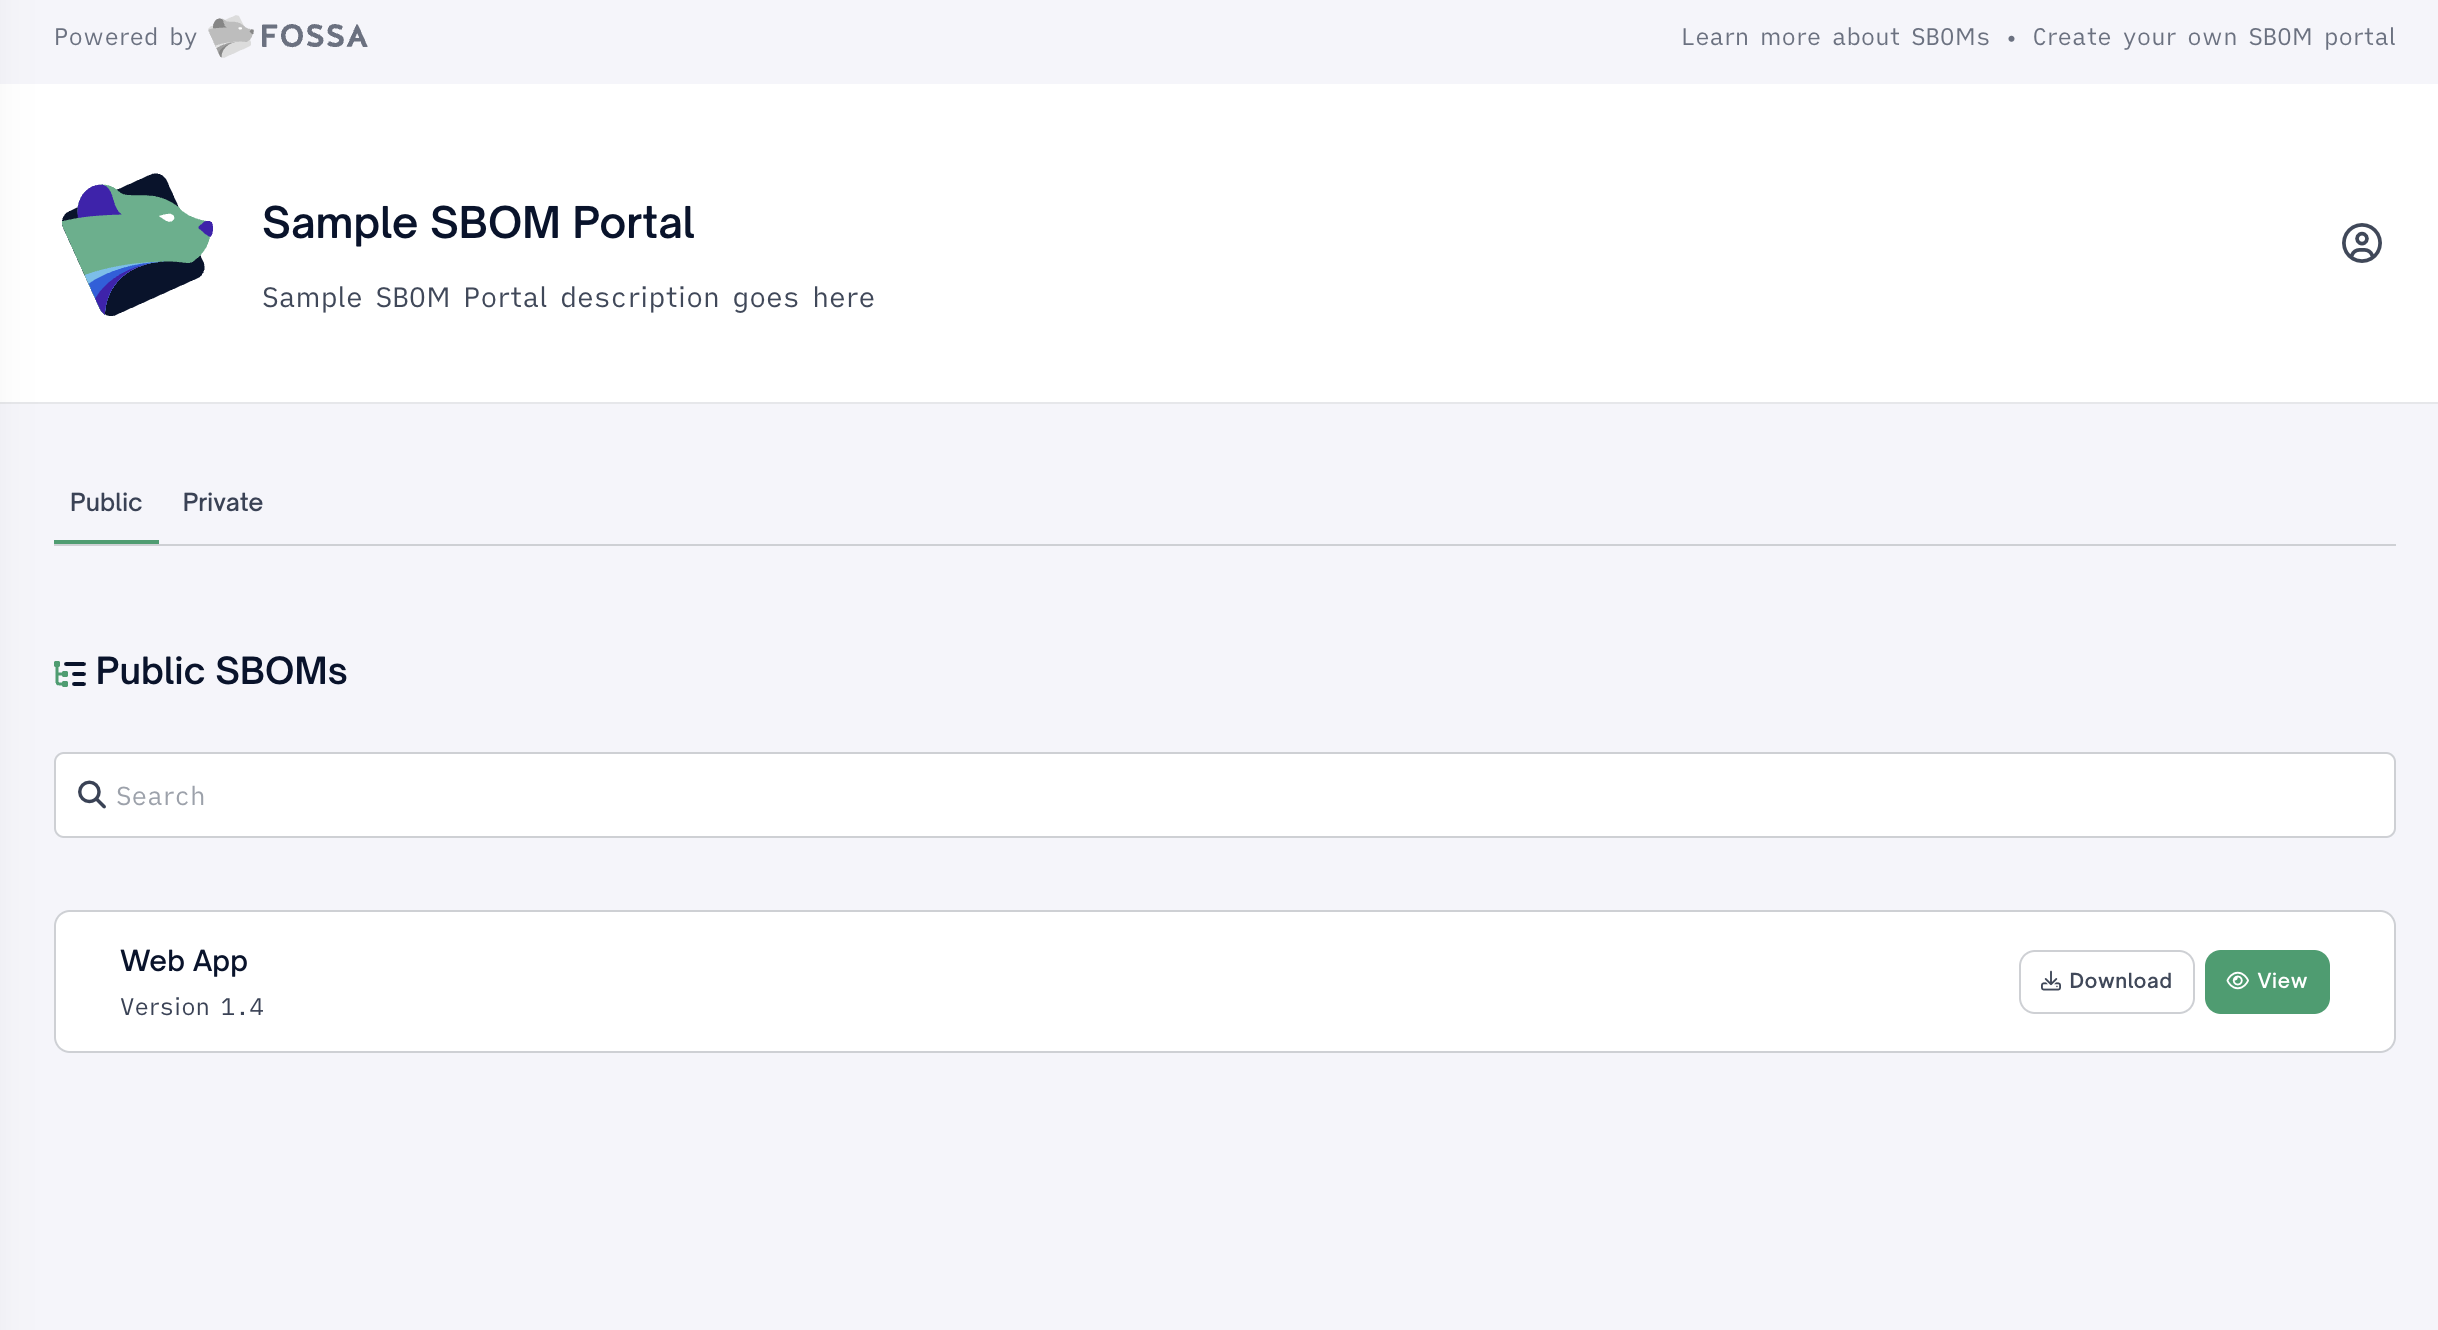
Example
Publishing To The SBOM Portal
Step 1 - Release Group Configuration
FOSSA supports the ability to publish SBOMs to the SBOM portal from a Release Group(RG). A Release Group(RG) allows a user to pin one-to-many projects and their associated branch and revision to a Release which will determine the dependencies included in your SBOM.
Start by creating a Release Group(RG) if you don't have one already. Navigate to Projects > Release Groups and select New Release Group.
Here you can give your RG a:
- Name
- Name of your RG
- Version
- Version of the first
Releasein your RG
- Version of the first
- Team
- Teams you would like to assign your RG to. Note any projects unassigned to the selected team will also be assigned to the Team upon RG creation
Next, if on an applicable tier, you may assign custom Policies for Licensing, Security, or Quality. Note if no policies are selected the RG will use the organization default policies
Step 2 Portal Privacy Settings (Optional)
Premium FeaturePrivate portal and time-based access tokens are an Enterprise feature only. Free and Business tier users can only publish Public SBOM portals meaning Portal settings within Release Groups will not appear for these users. Please contact [email protected] for more details.
Portal Settings
The Public or Private publication of an SBOM is controlled by the Release Group the SBOM is published from. In support, a RG may have portal settings of:
- Public
- Anyone with the SBOM Portal URL may view
- Private
- Only users with a valid token may view
Private Release GroupRelease groups will be
privateby default for Enterprise users with private portal add-on
Access tokens
In support of private SBOM portal distribution, a user may create an access token in Organization > Portal > Access Tokens
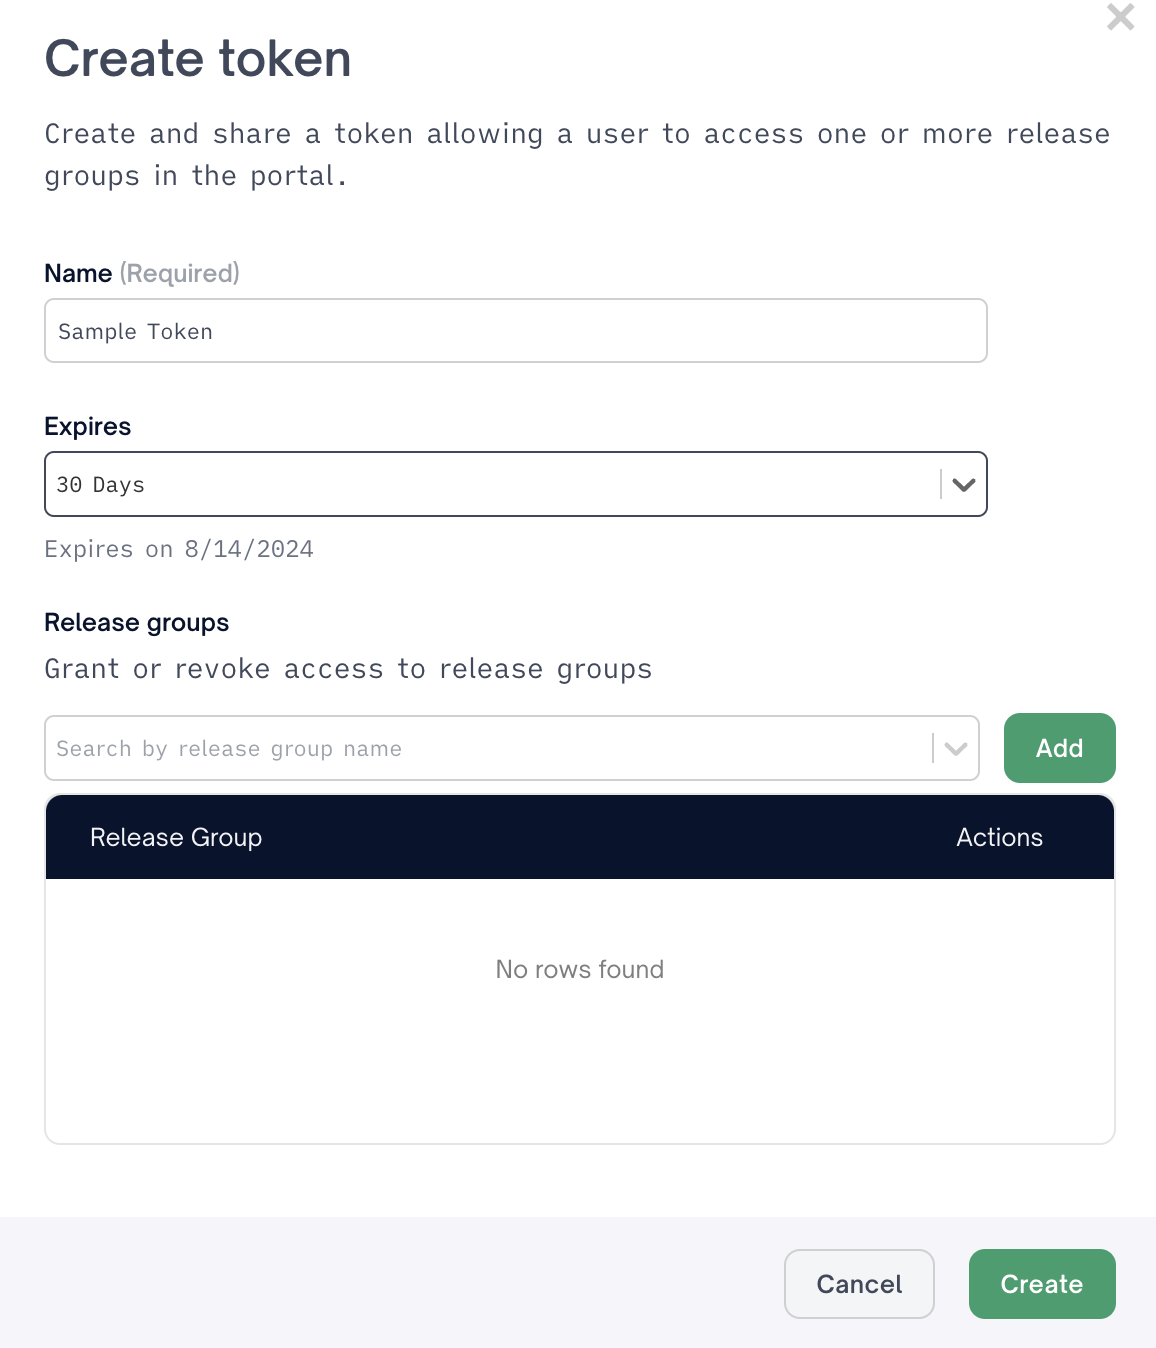
Here a user may select Create New Token and provide a:
- Name
- Name of the access token
- Expires
- Expiration date for the time frame to keep the token valid, one of:
- 30 days
- 6 months
- 1 year
- Never
- Expiration date for the time frame to keep the token valid, one of:
- Release groups
- The release groups, when published, that will be available in the SBOM Portal for a given access tokens.
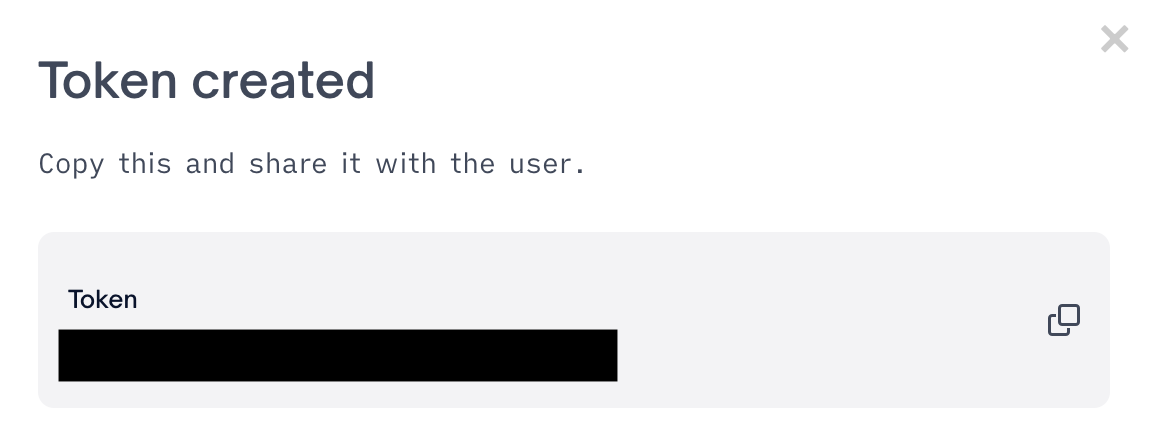
Doing so we generate a token for the users to copy and distribute via the secrets management process of their choice.
Lastly you may assign an access token by selecting the token name in the Portal Privacy Settings and selecting add
NoteUsers may view the
expirationdate andlast useddate for any access token via Portal Access Tokens settings.
Step 3 Project Selection
Select each desired project to include in your RG by selecting the Add action next to the desired project. Note these can be any type of project including CLI uploads, Quick import projects, SBOMs, or containers.
Once selected you will be prompted to pin a specific branch and revision (project analysis, commit or version) to be included in the first Release.
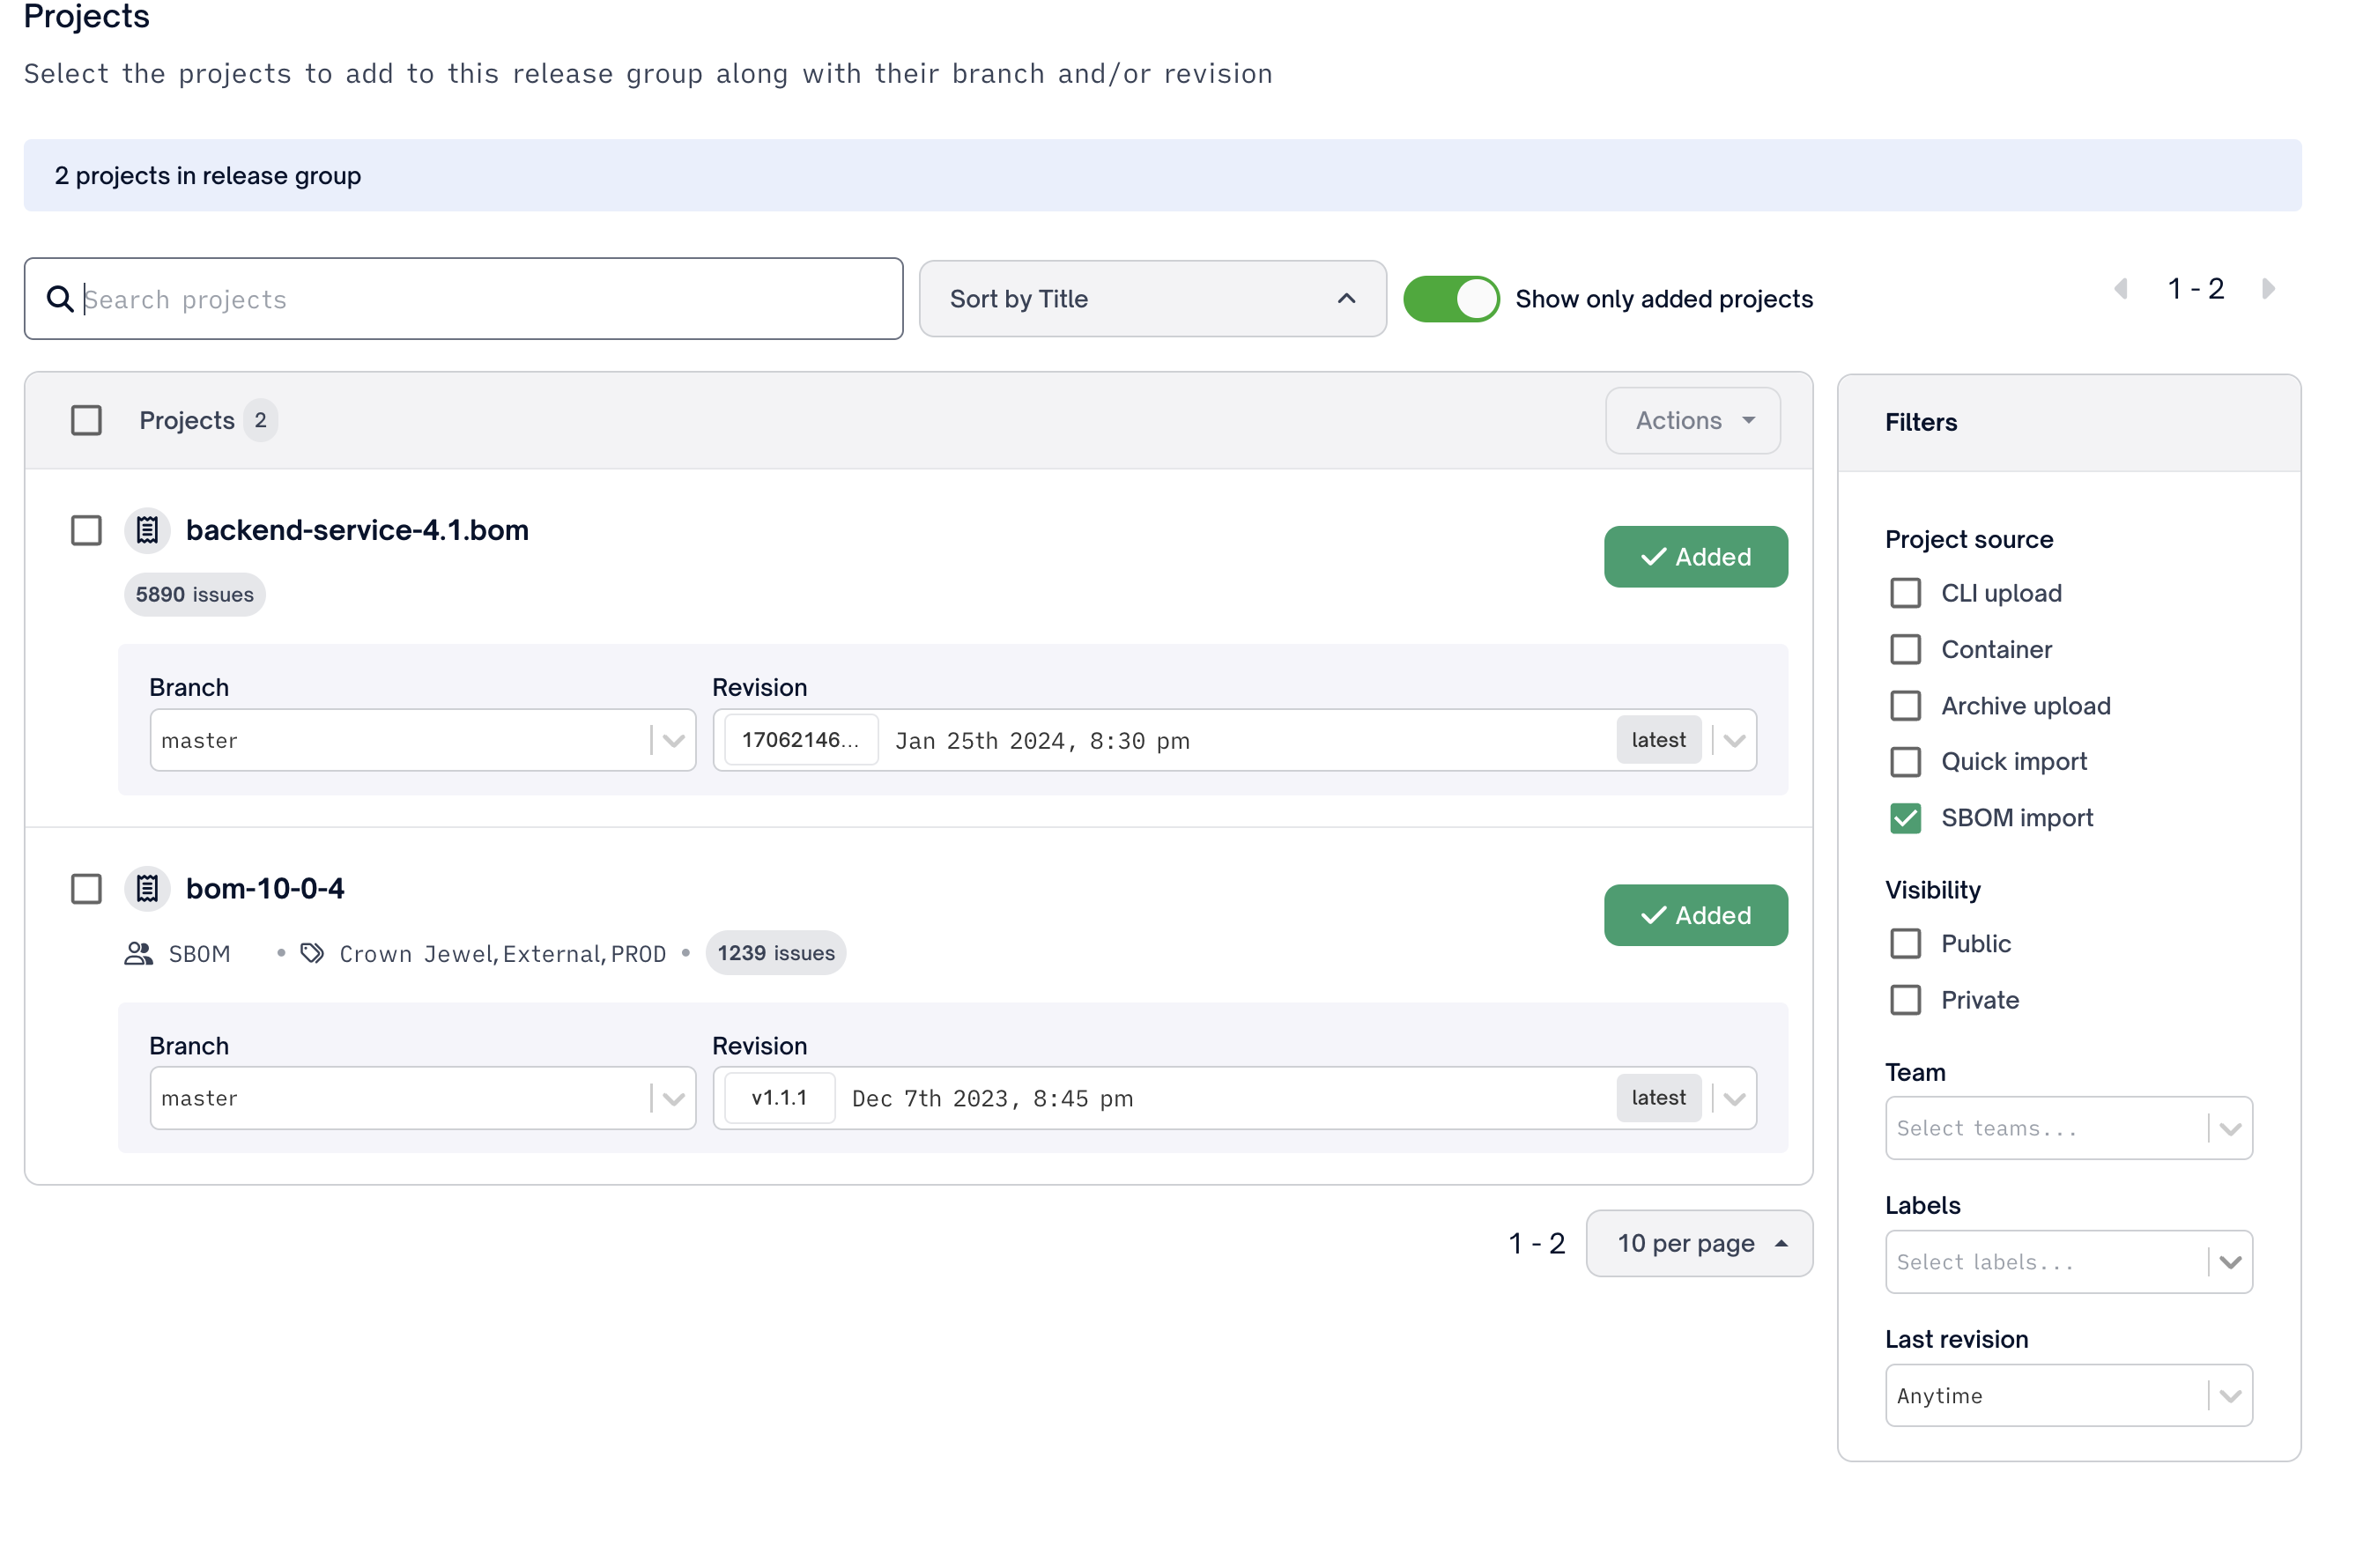
You may also leverage the bulk action selection and use Actions add to release group to add many projects at the same time.
Select Create at the top right of the RG creation workflow to finish creating your RG
Step 4 - Generate and Publish
Within the desired Release Group, navigate to Reports > SBOMs to publish your first SBOM. Start by following Step 1-3 in the SBOM generation workflow described in Generating SBOMs
After customizing your SBOM as desired, select Publish to Publish your SBOM to your SBOM Portal. FOSSA Will publish the SBOM in the currently selected SBOM format and metadata
NoteSelecting
Publishwill start a job that will first generate your SBOM then publish that generated SBOM to your public or private portal based on your Release group's portal privacy settings. You may need to refresh to see that your publication job is complete.
Format SupportFOSSA currently supports publishing of all SBOM formats (
cycloneDXandspdx) as well as theplain-textformat of the License attribution report
Step 5 - View and Share
Navigate to your SBOM portal via SBOM Portal > View Portal or your custom URL slug.
Removing or Republishing your SBOM
After a SBOM has been published for a specific Release Group and Release a user may revisit the Reports section of that specific Release and see they now have a timestamp for the date the SBOM has been published.
If the user would like to edit or remove a published SBOM they now have the option to:
- Republish
- Overwrite the published SBOM with an updated version based on the current options selected
- Unpublish
- Remove any published SBOM for this specific
Release GroupandRelease
- Remove any published SBOM for this specific